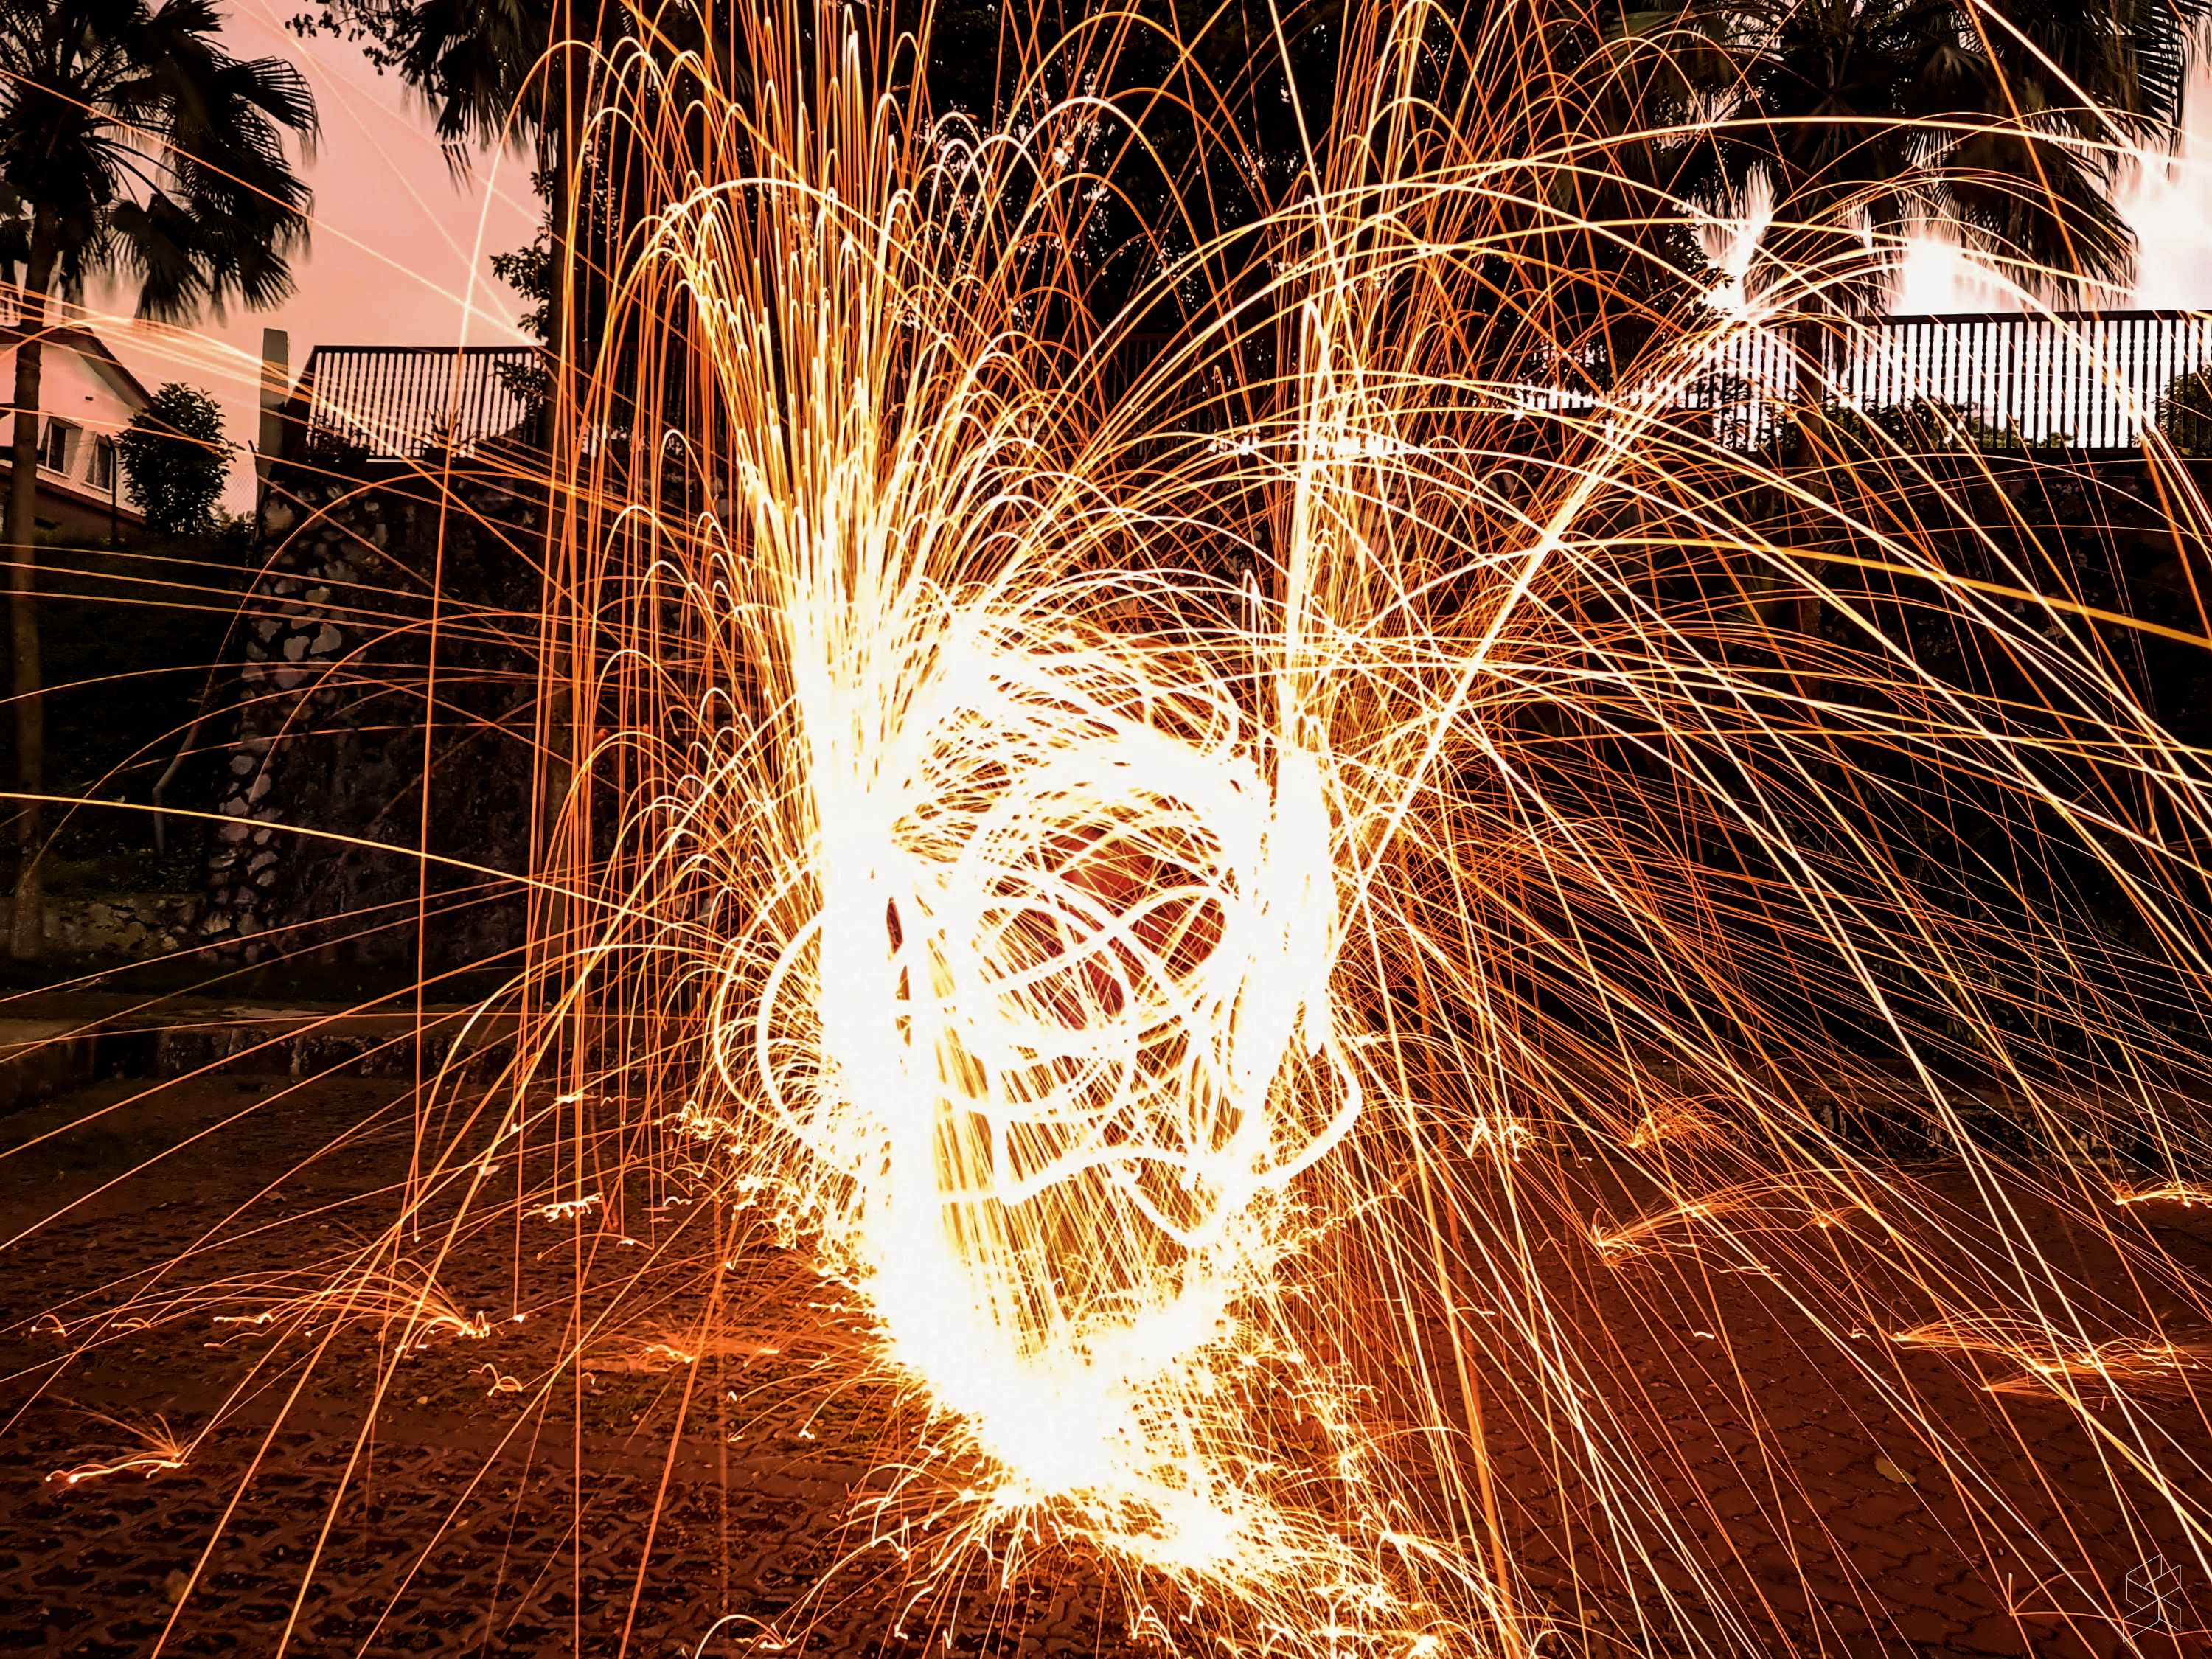
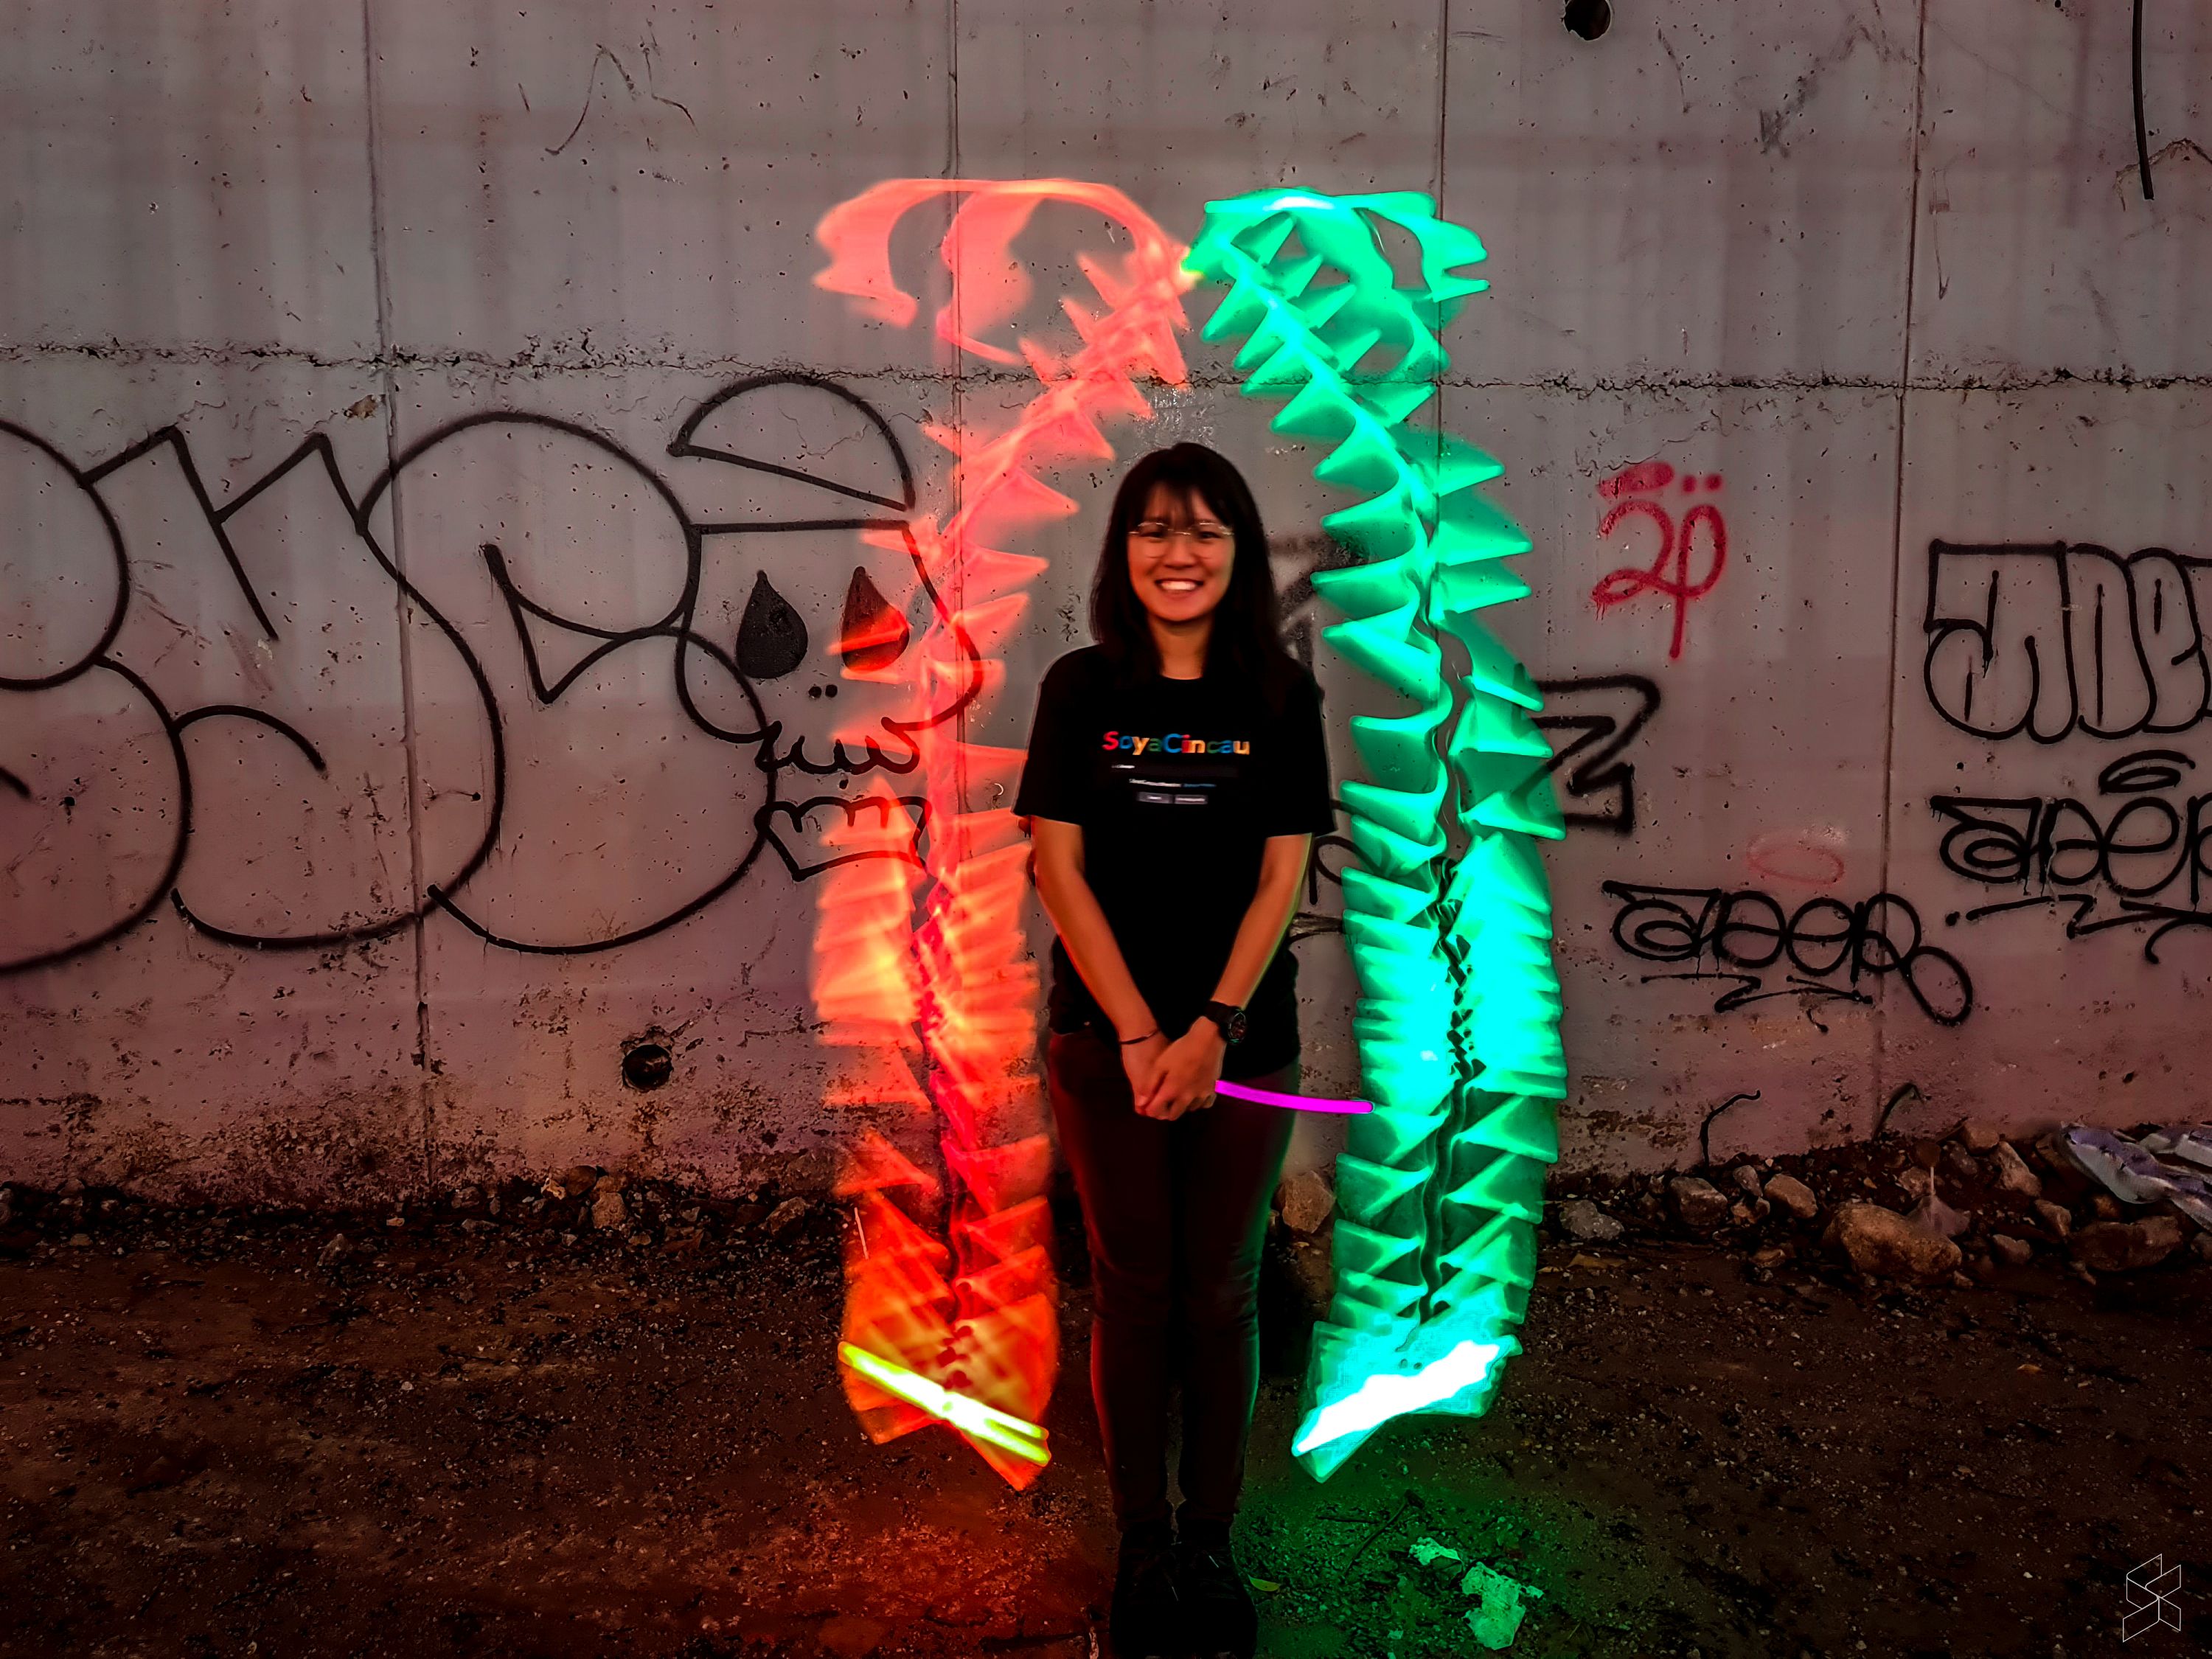
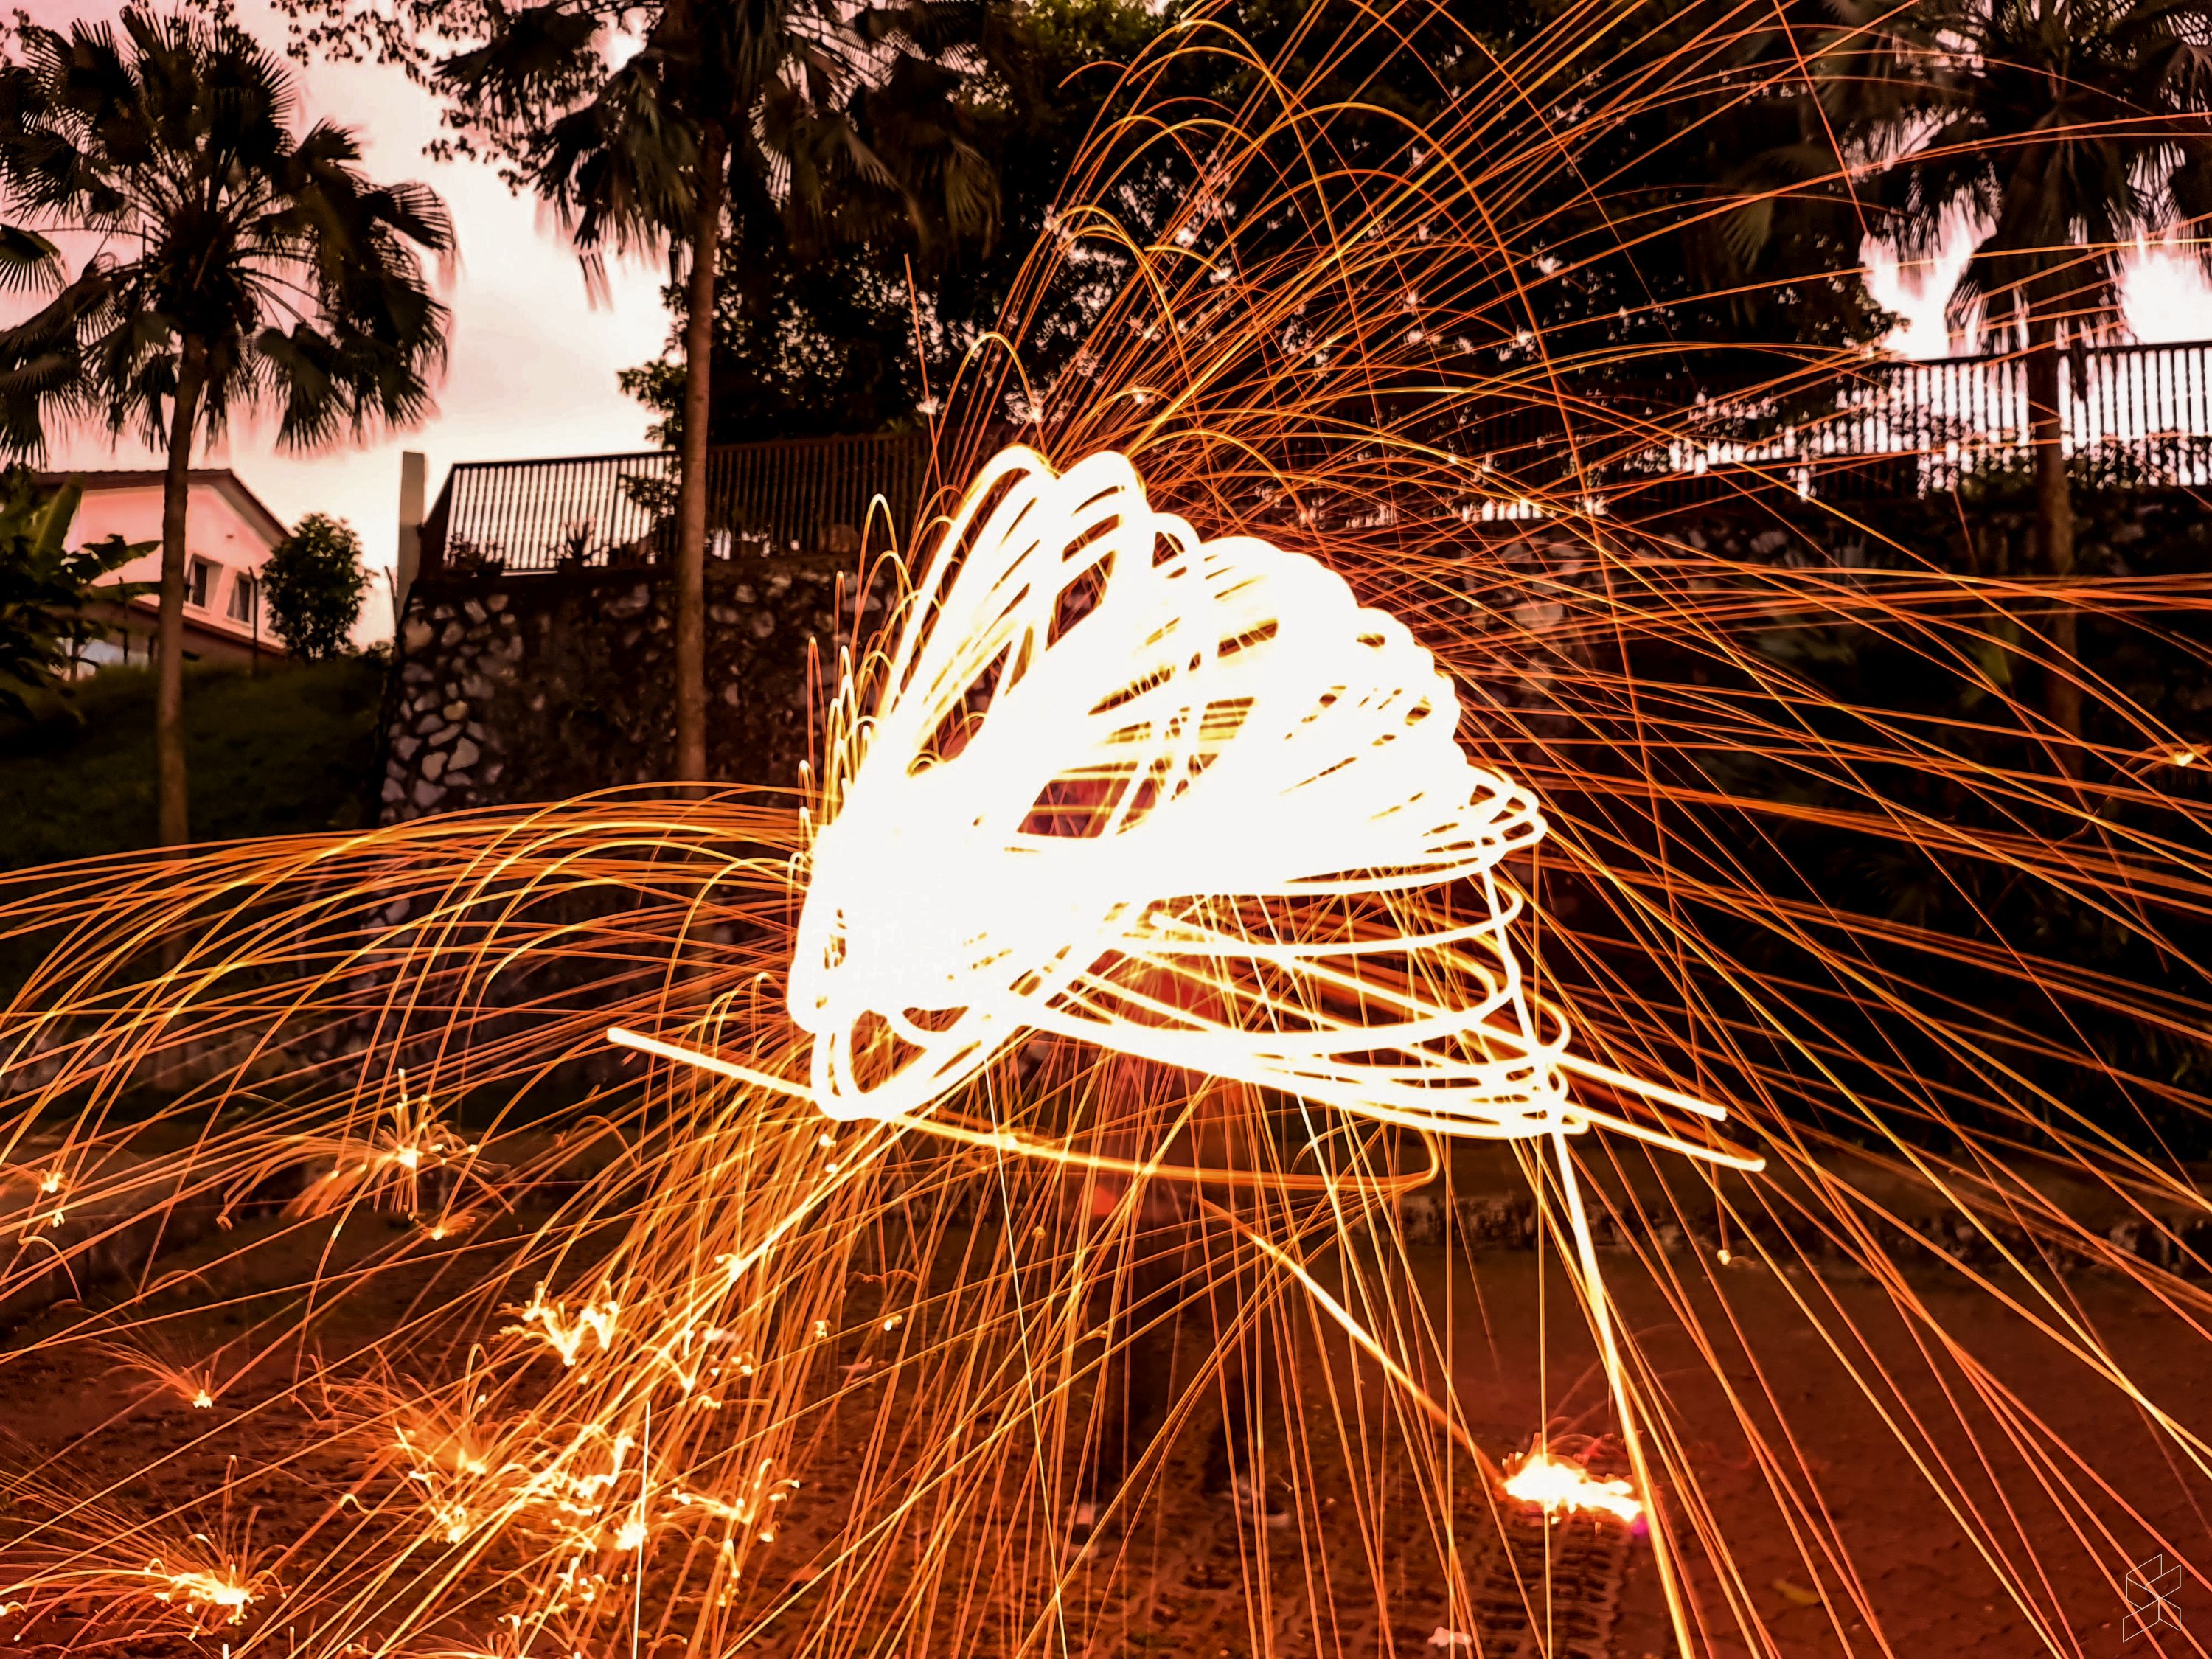
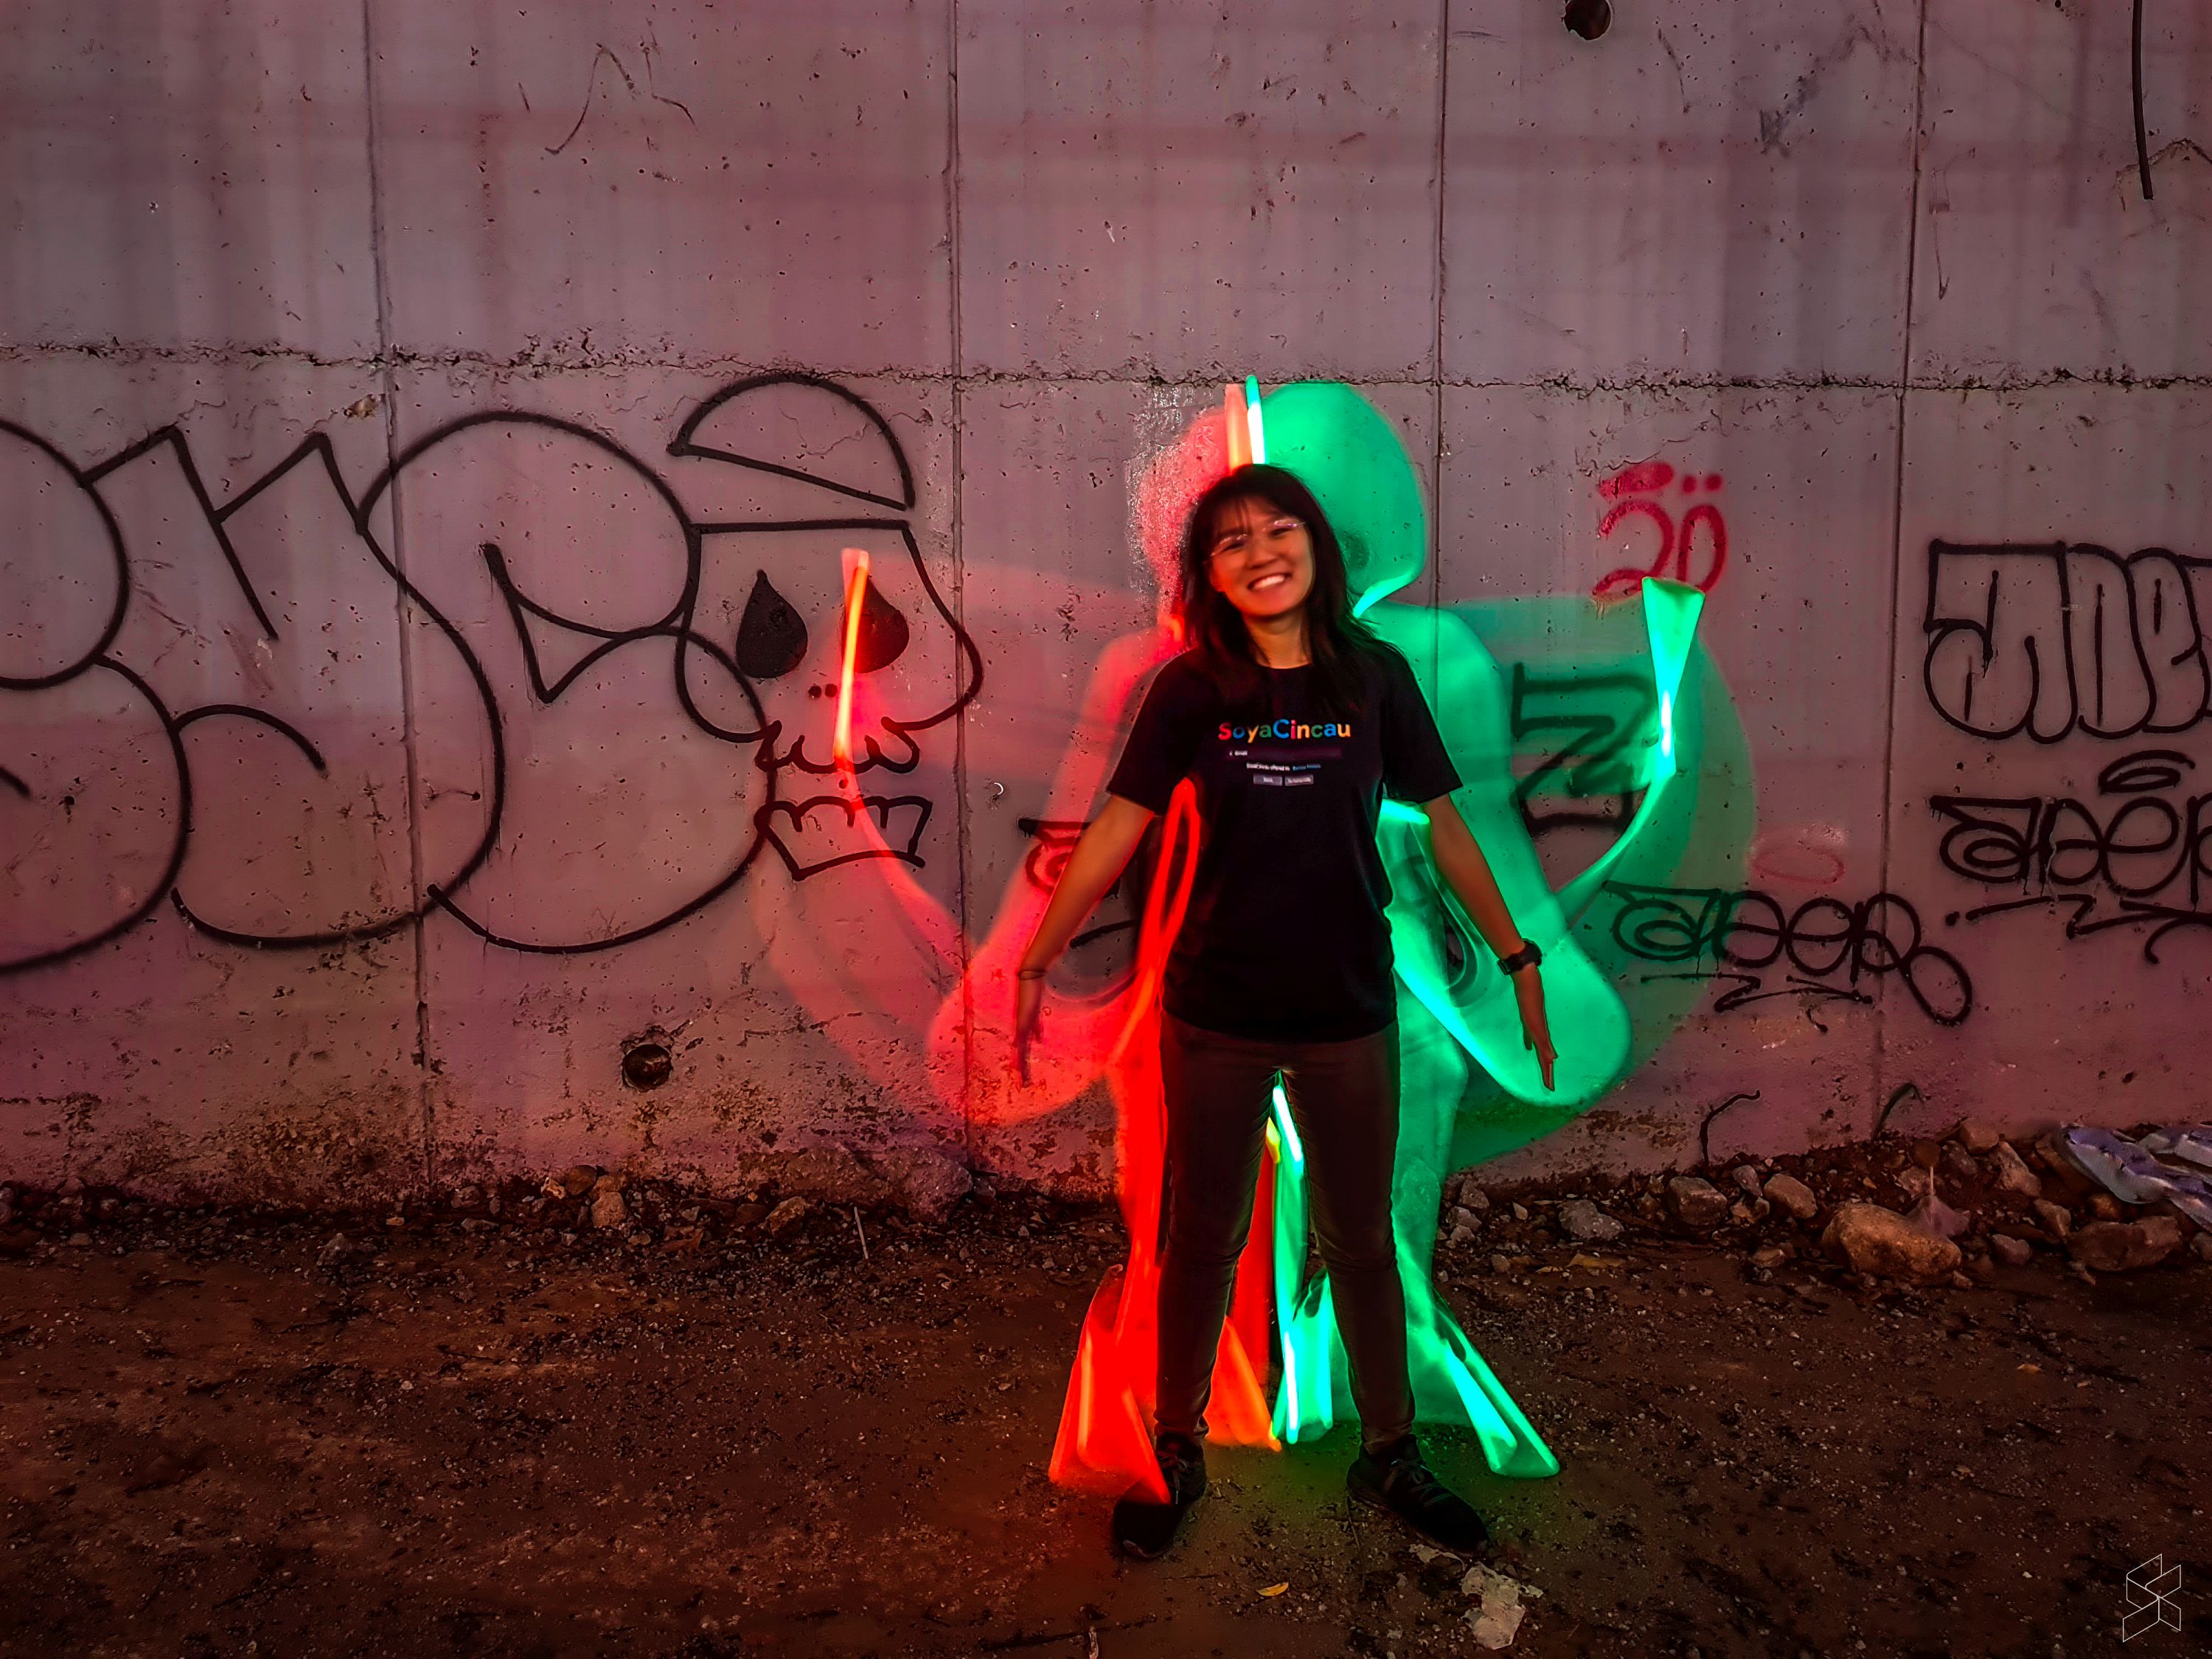
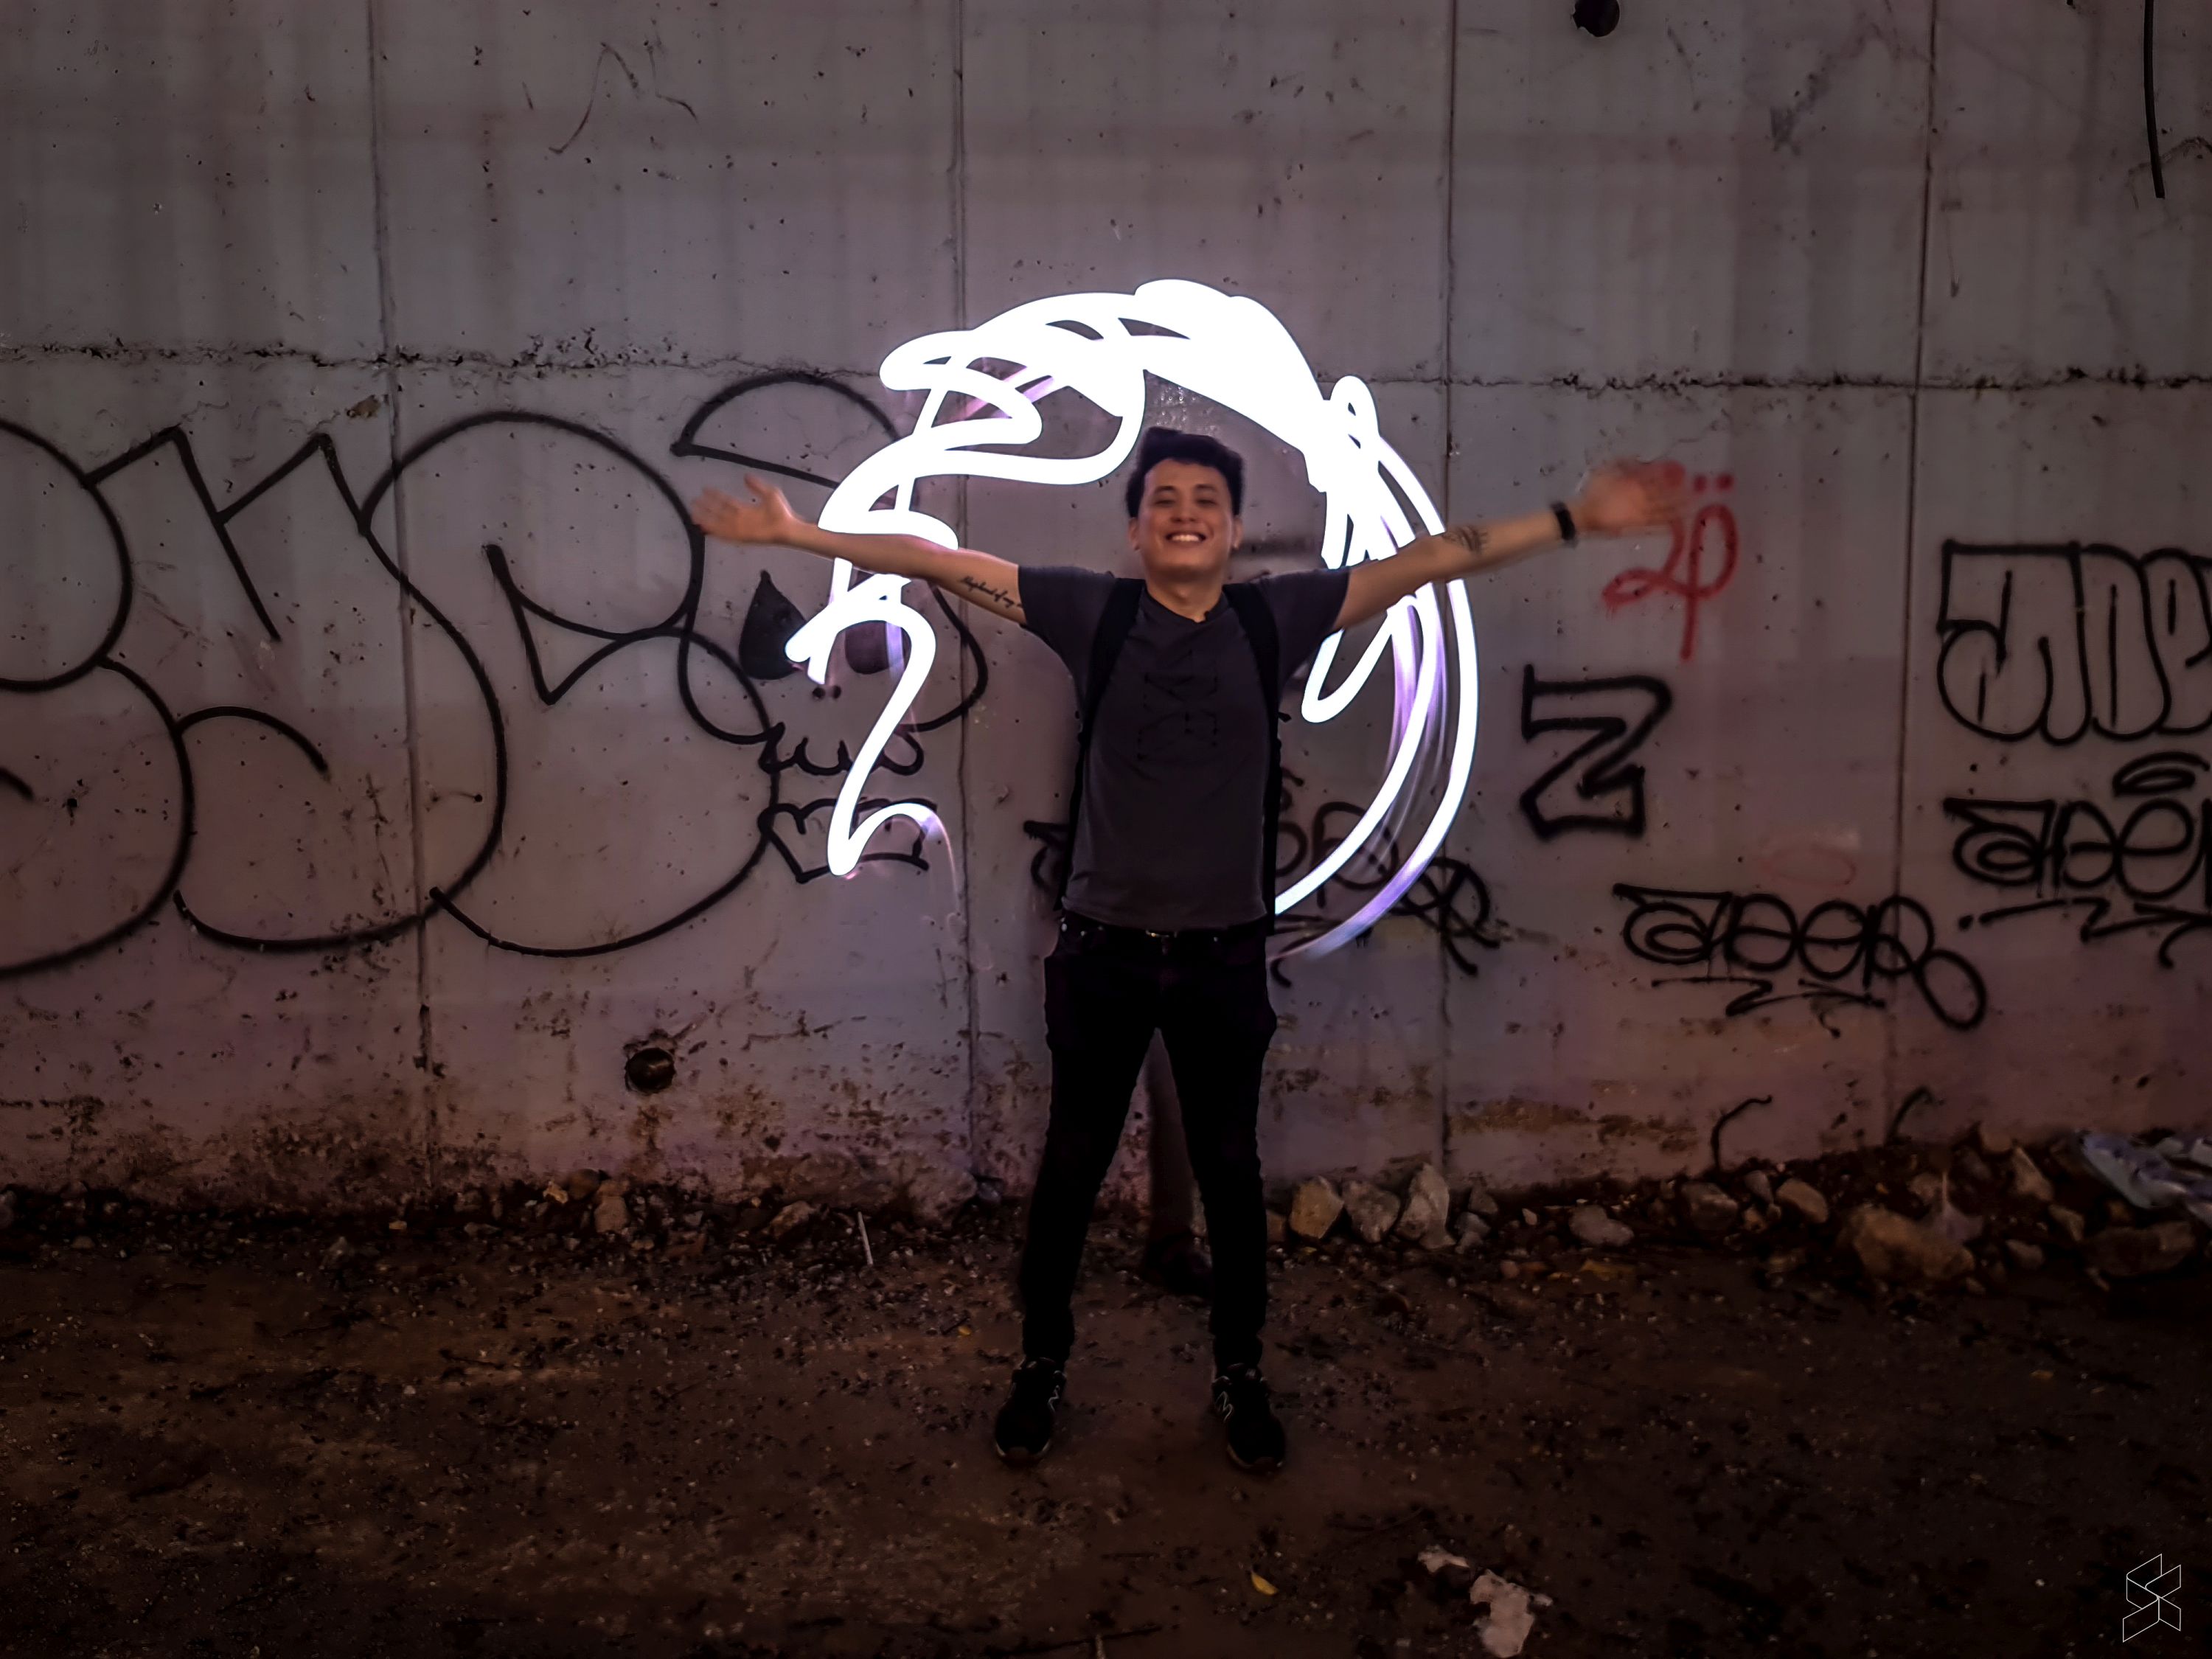
Welcome to the first episode of SoyaCincau’s new series: How-To-What-Is, where we learn new things, delve into interesting topics and ideas, and break things down for you. On today’s episode, Ray and I figure out how to create light paintings using just a smartphone—and teach you how to get the same results.
So, first up—what do you need?
- A smartphone with a manual mode (or “Pro Mode”)
We used two smartphones: the Samsung Galaxy S20 Ultra and the iPhone XS Max. Manual mode essentially allows you to tweak settings such as ISO, shutter speed, white balance, and so on.
While the iPhone doesn’t have a manual mode, we tried to overcome this by downloading 3rd party apps off the App Store. Unfortunately, shutter speed options were severely limited on the apps we tried, so the results weren’t successful at all.
- A variety of light sources
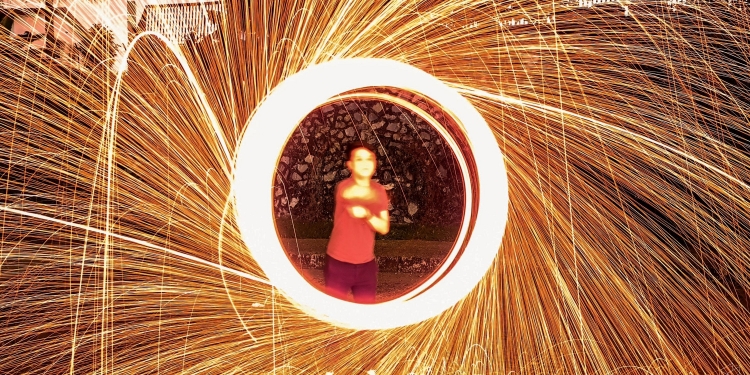
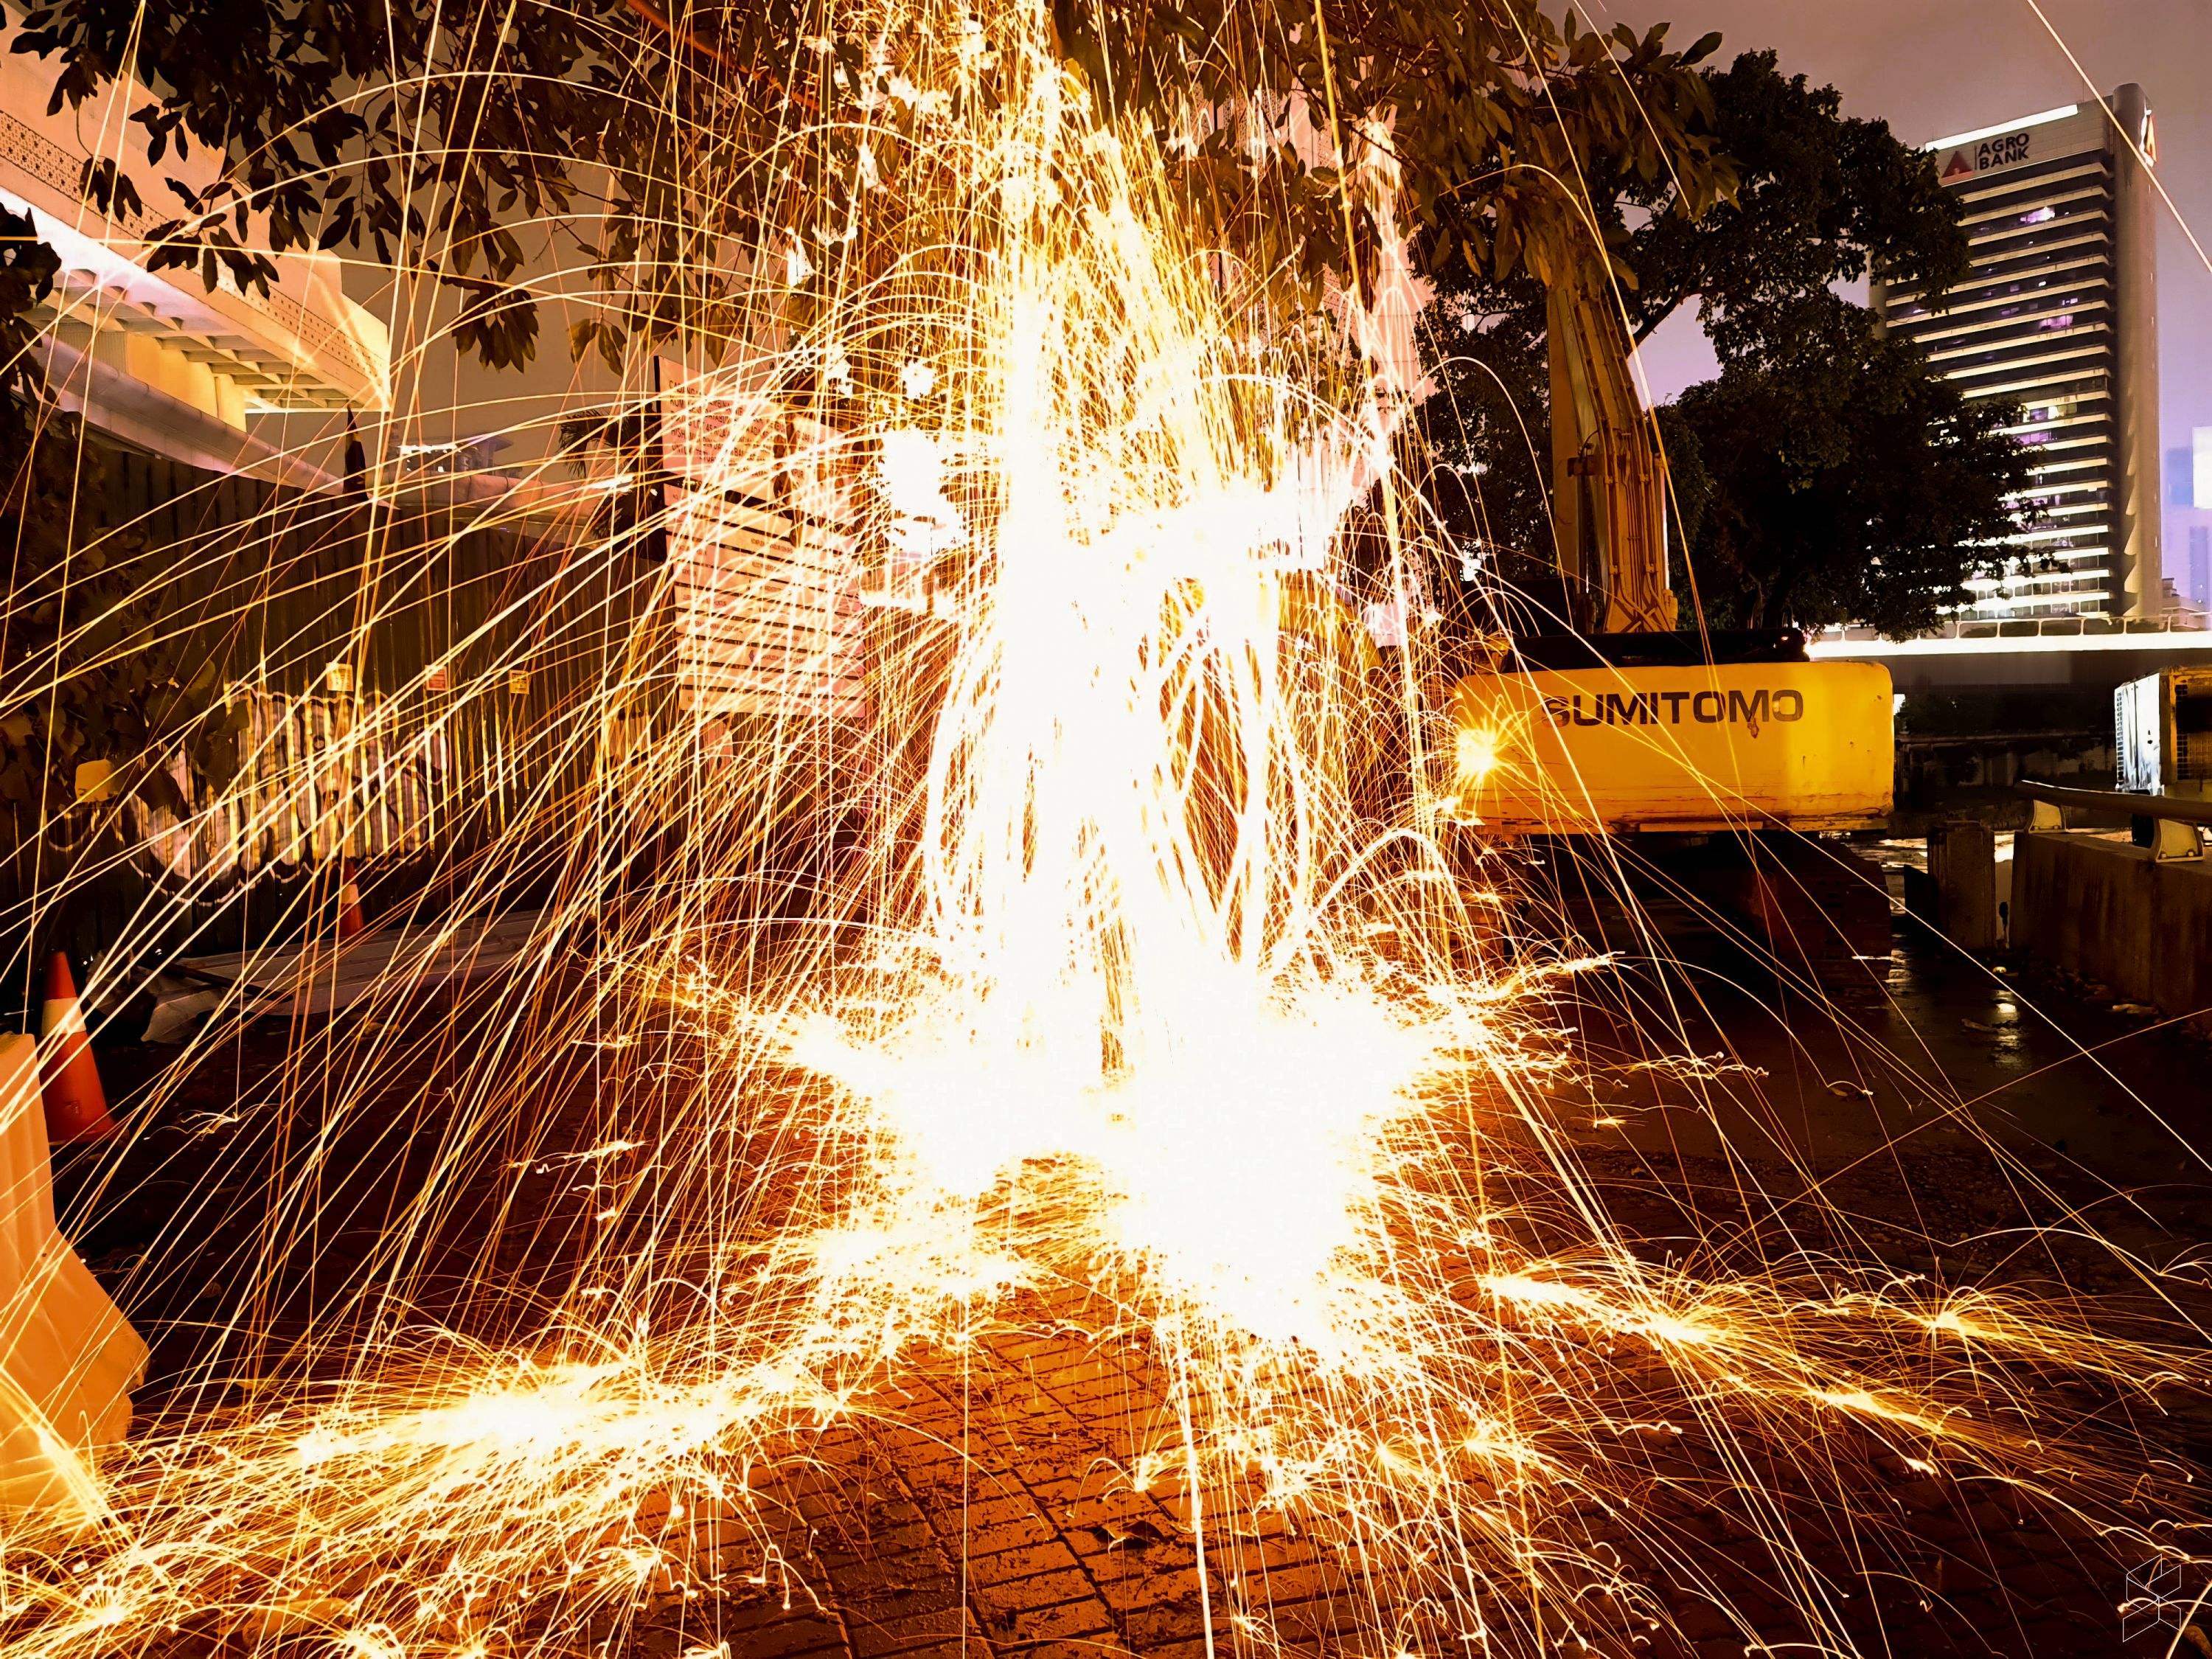
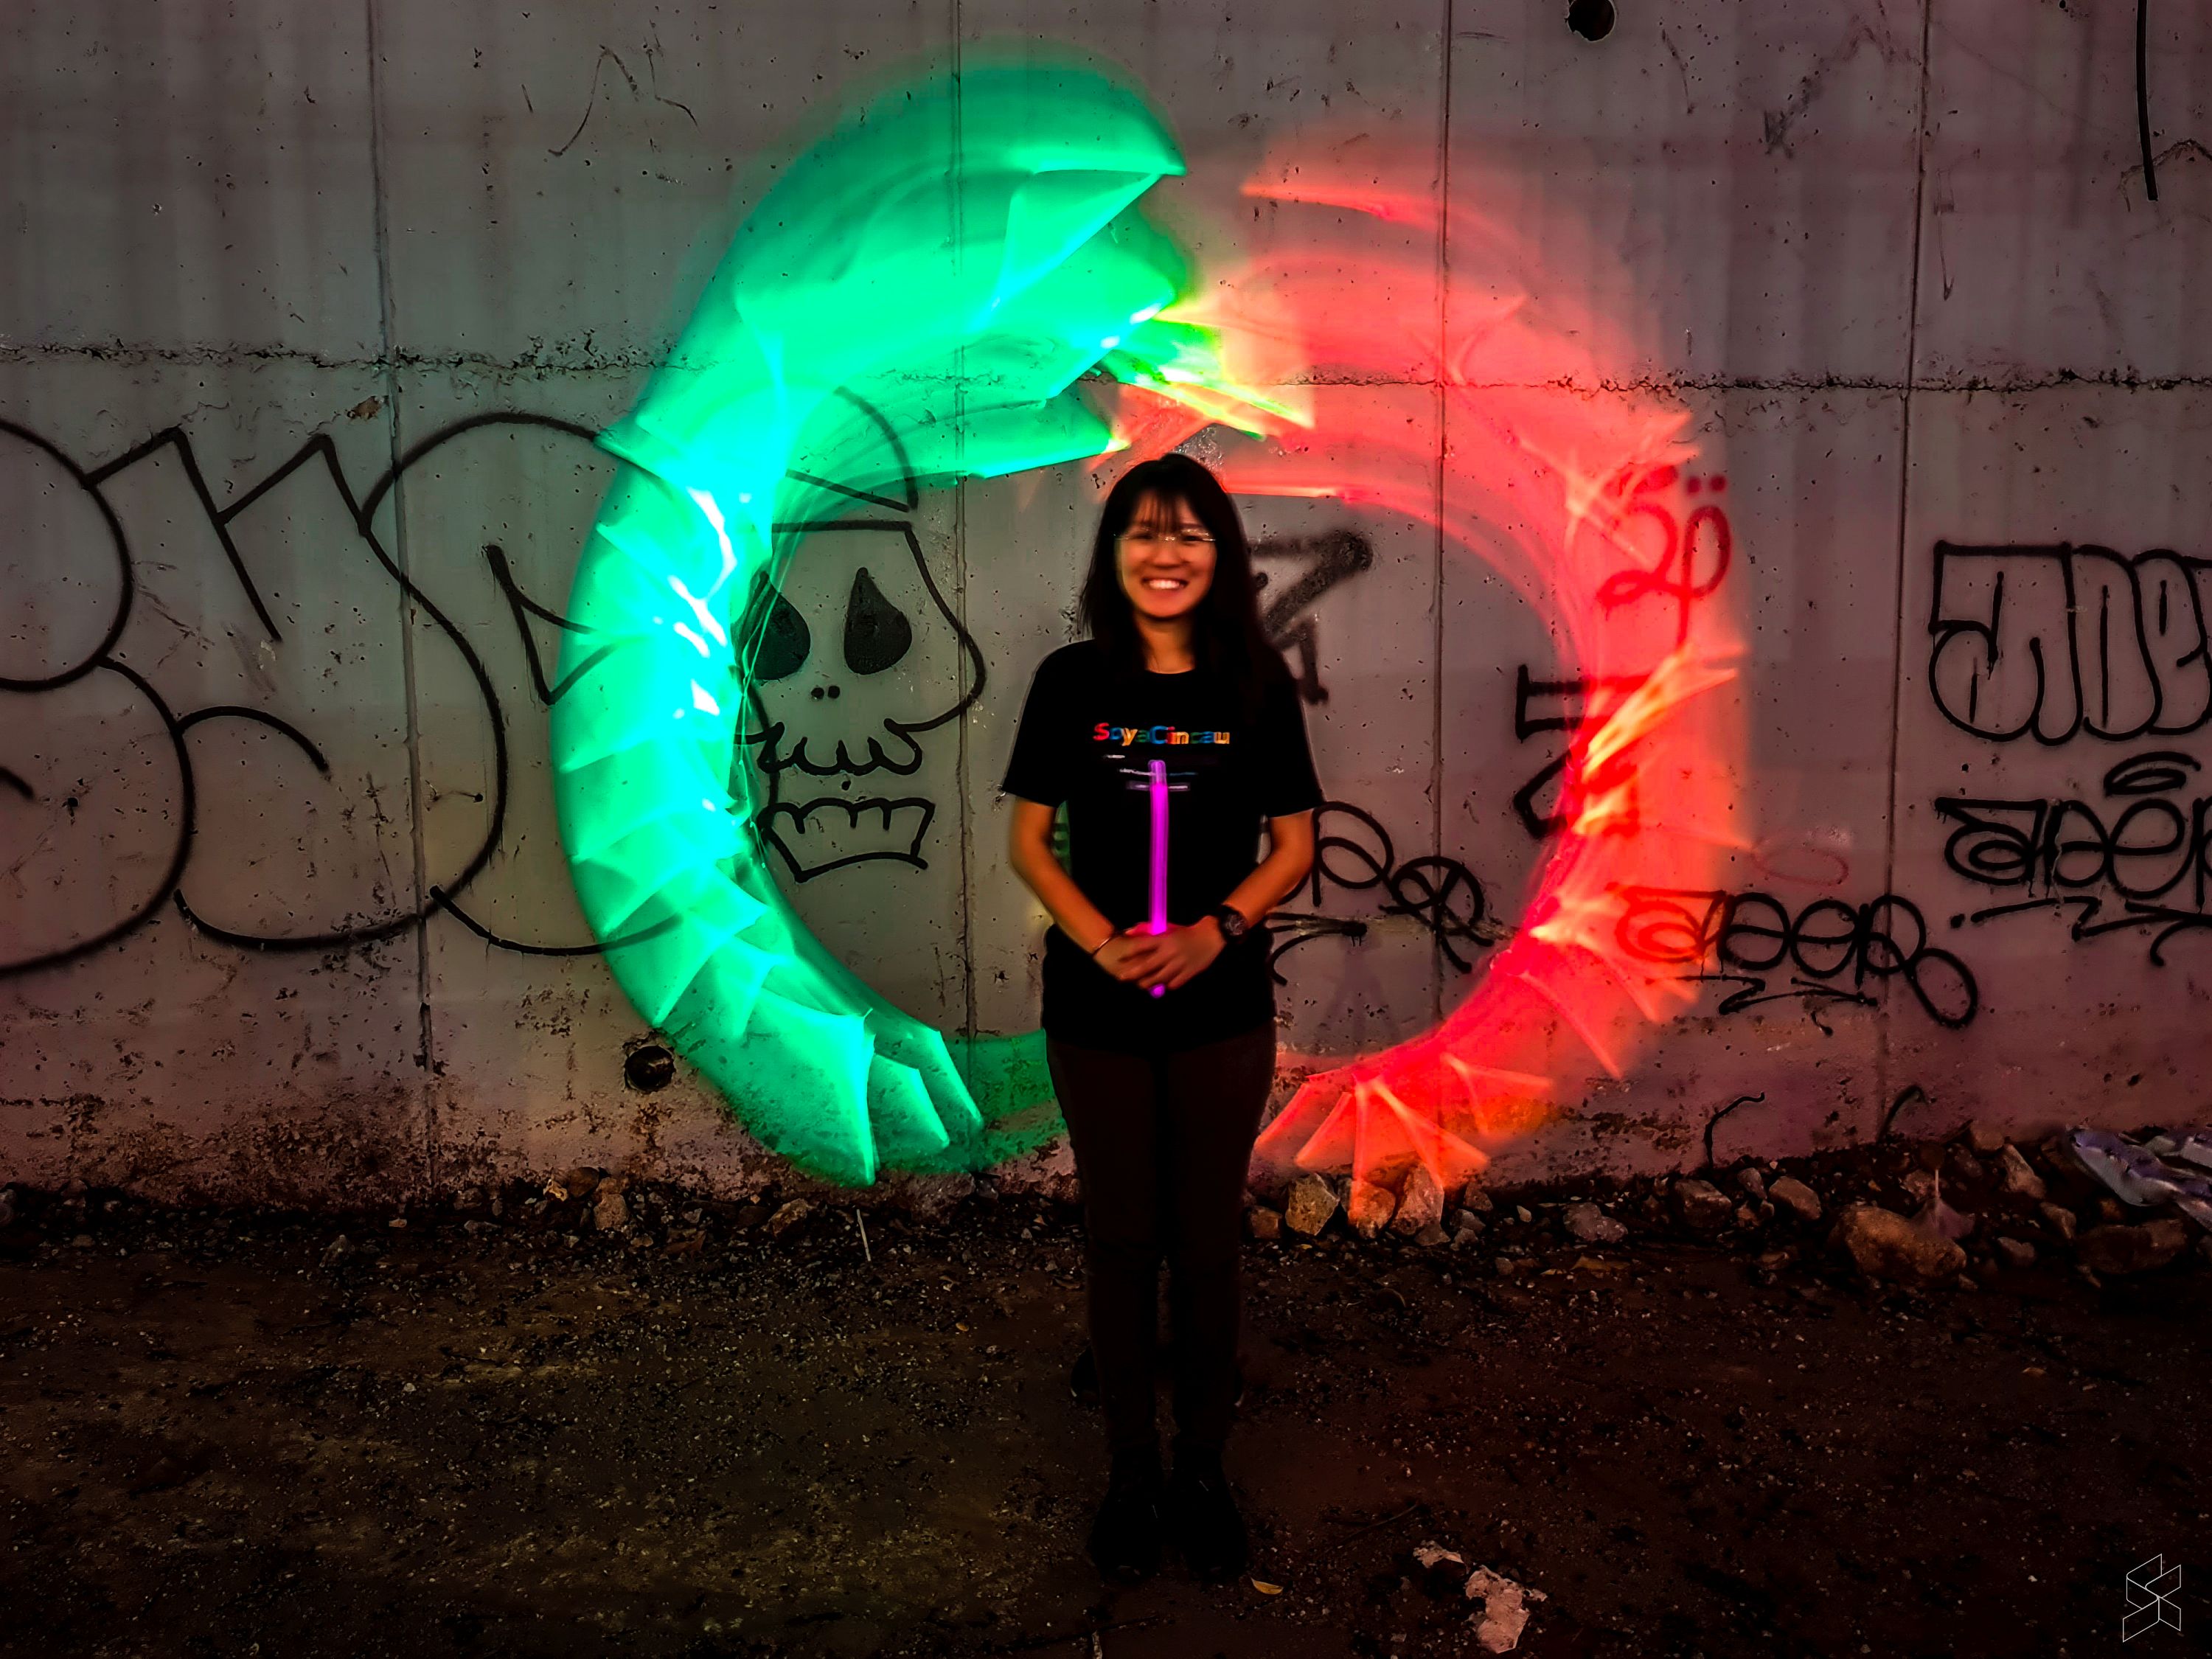
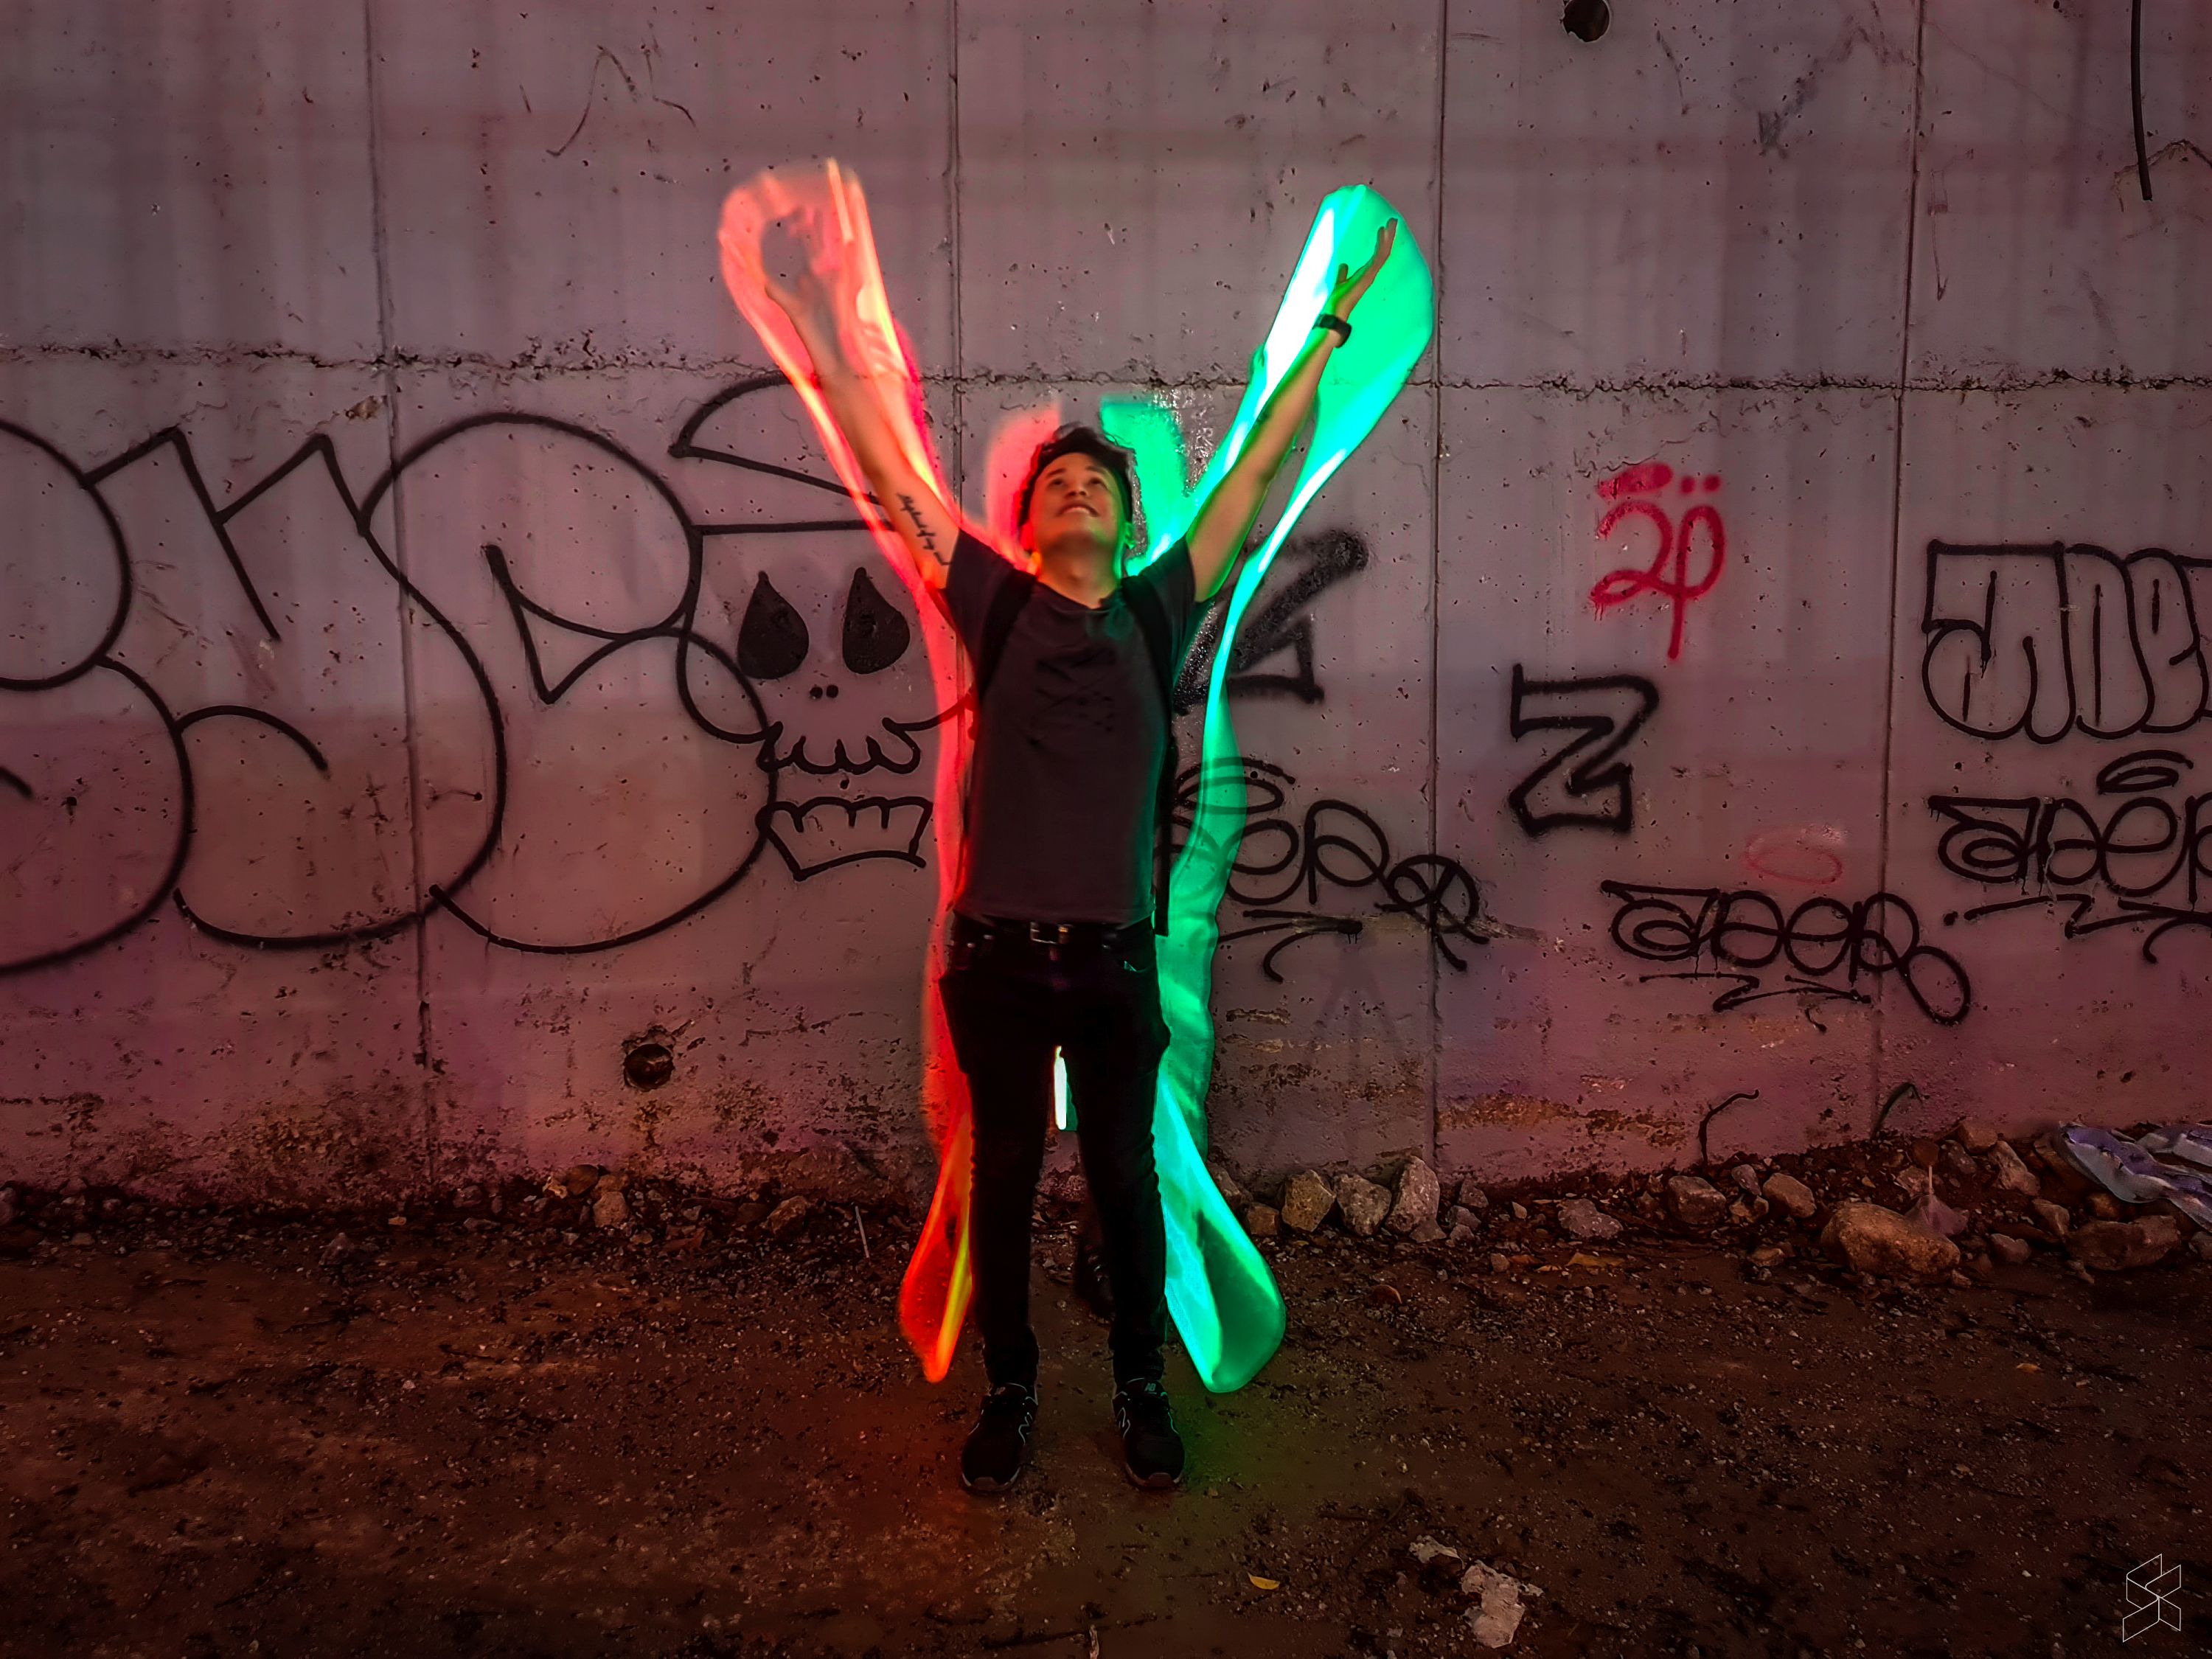
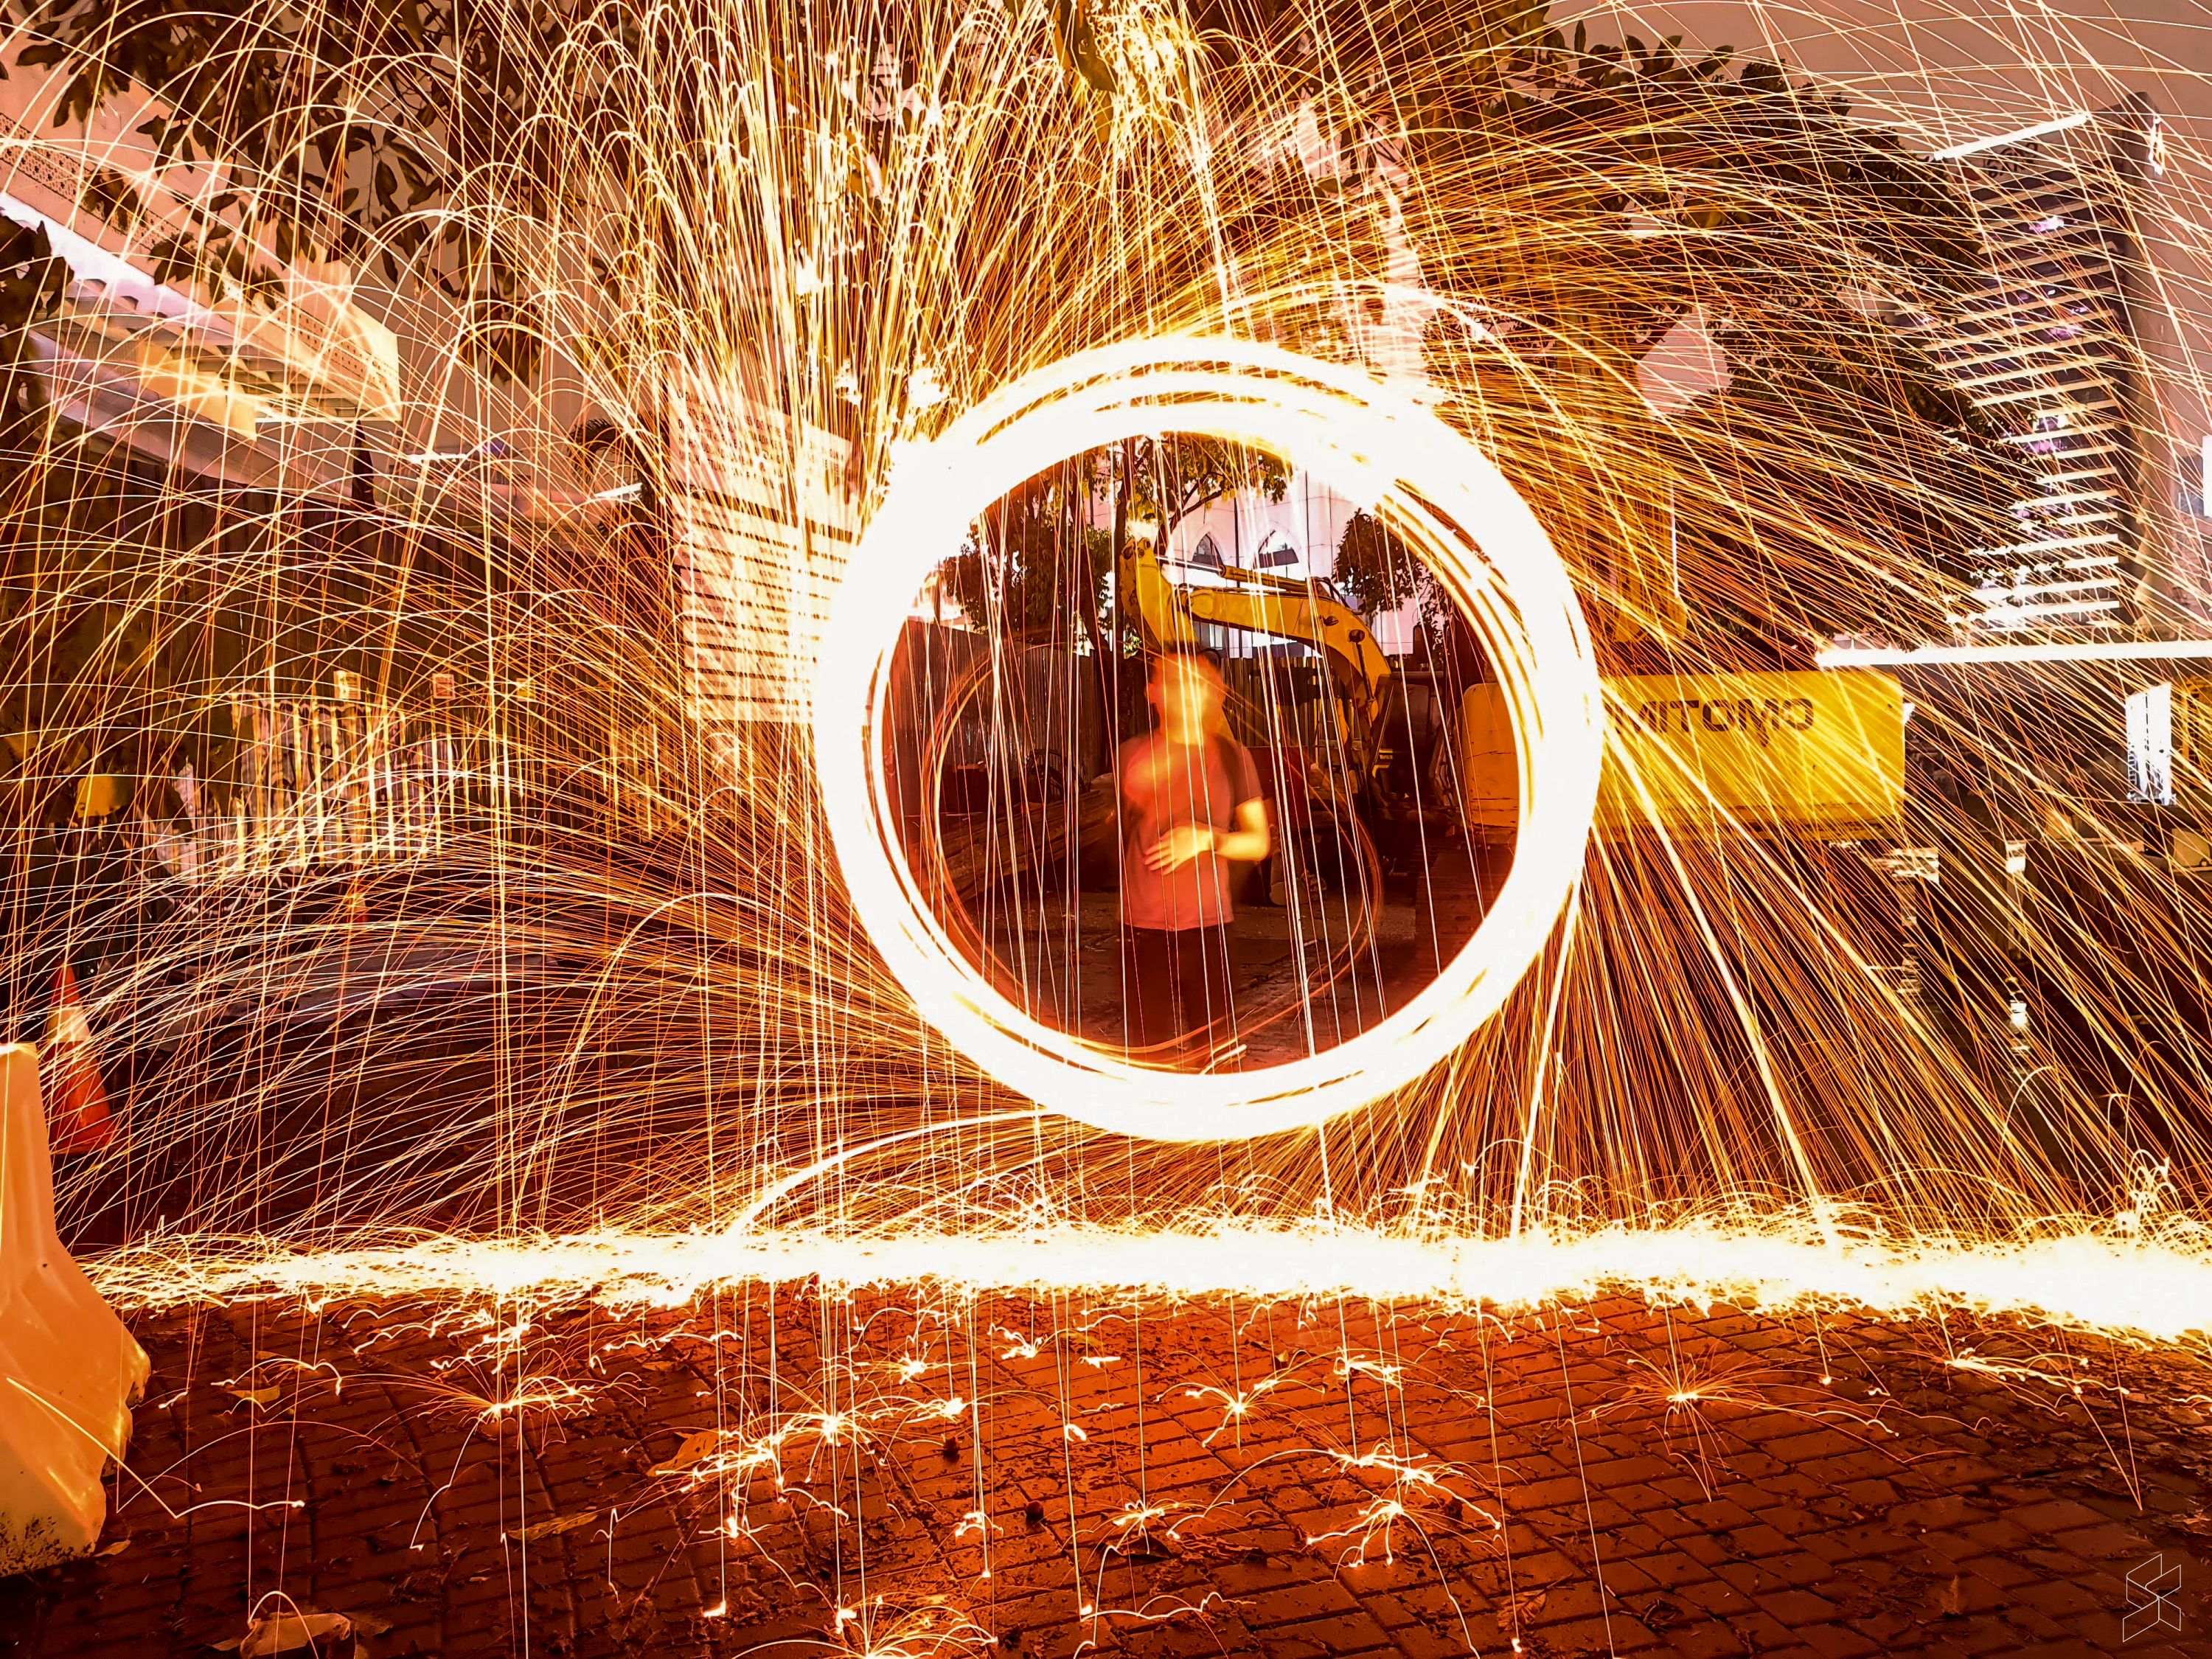
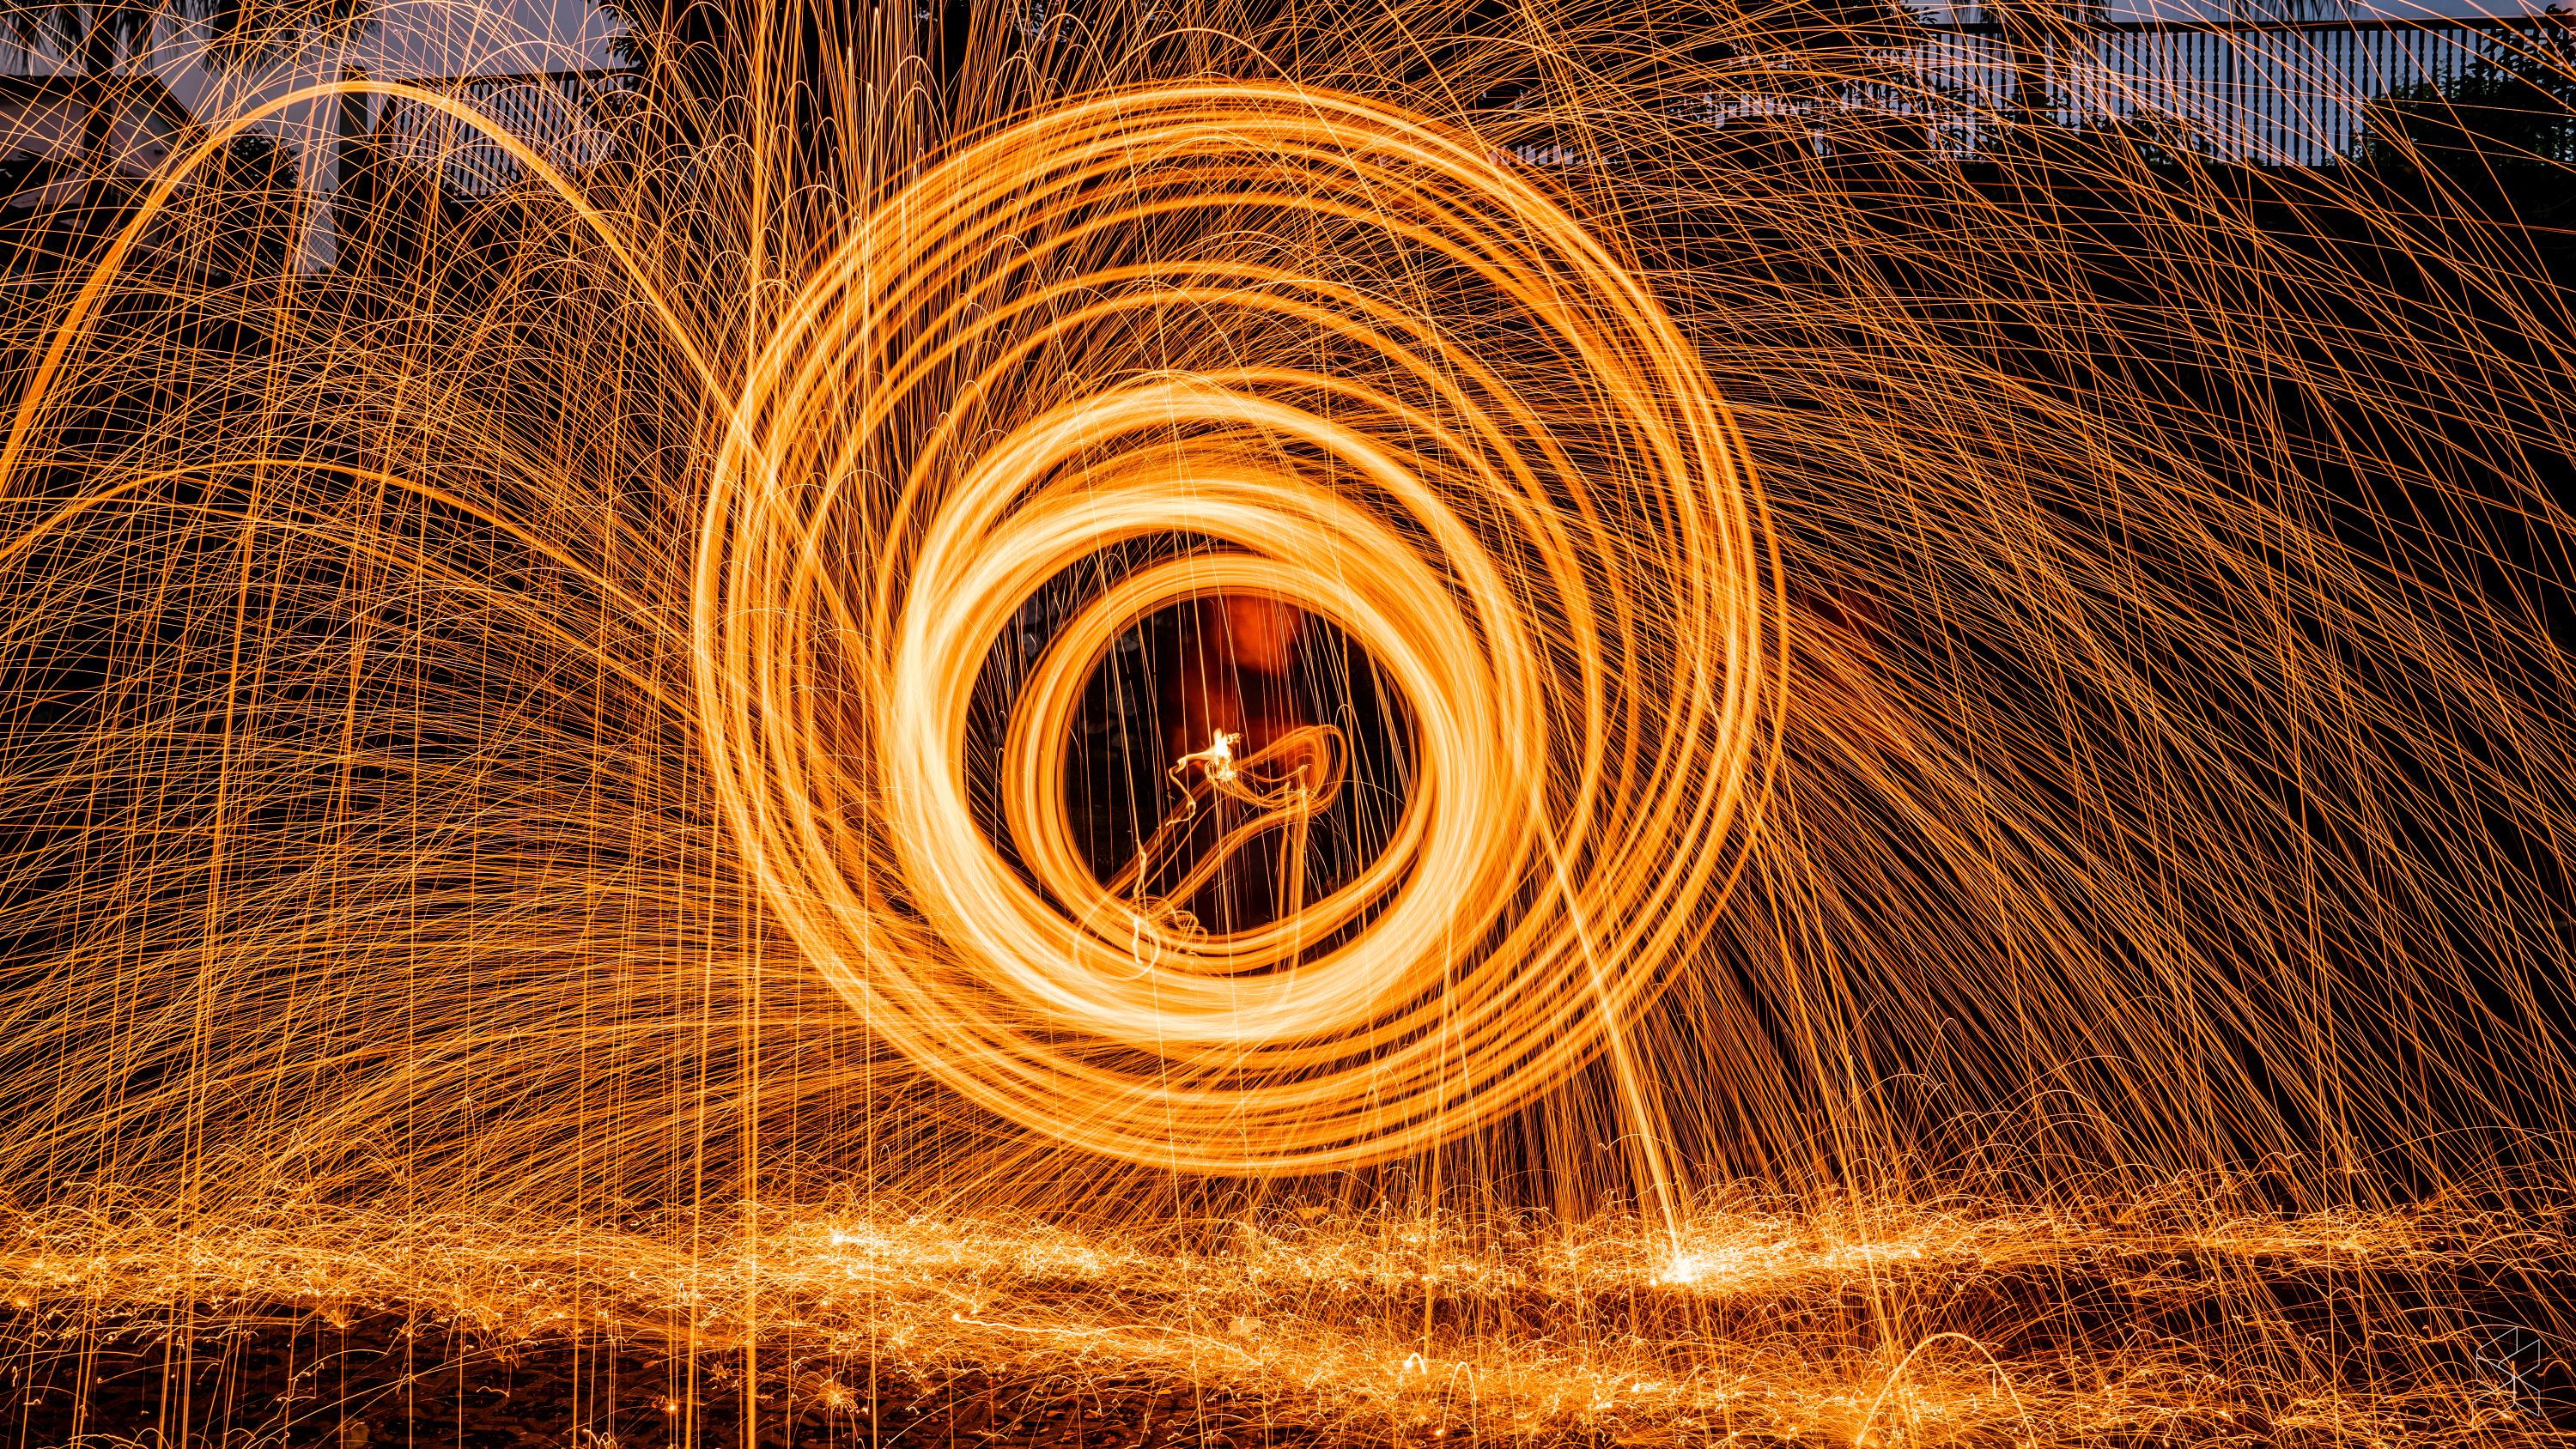
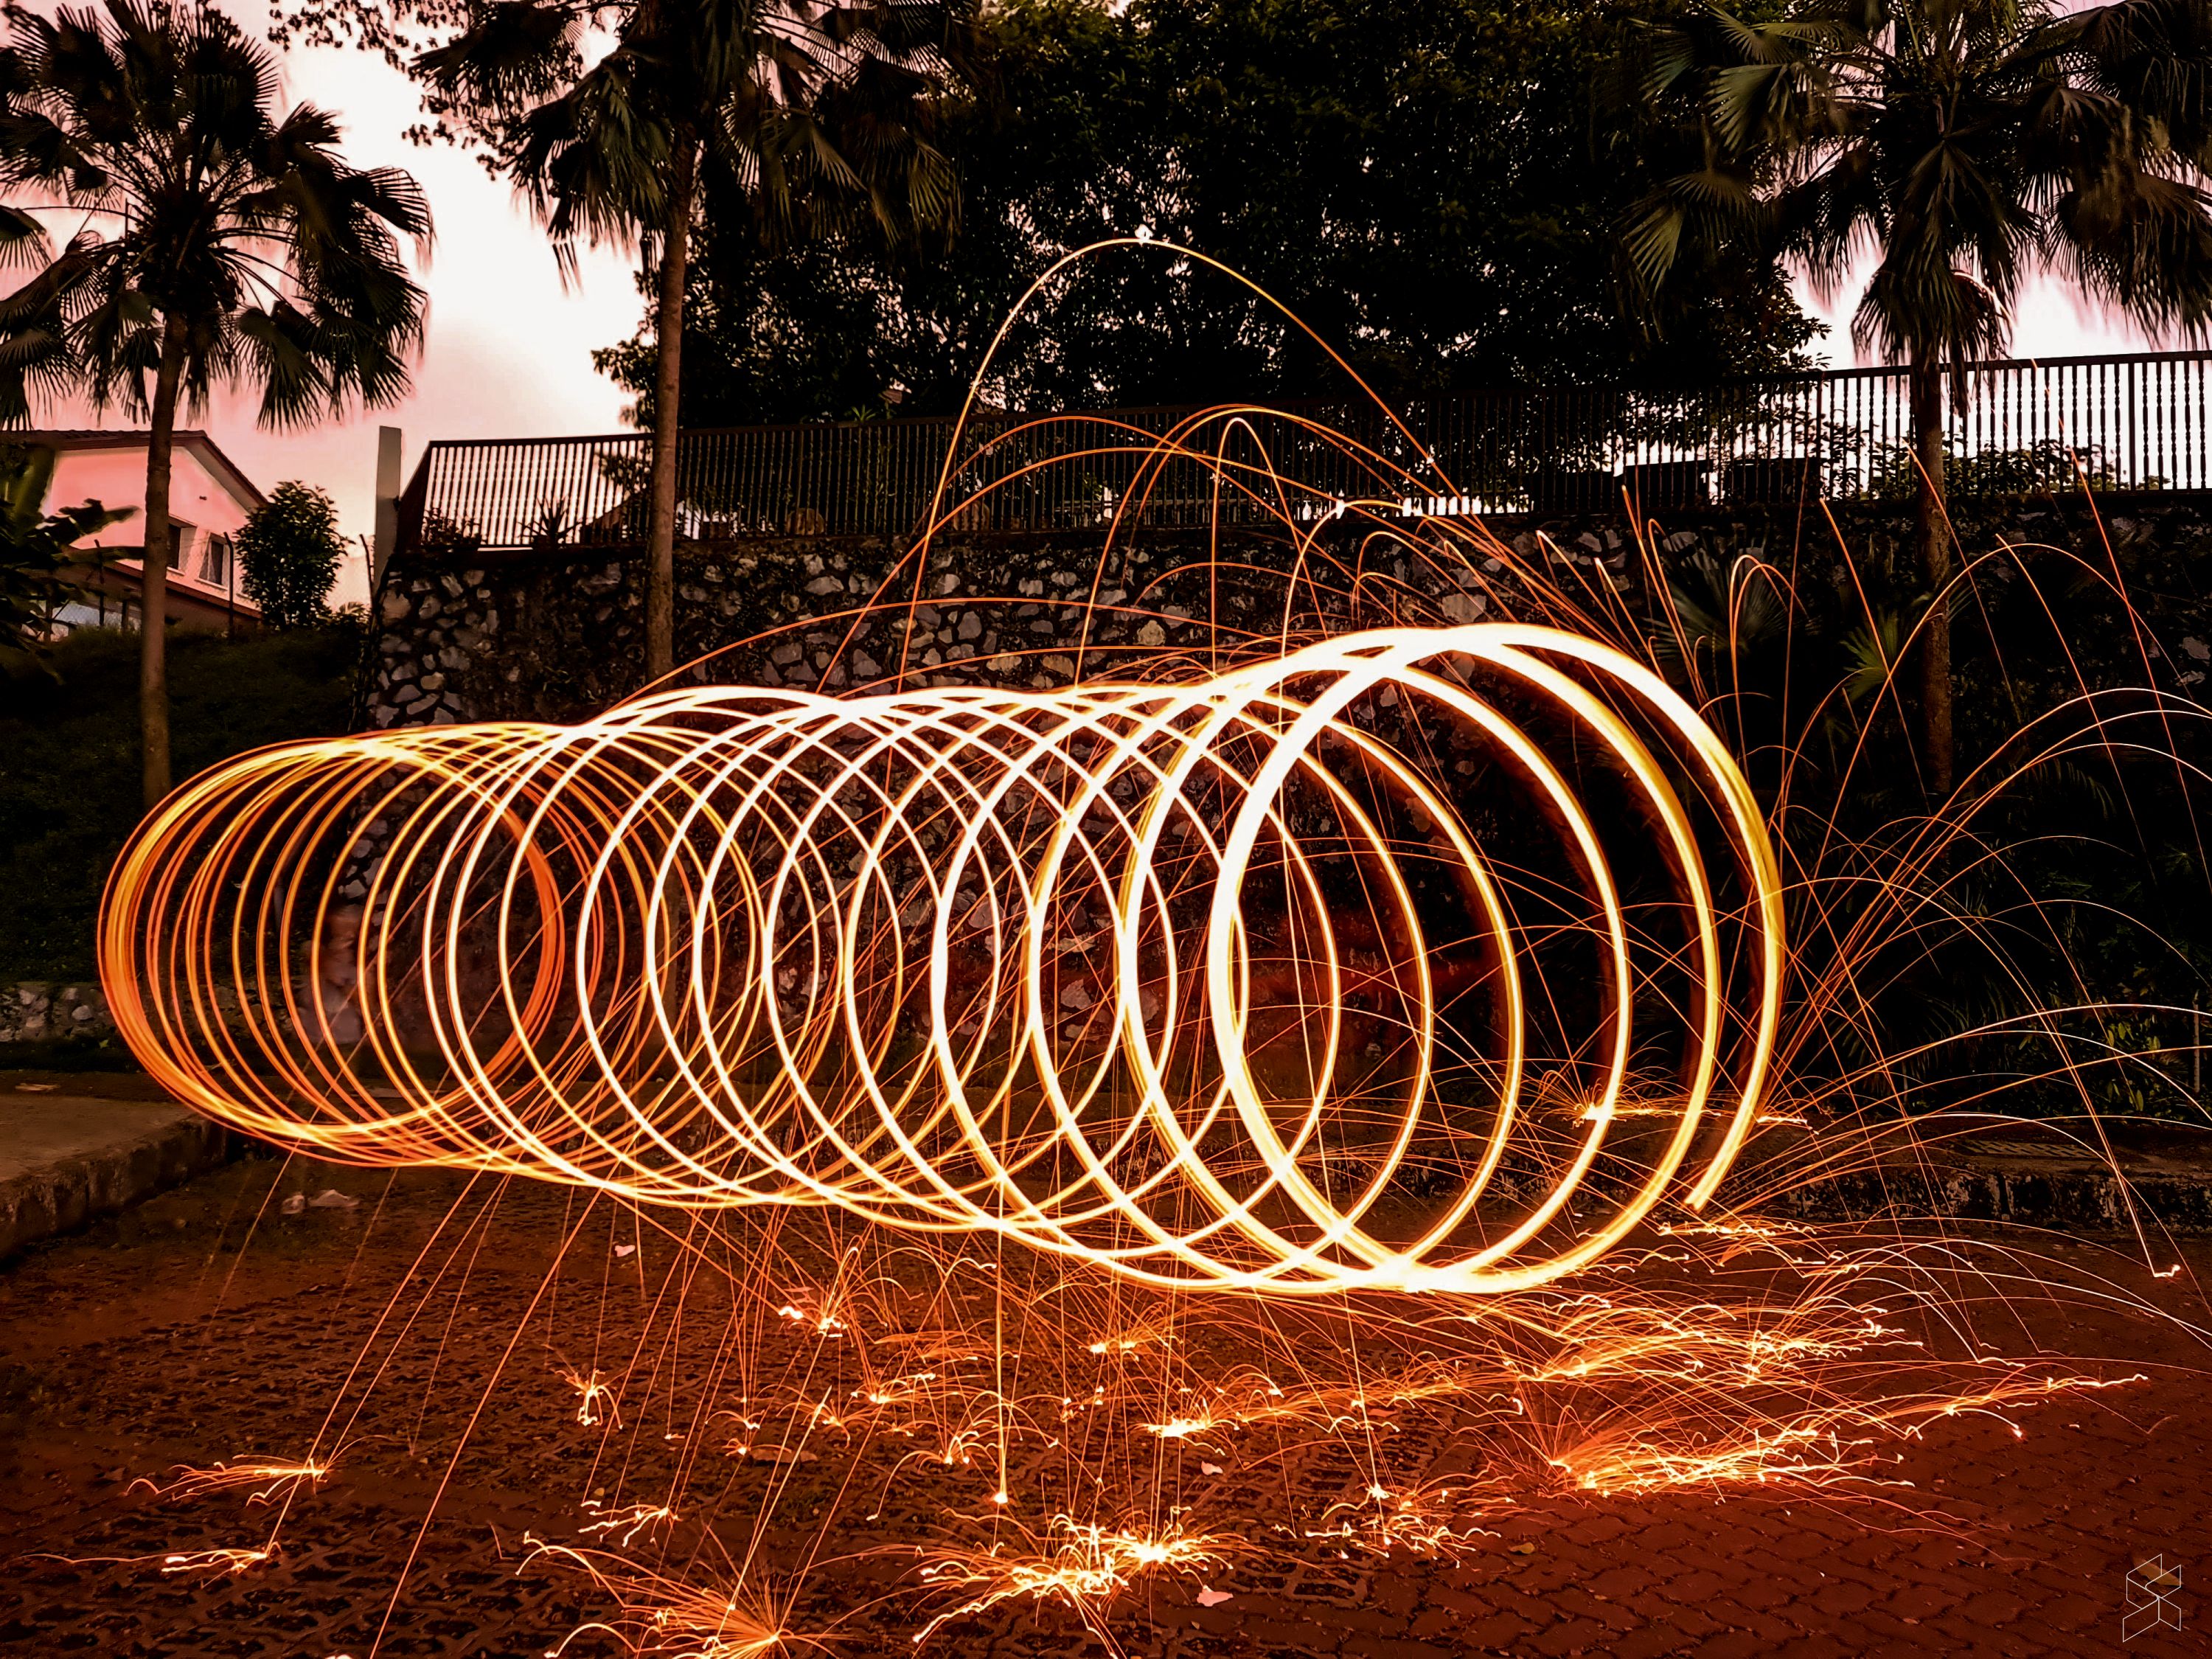
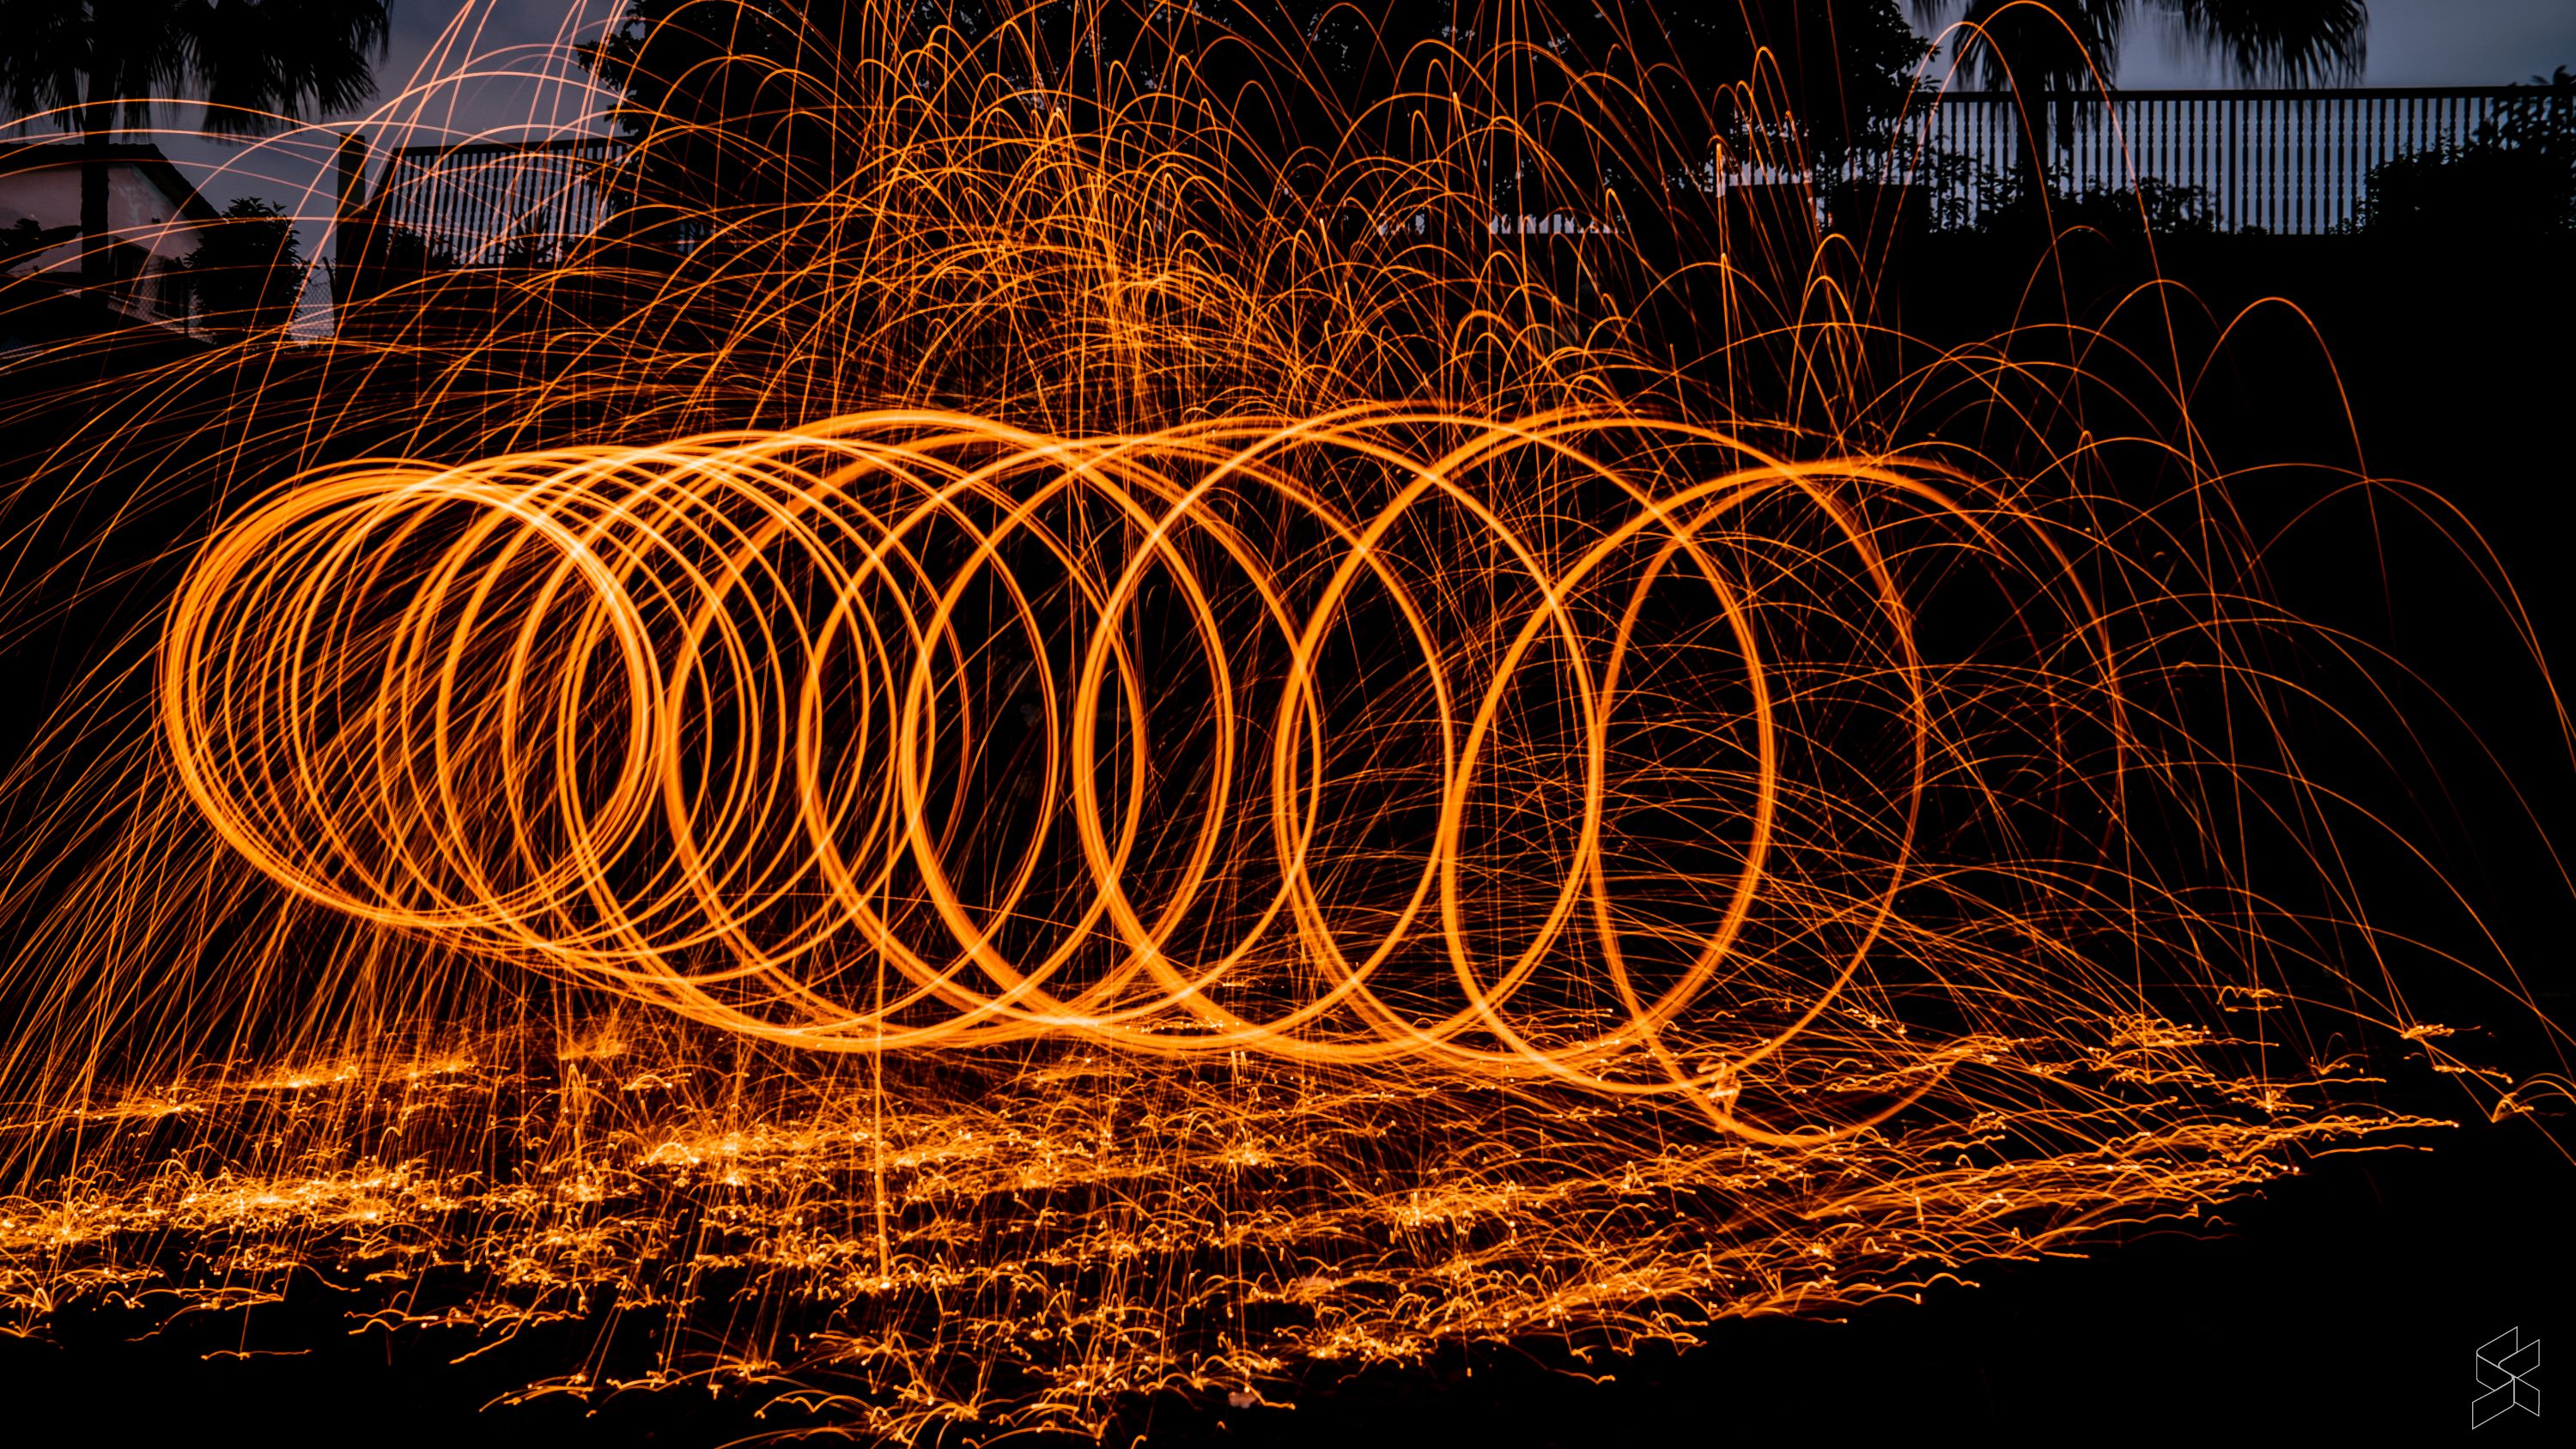
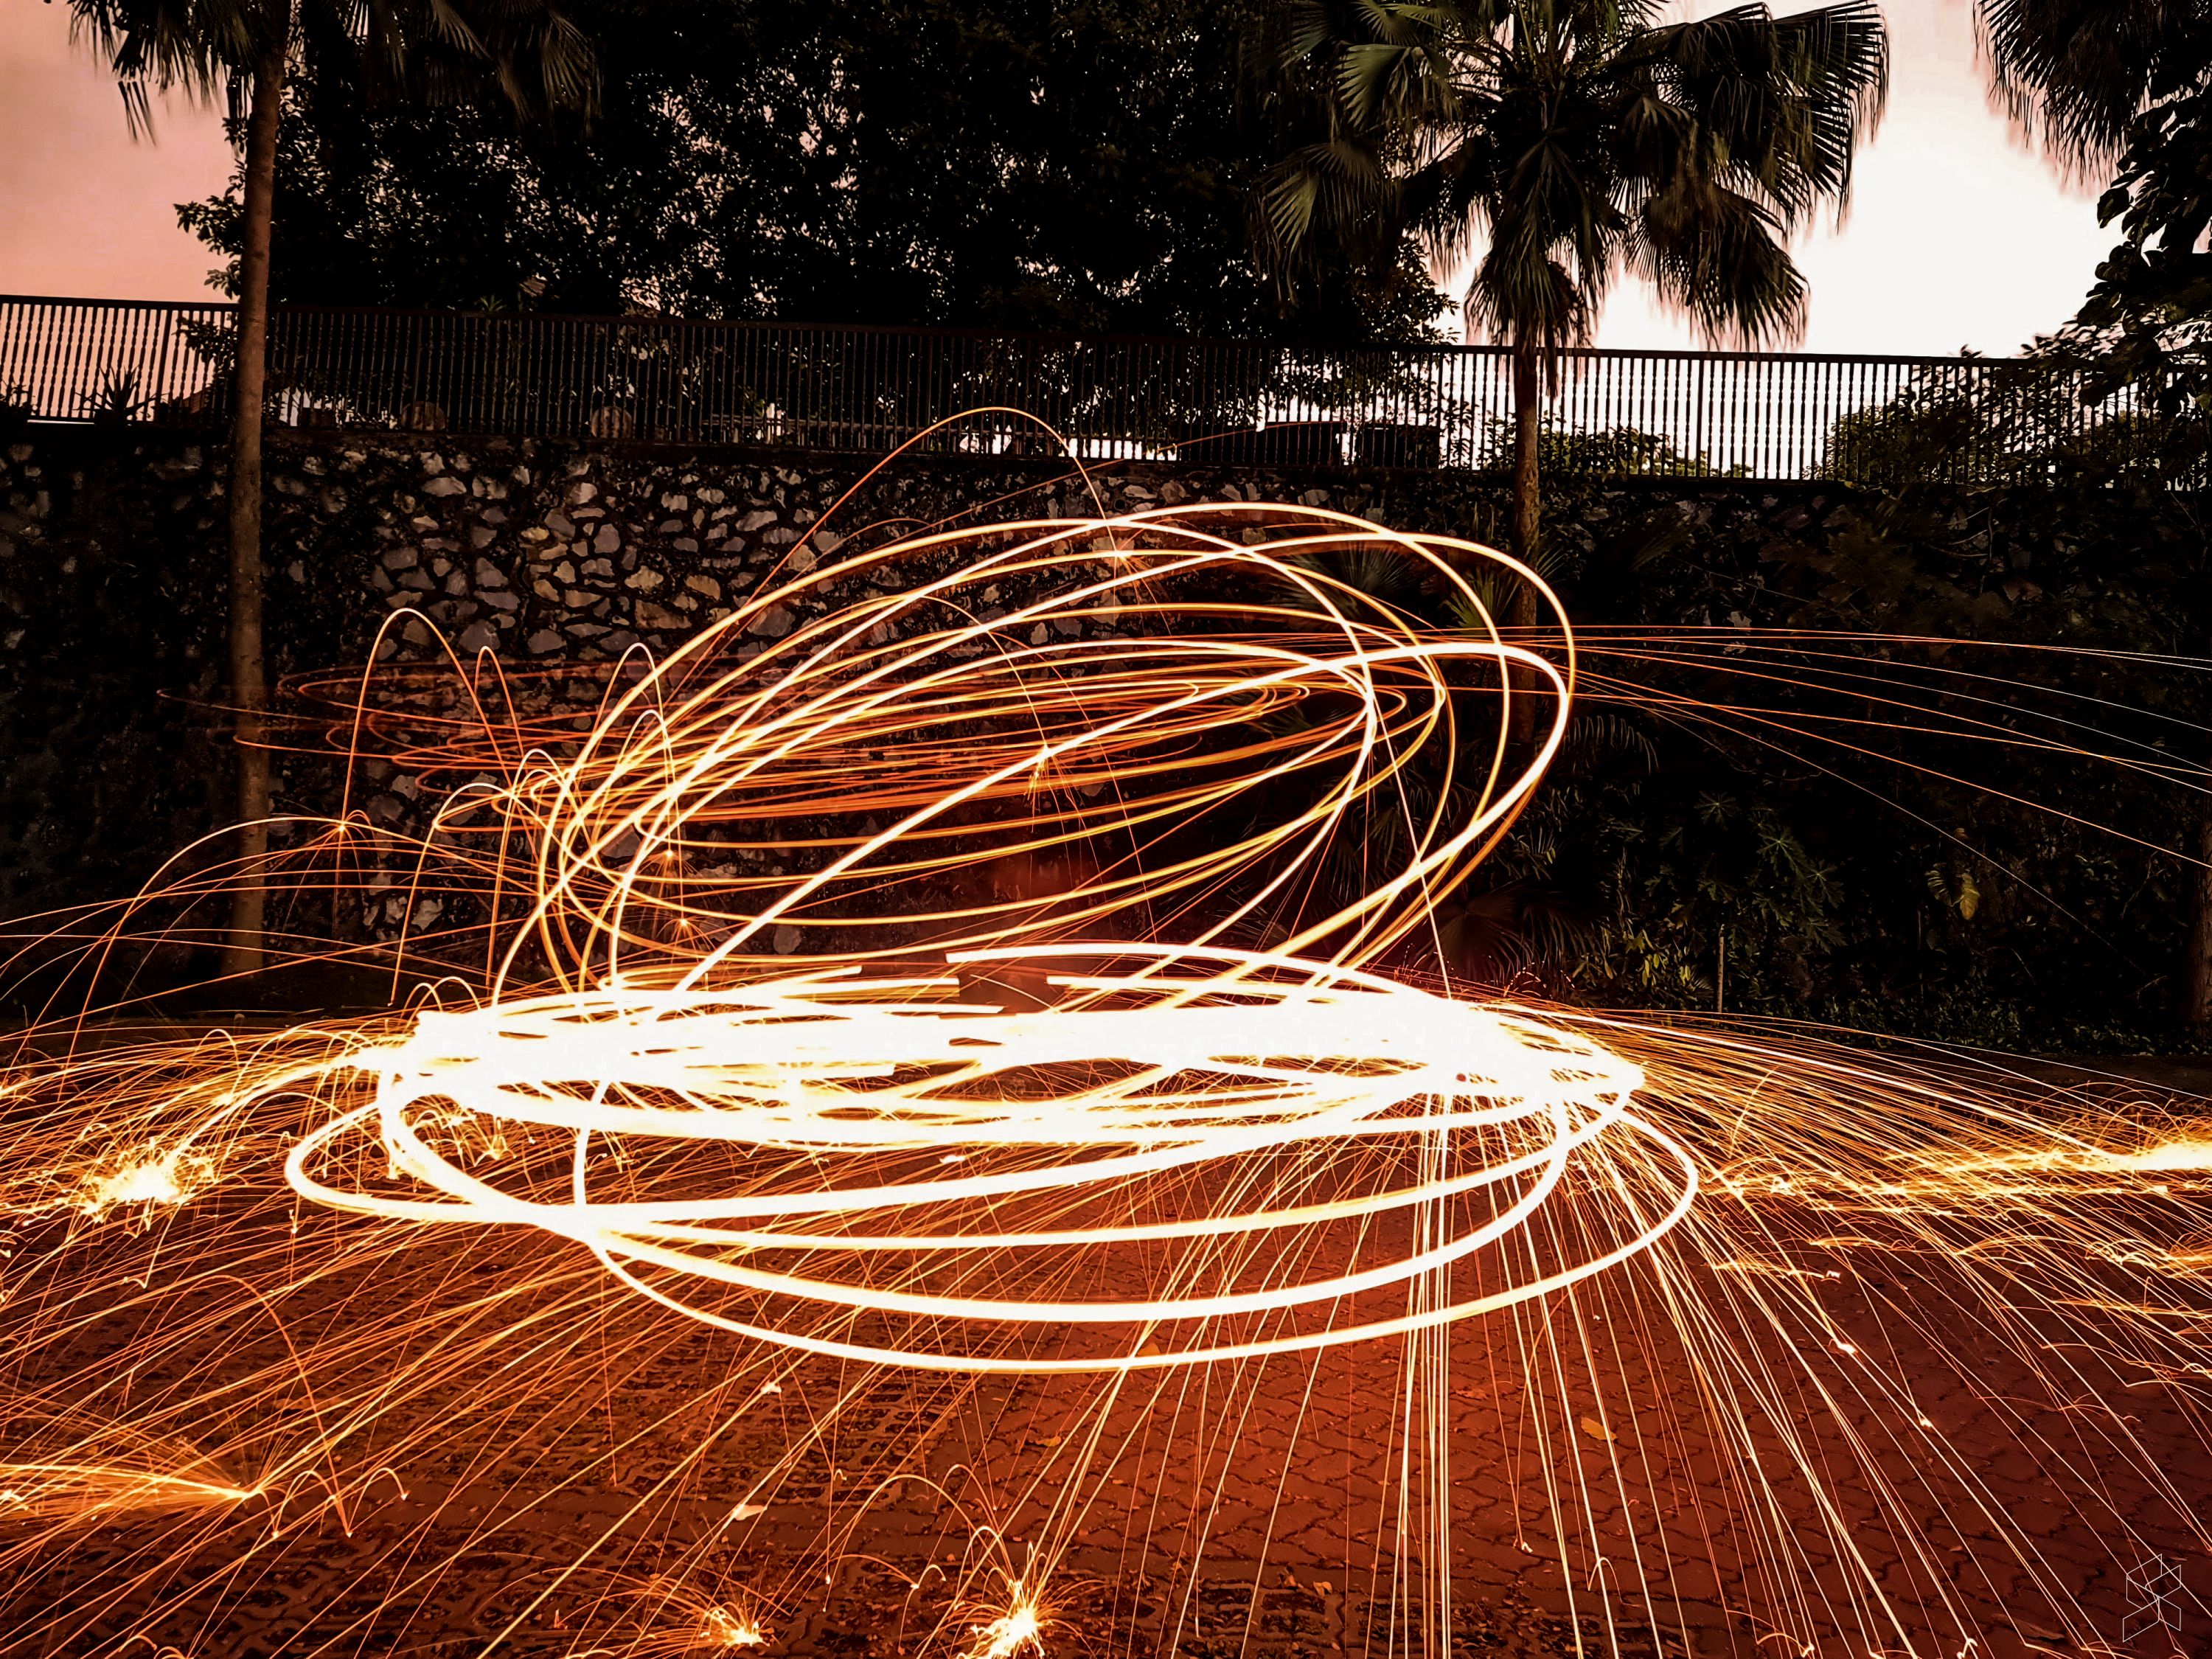
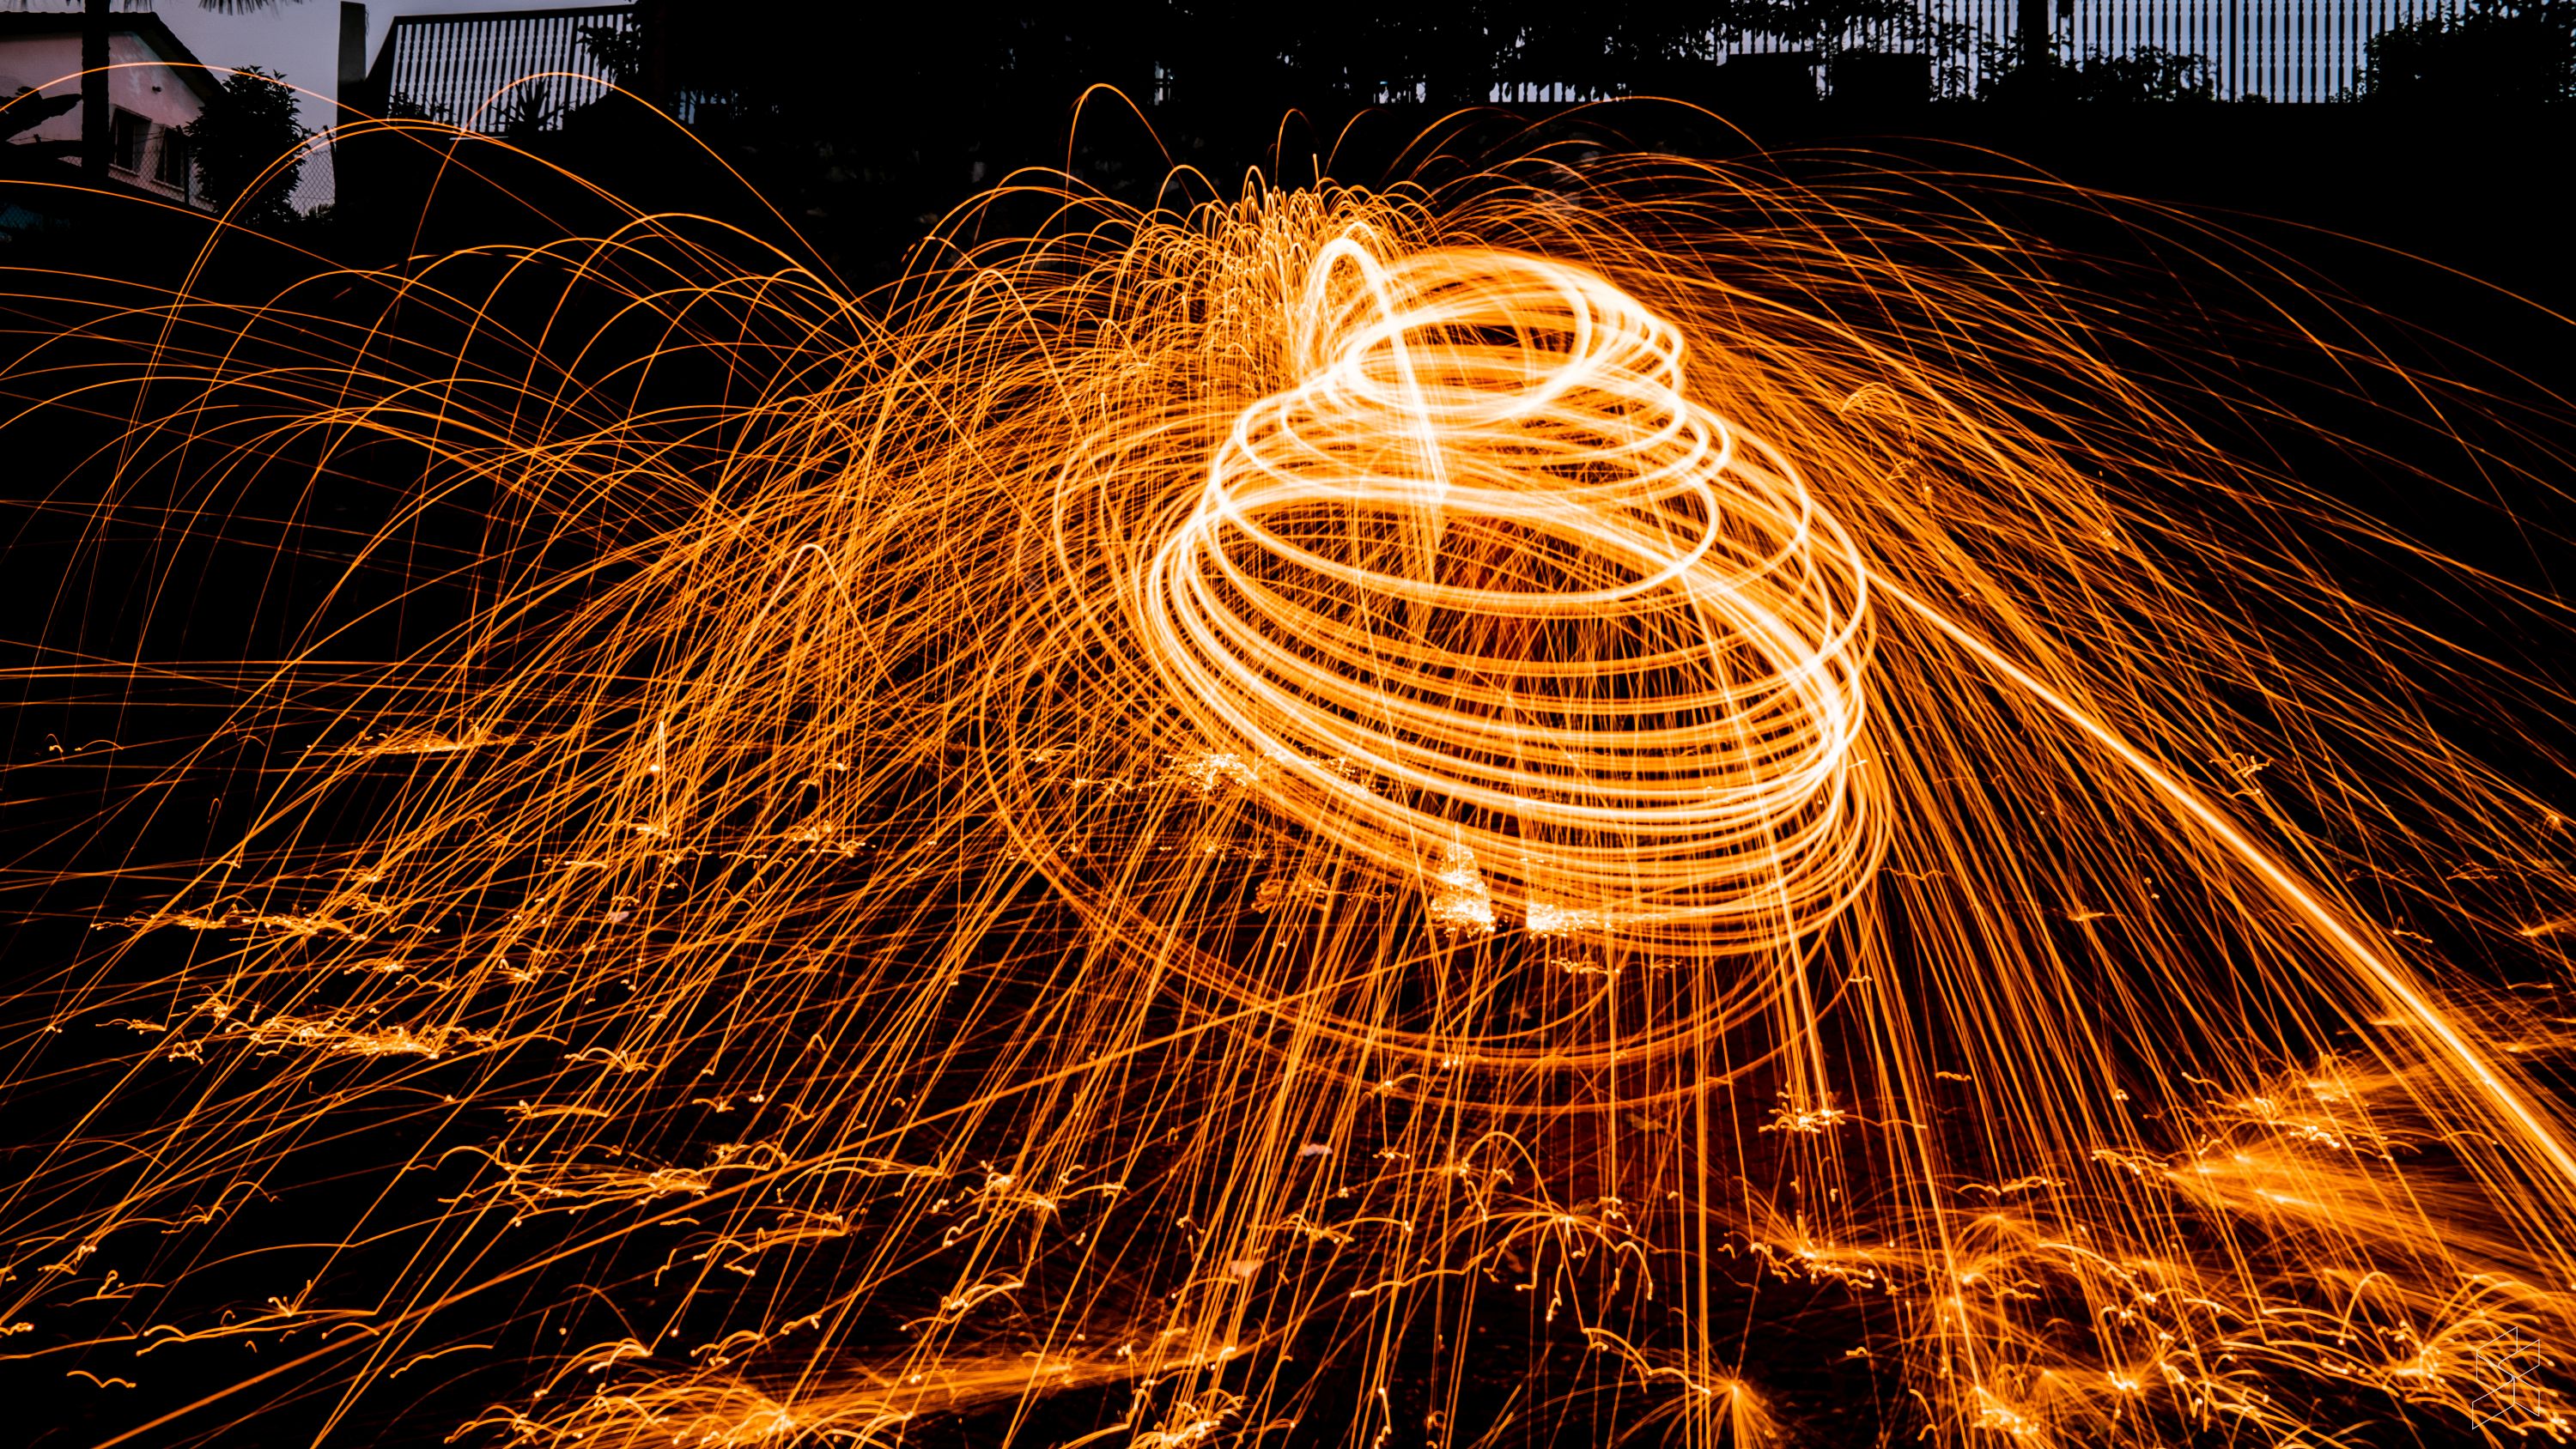
You can literally use almost any source of light to create a light painting. Obviously, you get more interesting results with different sources—our best results were created using a burning piece of steel wool, crammed inside an egg beater. We also picked up a few glow sticks from the local hardware store, and experimented with using LED lights as well.
- A tripod
This one is crucial. You’ll need a tripod (any tripod will do), along with a phone clamp. If you can’t, then find somewhere that you can securely place your phone when you capture the photo.
- The right location
The darker, the better. Ray and I found that locations outside the city were much more suitable for light painting. That’s because the amount of light pollution from high-rise towers and buildings bled into the photos we took, and the resulting images were overexposed.

Next, it’s time to create your light painting:
Step 1: Set up your smartphone on the tripod.
Step 2: Switch your camera to manual mode. These were the settings we used:
ISO: 100—shutter speed: 30 seconds—aperture: f/8 (if possible)
Step 3: Create trails of light by moving your light source around as the photo is being captured.
Step 4: Edit the image.
Tips:
- Avoid reflective surfaces.
- Be creative with your light sources.
- Simple, consistent patterns work best.
- Look for locations away from the city centre.
- Tweak your camera settings based on your environment. There’s no one correct set of settings.
- Set your exposure time based on the complexity of the patterns you’re planning to make.
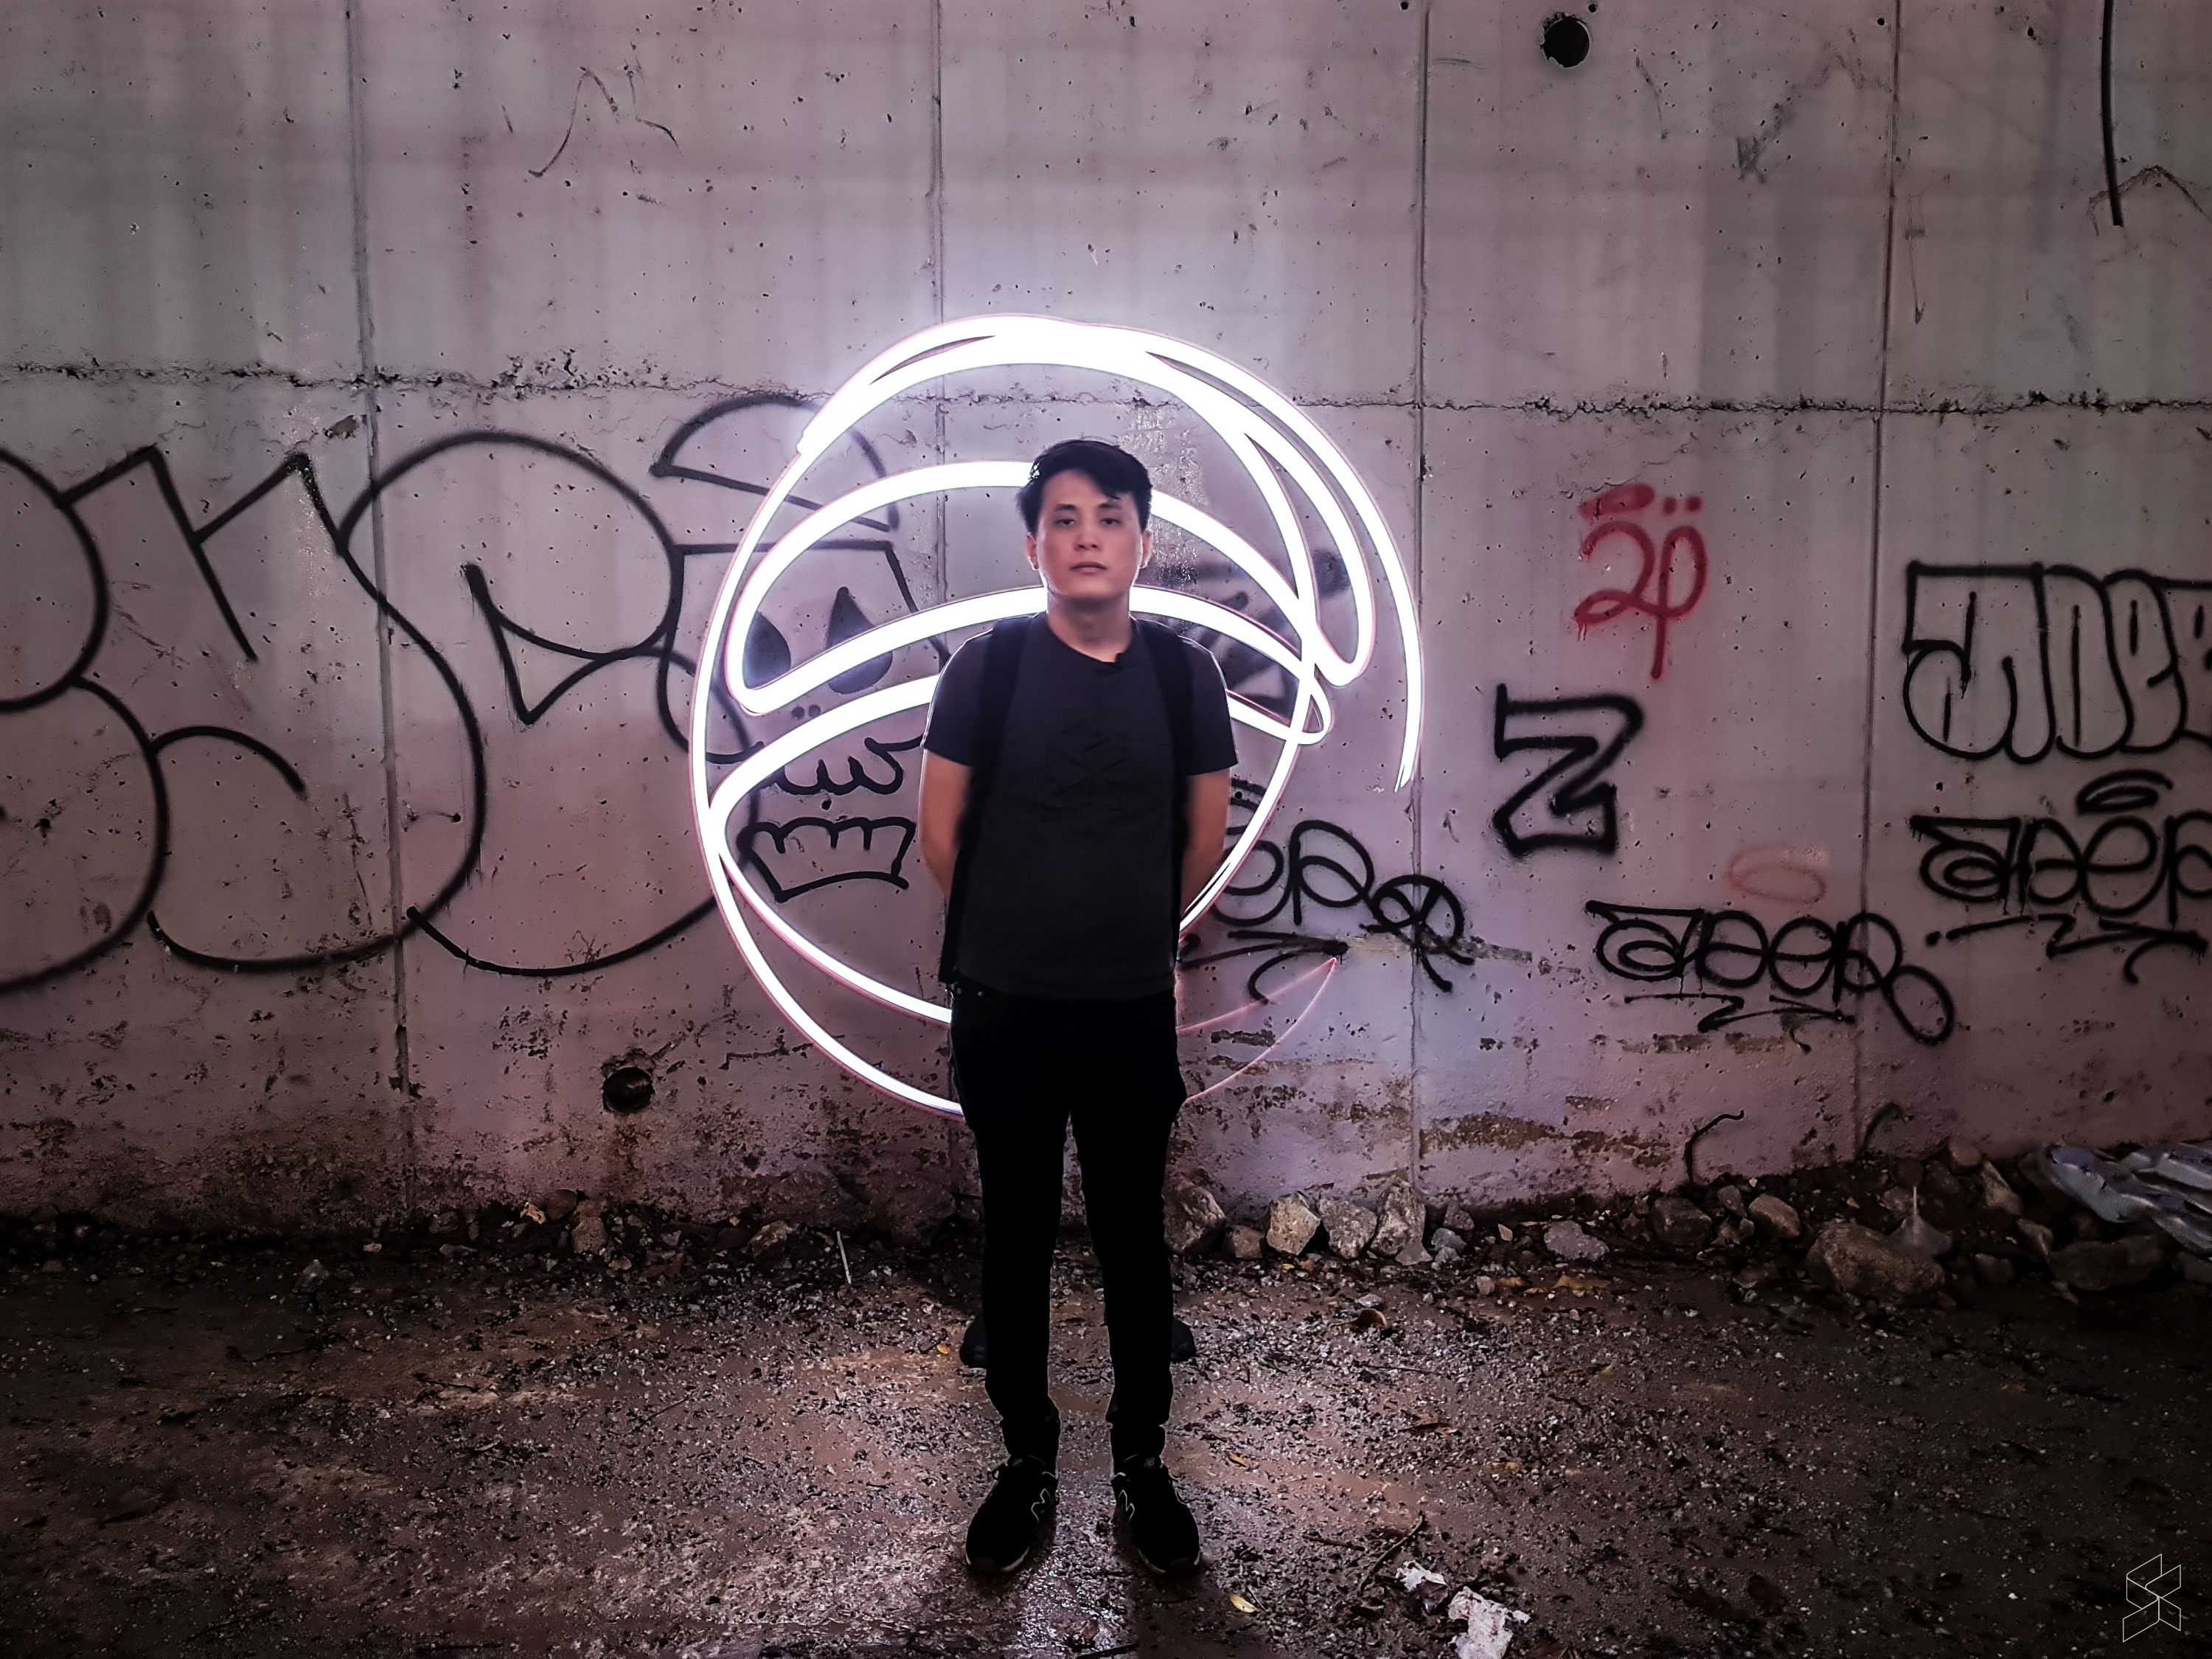
- If you want to be in the photo, a second person can hide behind you while moving the light sources around. This is to ensure you are not blurred out.
- Edit your photos to get the best results
- Use protective gear such as long-sleeved shirts, jeans, etc.
- Have fun!
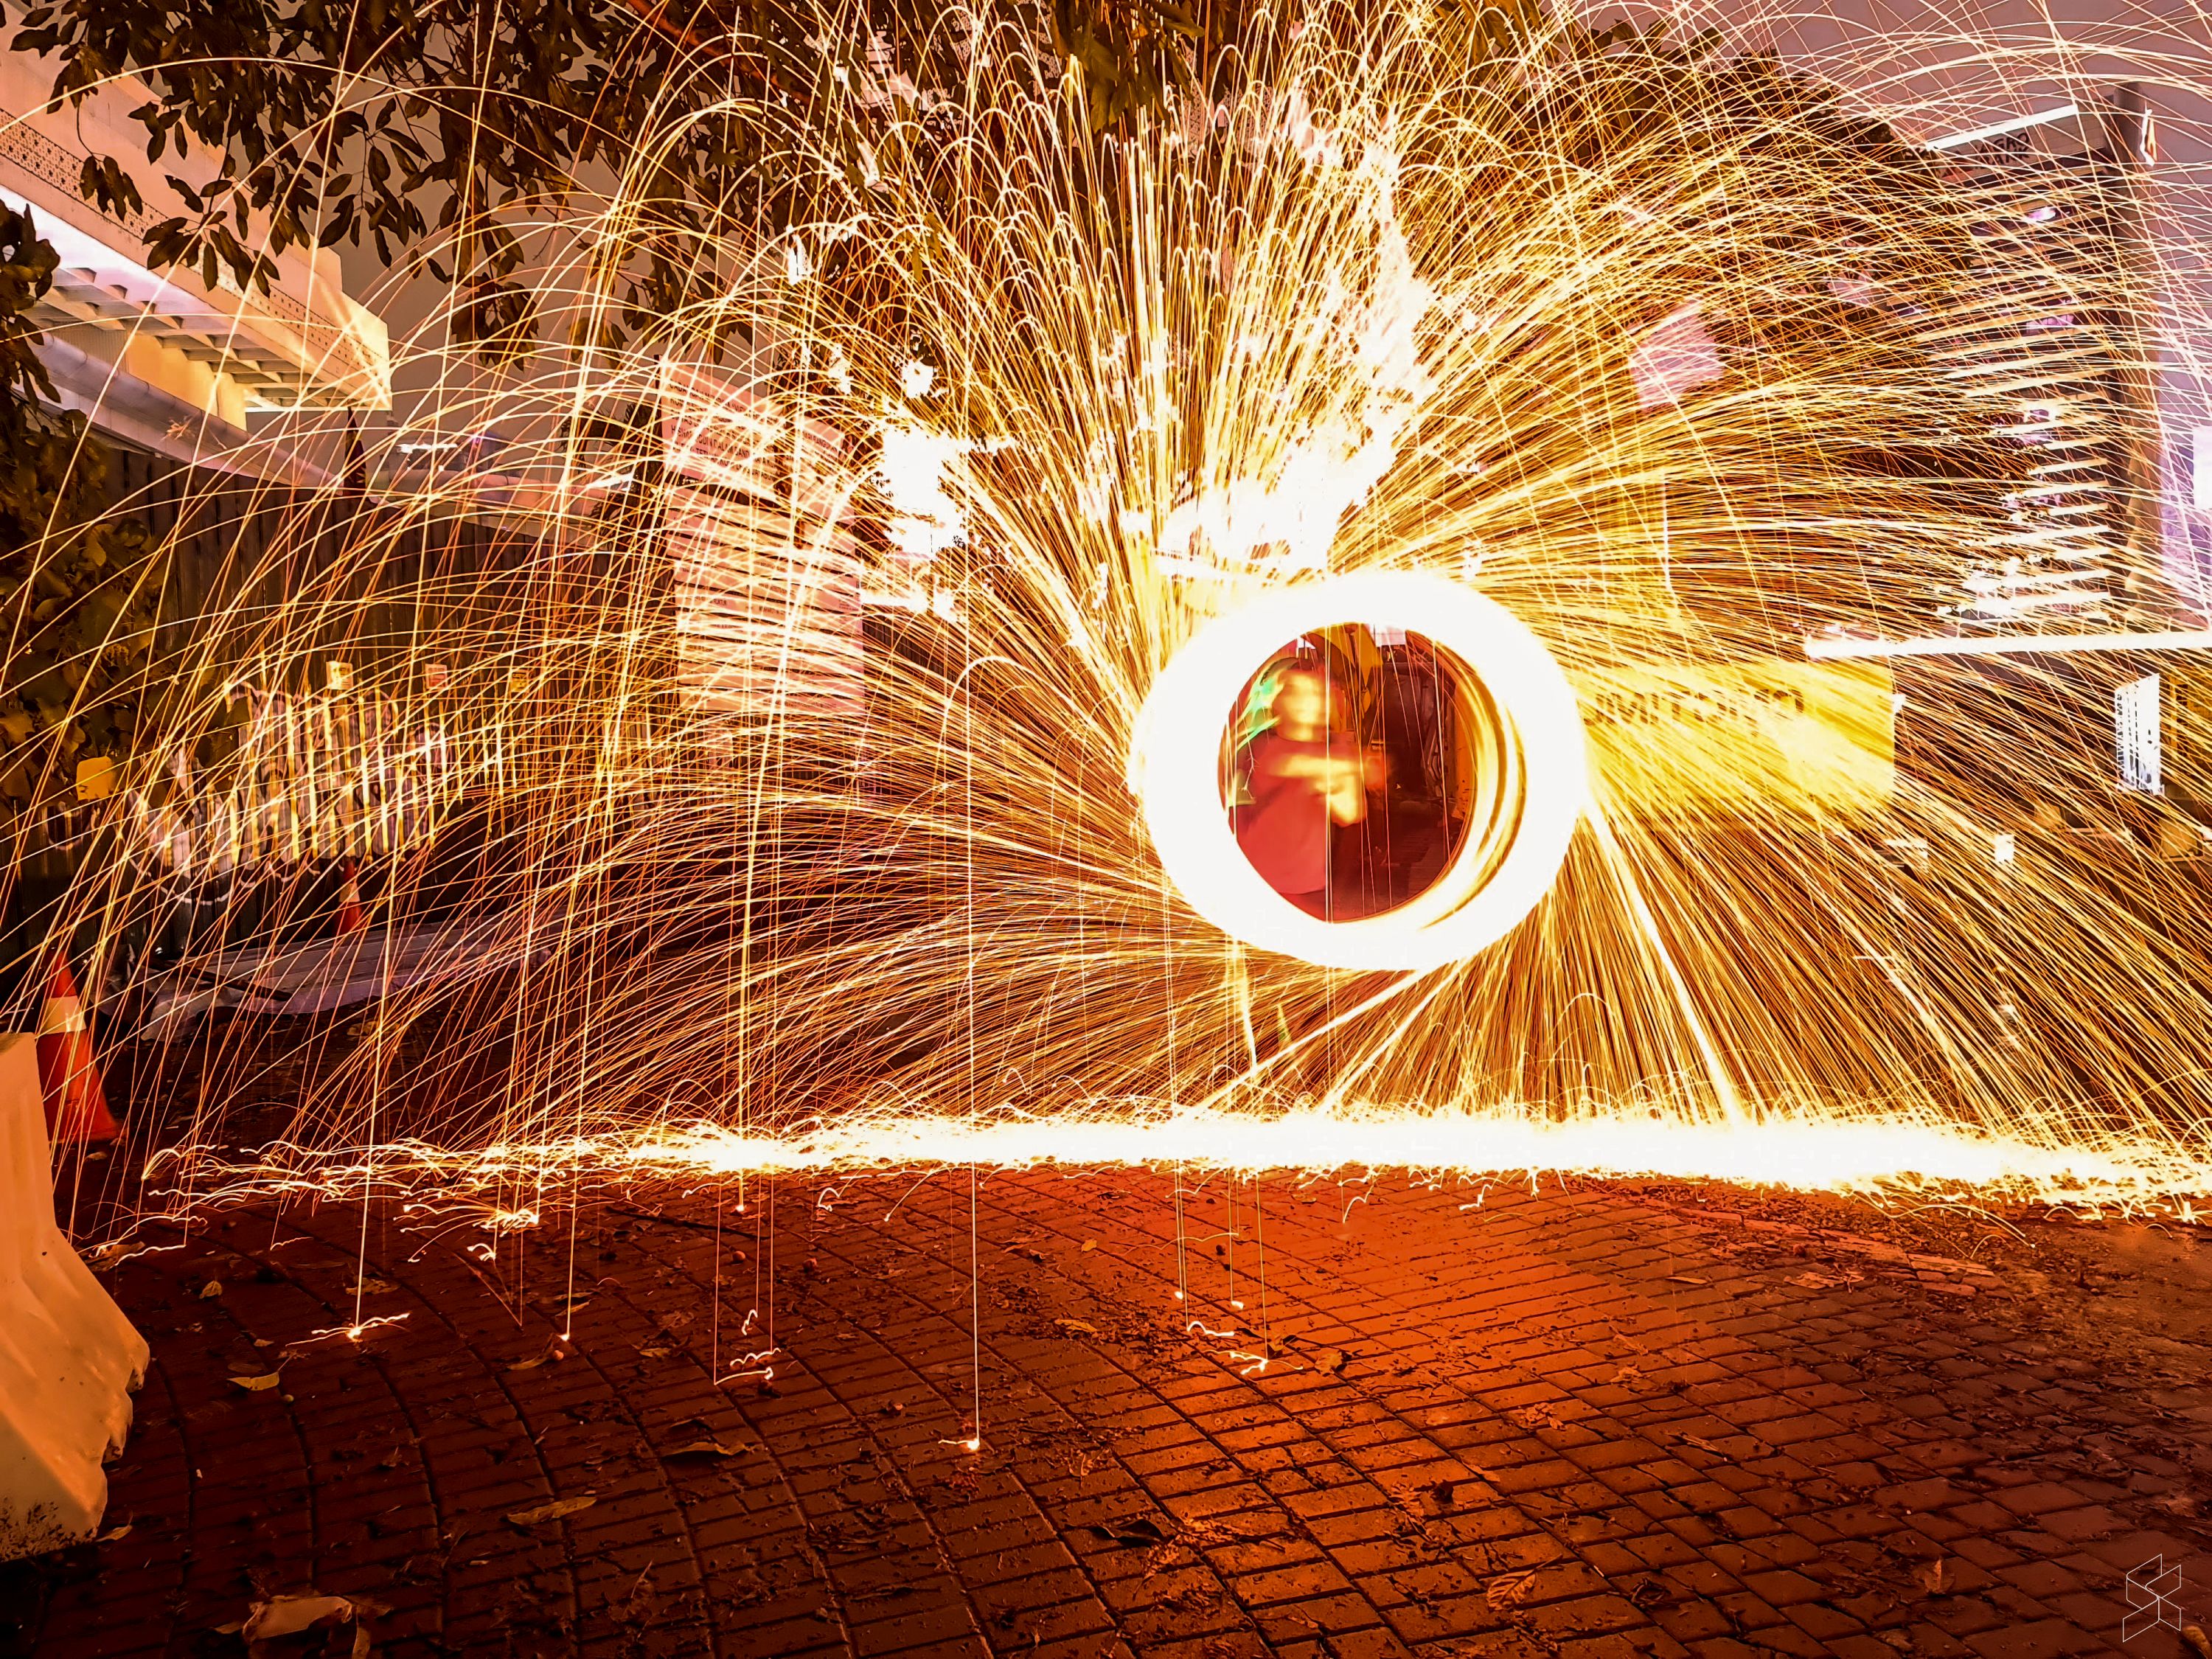
Is a smartphone camera as good as a full-fledged camera?
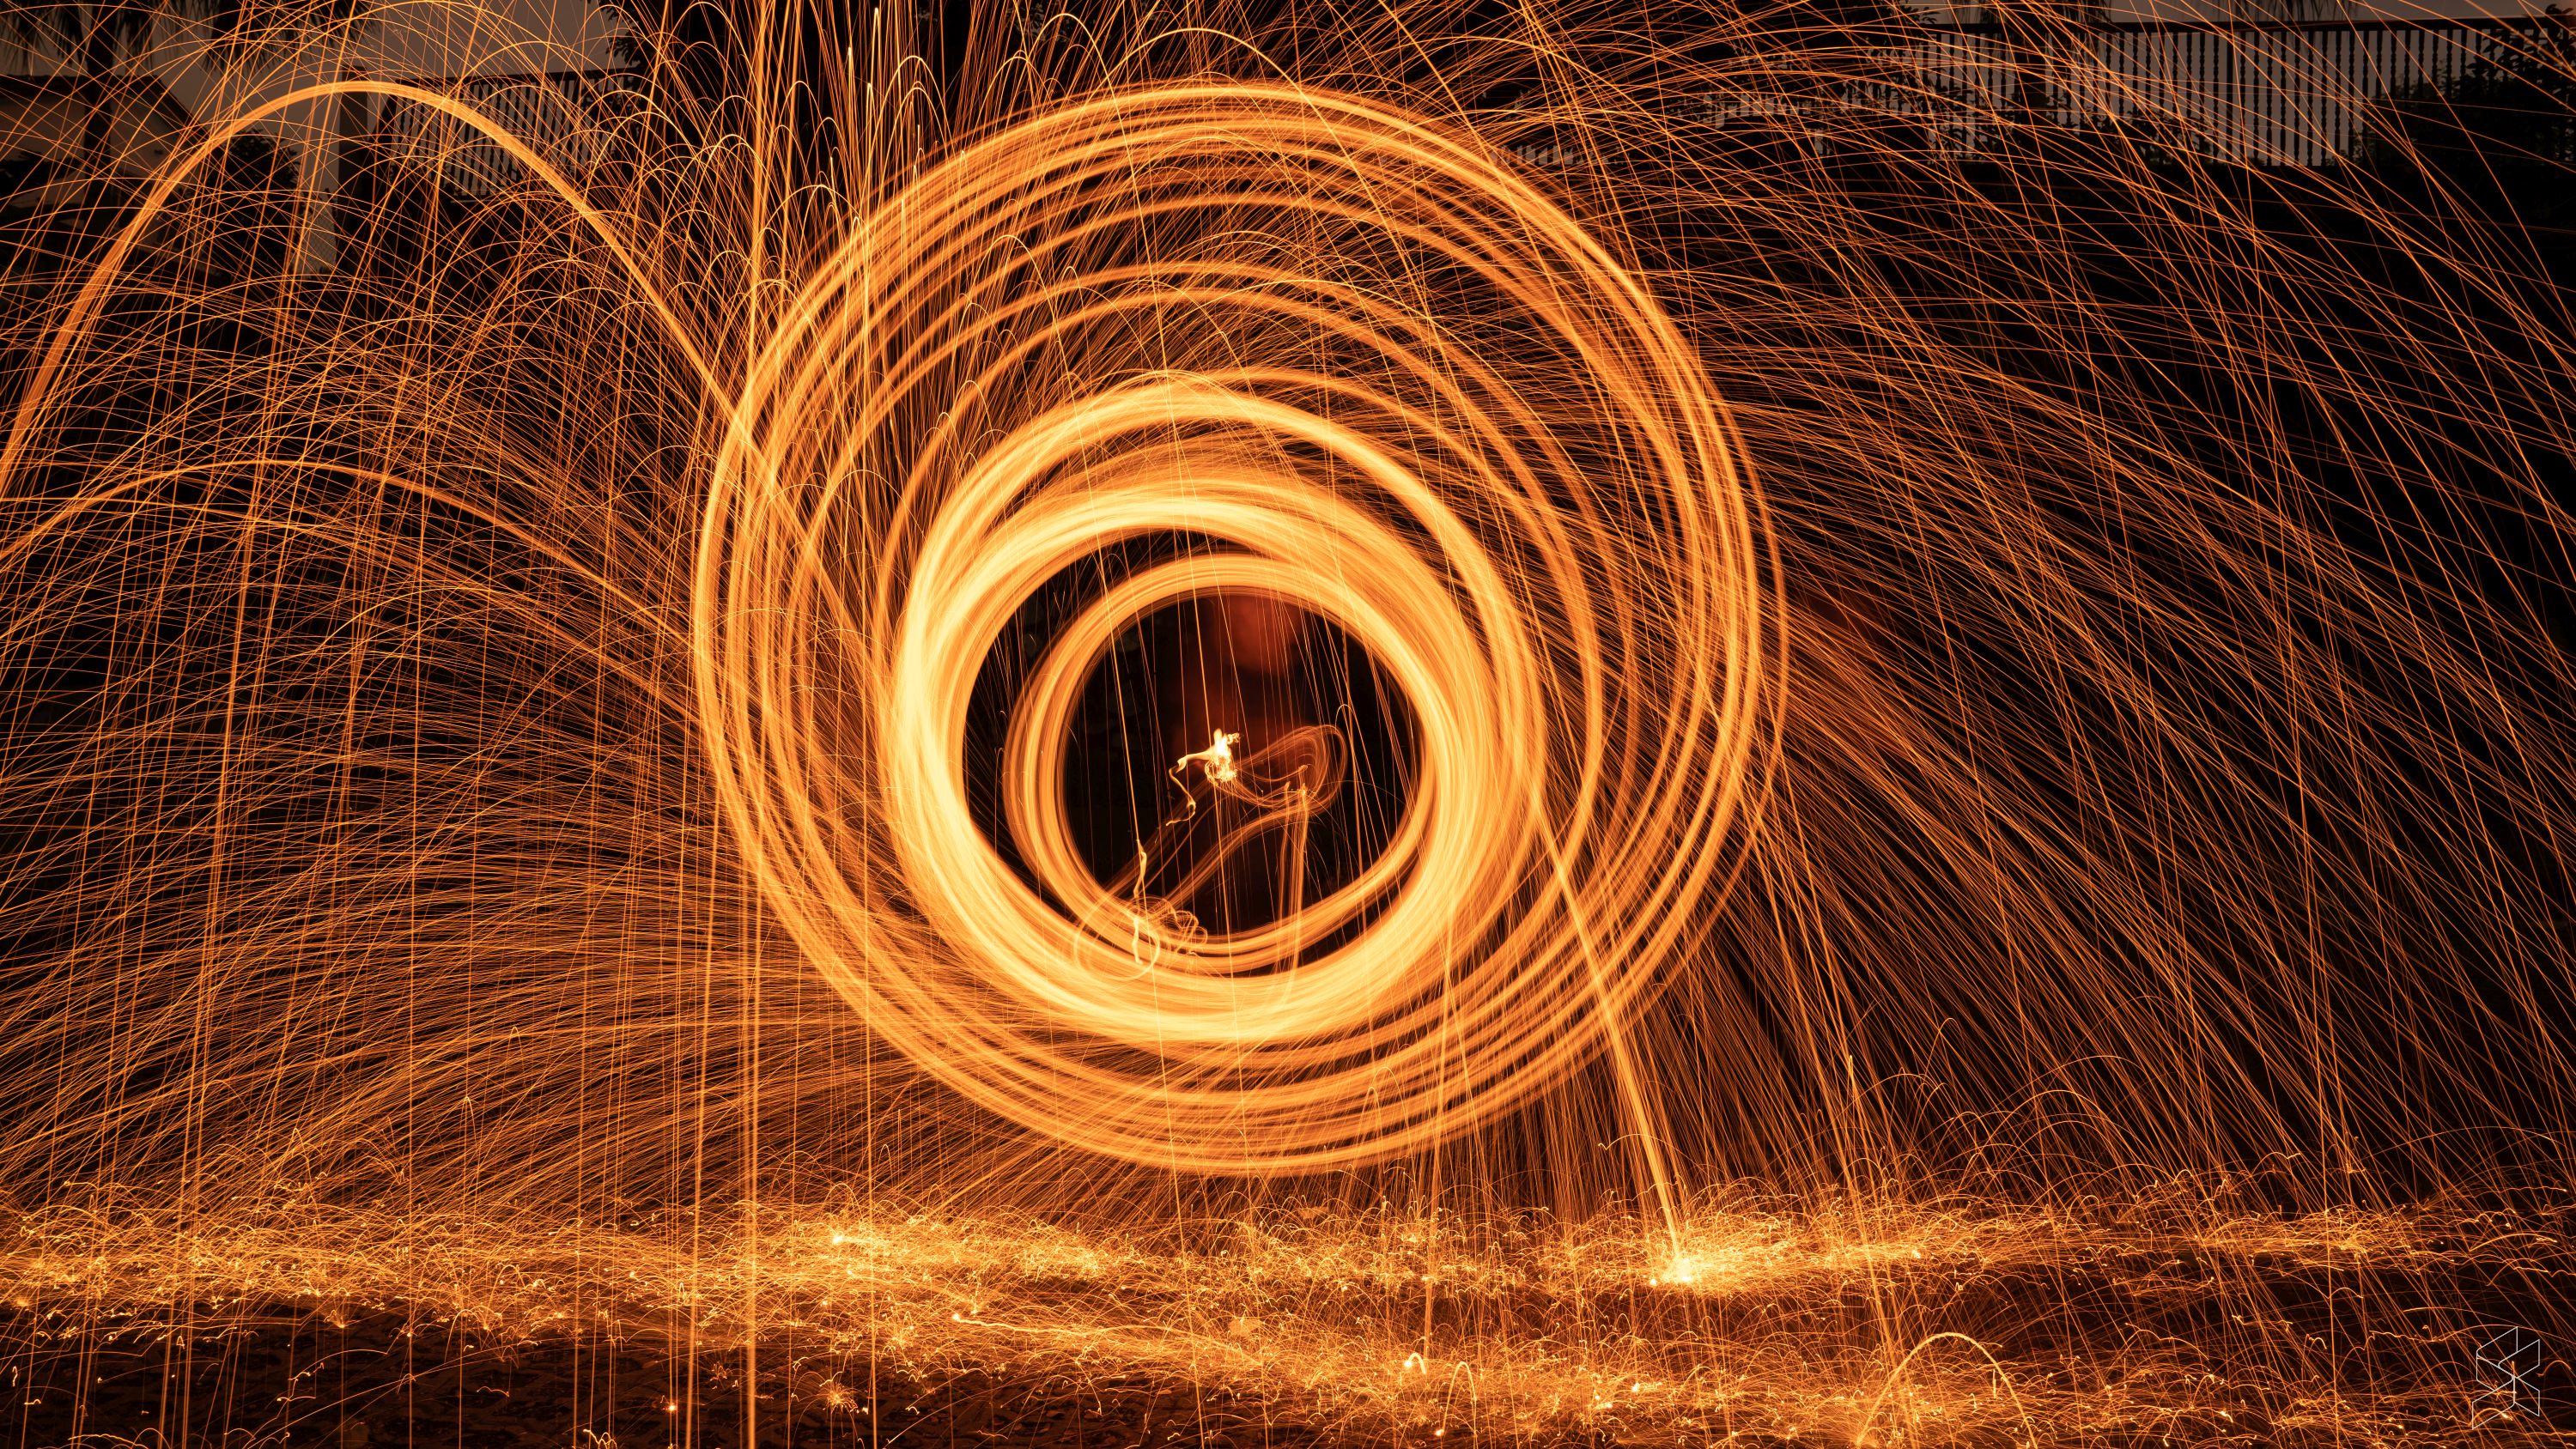
No, not if you’re creating light paintings. Most phones don’t have variable apertures, and the results we got when using a Sony A7 III were significantly better to look at. Images from the Galaxy S20 Ultra were a tad overexposed, we realised.
So, what do you think? Light painting is actually a technique that isn’t too hard to use, so long as you’re well-prepared with the materials listed above. Ultimately, you’ll get better results on a DSLR or a mirrorless camera, but you can still get some decent light painting photos with a smartphone camera—provided, again, that you have manual mode.
As for the next episode of How-To-What-Is, we’re open to suggestions! So please do leave any ideas you want us to explore in the comments section below. We’d also like to see how your light paintings turned out—share them below.

