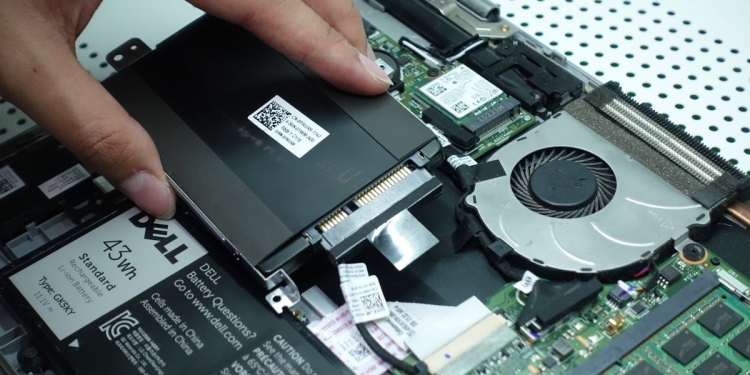
Y’know what tech enthusiasts say when a gadget starts dying? Every dying component is a reason to upgrade to a newer, less dead, and much faster version of that component. Smartphone feeling a little sluggish? Buy a new one! Gaming laptop fan getting too loud? Buy a new one! Did one of the rubber feet on your RGB keyboard fall off? Buy a new one!
So guess what we did when the hard disk on our Dell Inspiron 17 7000 2-in-1 started failing? Yep, we bought a new one. But, we also went one step further and wrote a comprehensive guide on how you can swap out your painfully slow mechanical hard disk drive for a newer, less dead and much faster solid state drive!
Jokes aside, I had a little bit of a crisis this year. My laptop, the Dell Inspiron 13 7000 2-in-1 that has been my main workhorse since I started working here, began to show the first signs of its death.
At first, I thought there was no saving it but then I found out that the only thing that was dying was the hard disk. It is a slow mechanical hard disk drive so considering the beating it took every day, I guess I wasn’t too surprised. So, we ordered a brand new SSD and began surgery on the Dell.
Before we get started with the guide, though, do note that although I’ll try to keep this guide as “generic as possible”, I’m writing this based on my personal experience when swapping out the hard disk on my Dell Inspiron 13 7000 2-in-1. Your experience may vary based on your laptop. That said, the steps are generally pretty universally applicable so you can still use this as a general guide.
Of course, if you do attempt a drive swap, we will not be held responsible for any problems that may occur during your swap. Proceed at your own risk.
First off, here are the tools you need:
1. A laptop with a hard disk problem
I think this is pretty self-explanatory.
2. A screwdriver
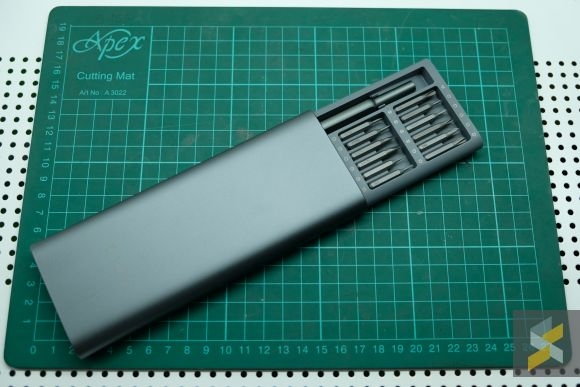
Getting a screwdriver that matches the screws on your laptop is a big plus. Alternatively, you can get a screwdriver set like this sick one from Xiaomi which has interchangeable tips that are also MAGNETIC. Everything is better when it’s magnetic.
3. A replacement drive
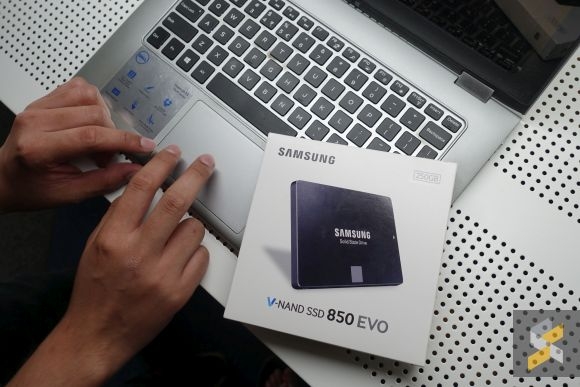
It’s 2017, so we’d recommend that you get a solid state drive (SSD) for your primary boot drive. Having a hard disk drive on a device that you bring with you on the go is really not ideal. Not only are they usually more prone to shock damage, they’re also far slower than speedy SSDs.
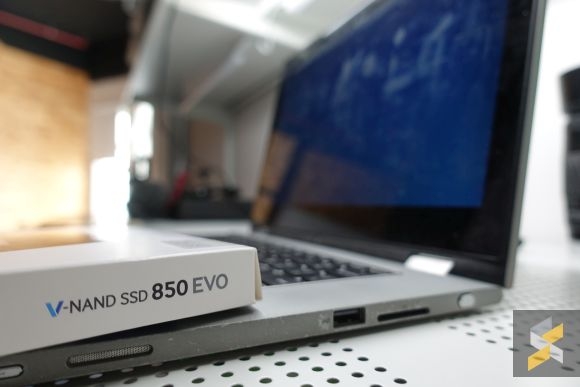
We got the 250GB Samsung 850 EVO SSD which has pretty good reviews online. It’s got standard SSD speeds of about 500MB/s for both read and write which should give you noticeably faster performance than your bog-standard HDD. Most SSDs should work fine, just make sure do your research online and hunt for the best prices from reputable retailers.
4. A sturdy, static-free workstation
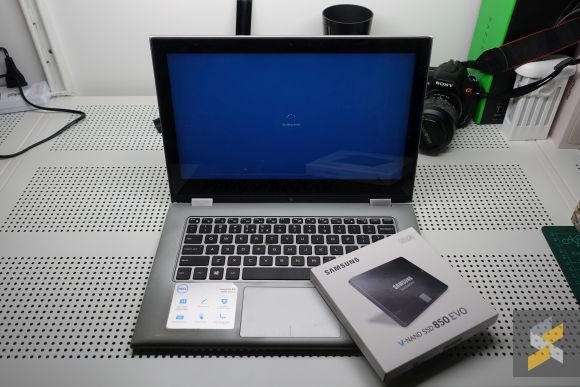
Static electricity and electronics don’t go together. The last thing you want is to zap your brand new drive or all the internals in your laptop. Things to avoid: Carpets, overly dry atmosphere, and/or cats rubbing themselves on you. It also helps if you can ground yourself (touch something that’s already grounded) before you begin work.
5. You might want to back up any important data from your old drive
Again, pretty self-explanatory — things you want to keep, back them up either to the cloud or a separate flash drive/external hard disk. If your hard disk is already dead and you need to recover data from them, you will probably need to get help from professional data recovery people.
[nextpage title=”Hardware step-by-step”]
Step 1: Identify the problem
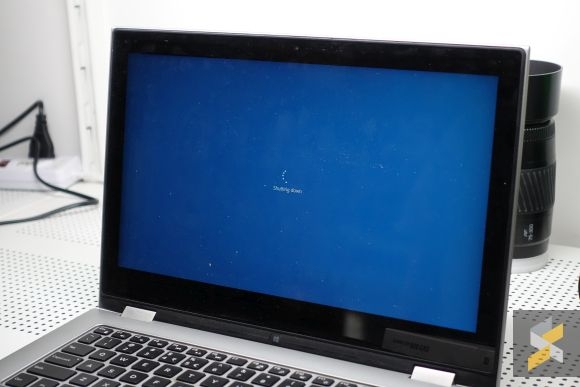
Troubleshooting is probably the most important part of fixing anything. Makes sense that before you can fix a problem, you need to know what the problem is in the first place. We knew for sure it was the hard disk that was dying because, well, this message started showing:
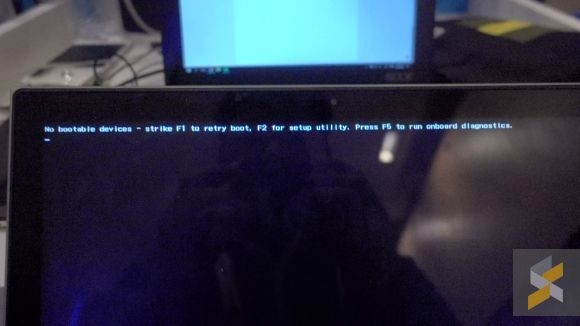
Step 1.1: Identify the type of drive you need
As important as finding out what’s wrong with your laptop, you should also find out what kind of drive your laptop is running. Often times, you won’t need to open your laptop to get this information because it’ll be listed in your spec sheet or your purchase invoice. You should also find out whether your drive is user-replaceable, because if it’s soldered on (like on certain ultrabooks) you won’t be able to swap it yourself.
Also, if it’s soldered on, it’s probably already an SSD so there’s no point in you reading this guide. Unless you’re here for sharp wit and humourous analogies, in which case, you’re welcome to stay.
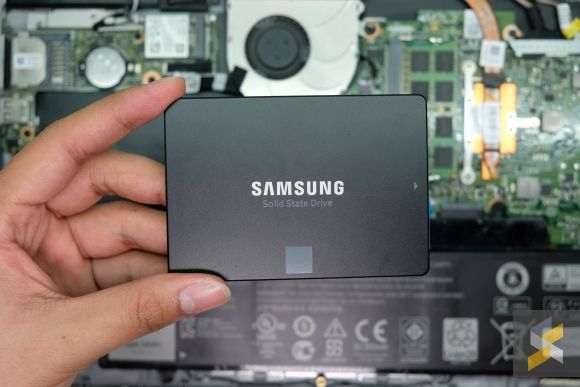
In my case, the Dell Inspiron 13 7000 2-in-1 uses a standard 2.5″ SATA hard disk drive. This means that we can swap it out with any solid state drive (SSD) of the same type. Another common drive type is the one that uses what is called an M.2 slot — this drive looks a lot more like a RAM stick than a hard disk.
Step 2: Remove the laptop’s bottom panel
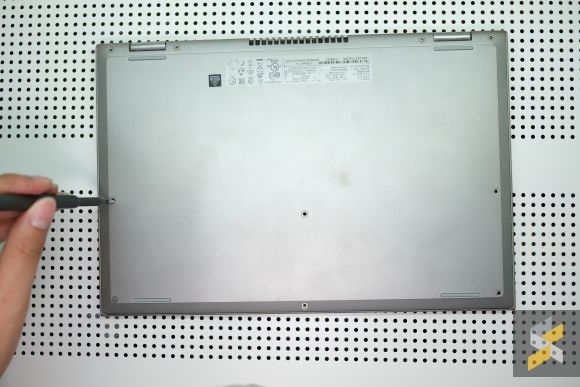
On most laptops, you can get access to the PC’s guts through the bottom panel, as is the case with my Dell. So, what you want to do is flip it over and unscrew all the screws holding the panel together (there were 10 on the Inspiron). Sometimes, if your laptop has an optical drive, you may have to remove that first before you can pop the panel free.
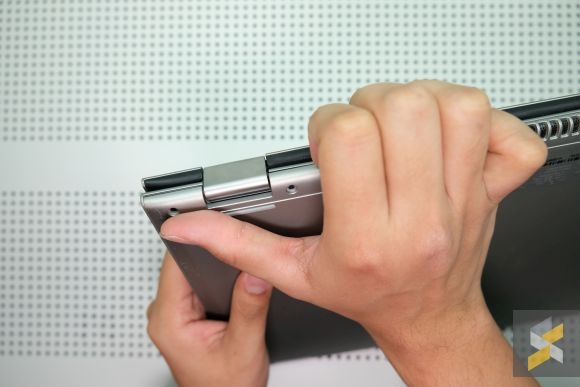
Once you remove all the screws, the panel should still be held on to the rest of the laptop with a series of clips. Gently pry them open (you can use something like a plastic card to help) and be careful not to break any of the clips.
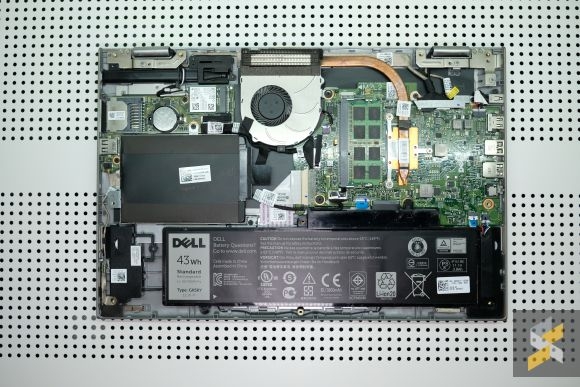
If done correctly, you should be greeted with your laptop’s innards. If you’re really clueless about how to remove the panel, you can always search online for teardowns or product dismantling videos for your particular laptop model.
Pro tip: Keep your screws neatly organised (maybe in a tray or something) so you don’t lose any.
Pro tip #2: Be very careful when removing the bottom panel of your laptop. Sometimes there are delicate cables connecting components on the bottom panel and the rest of your PC (a speaker, for example) and you don’t want to rip those cables off.
Step 3: Locate your hard disk
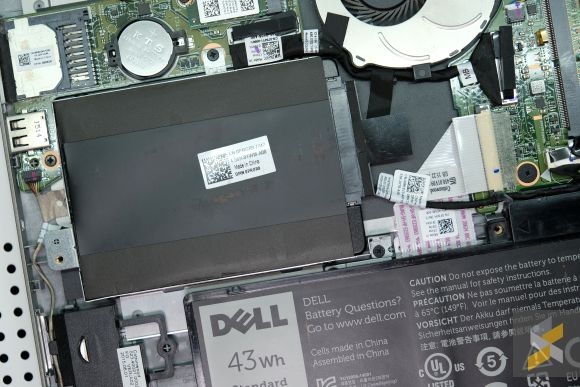
If you have a standard 2.5″ drive, it should be located in a neat little cage somewhere in your laptop. These drives are usually fairly accessible so you shouldn’t have any problems locating it.
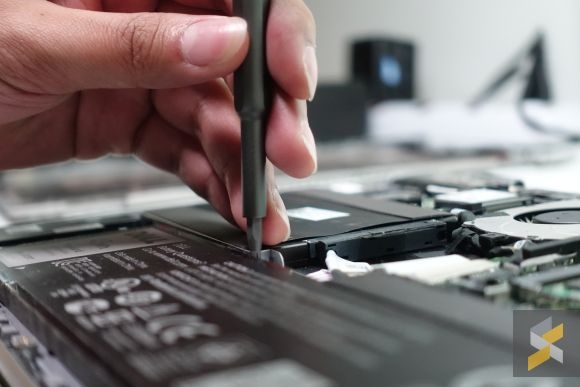
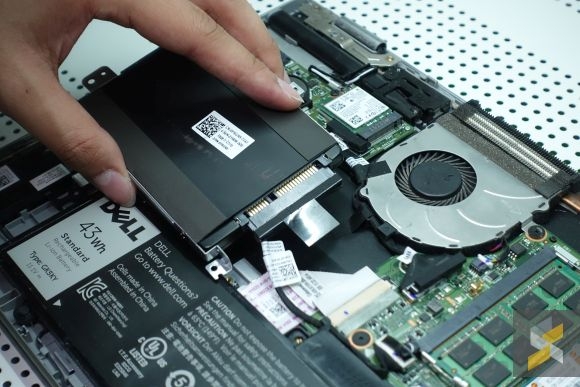
Ours, for example, comes in a tray that’s held to the motherboard by two more screws. Unscrew it and the tray should lift away from the laptop effortlessly.
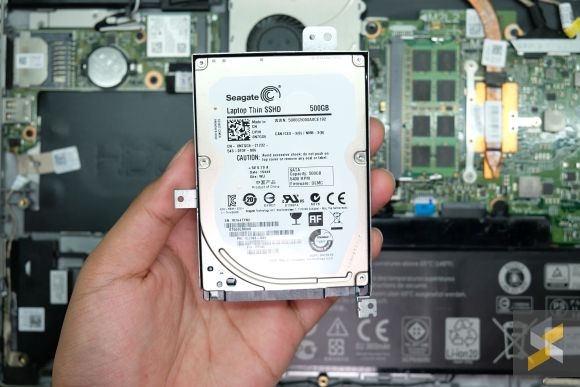
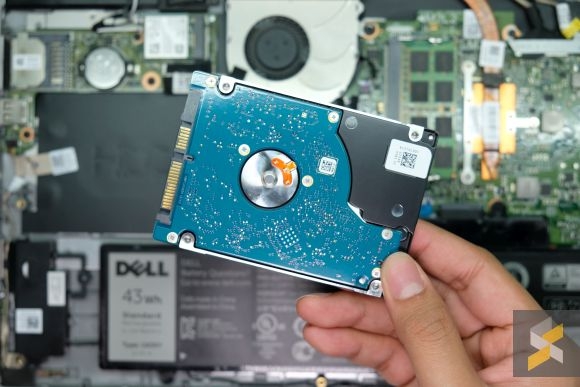
Step 4: Disconnect any cables attached to the drive
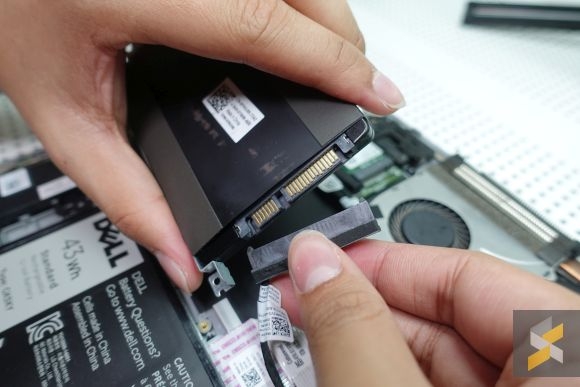
For 2.5″ drives, you should find a SATA cable connecting the drive to the motherboard that you’re going to want to remove. Sometimes it can be a little hard to remove so be careful when using force because you don’t want to break anything otherwise it’s RIP laptop.
Step 5: Swap your old drive with the shiny new SSD
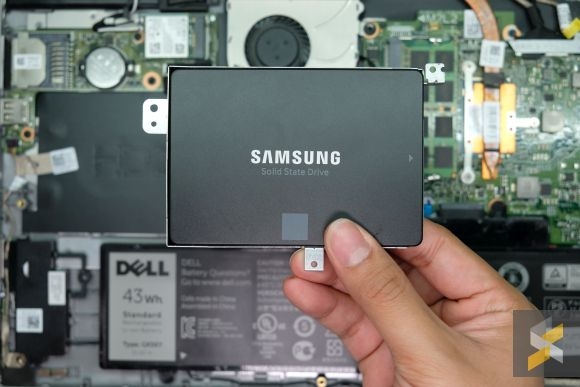
Once you’ve disconnected the cables, there should be a couple of screws holding the drive to the tray so be sure to unscrew them. After that, simply swap the drives (make sure it’s the right way up) and screw the new drive to the tray.
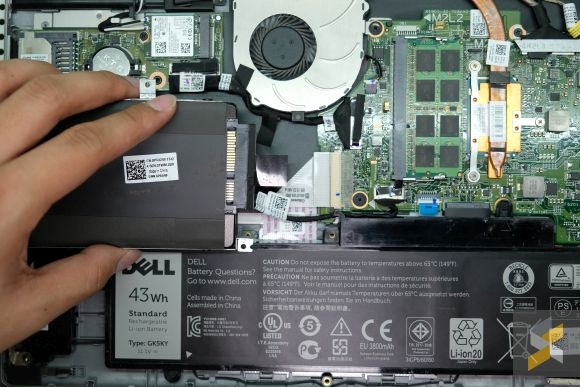
Then, reconnect the cable you unplugged earlier and set the tray back in its spot. Finally, screw the tray in place, make sure everything is exactly the way it was and you should be good to reattach the bottom panel. Screw everything in place.
Now, you’re ready to install your OS.
[nextpage title=”Software step-by-step”]
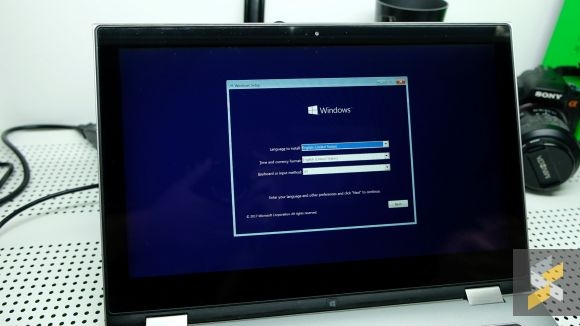
Congrats! If you followed all the steps correctly, your hard disk should be installed and good to go. Now it’s time to install your operating system (OS) and get everything up and running.
Our machine was running Windows 10, which we got via the free upgrade program. Through this program, our copy of Windows 10 is authenticated by what Microsoft calls a “digital license” so we don’t have to enter any kind of product key during the OS installation.
If you have purchased Windows 10, or obtained it by means other than the free upgrade, you can refer to Microsoft’s website to find out the type of license you have and how to activate it. If you have a digital license too, you can follow these steps to the letter. Otherwise, your process may vary depending on your license.
Generally, we recommend that you perform a clean install of Windows on your new drive so any lingering bugs or kinks from your old OS don’t carry over and corrupt your new drive.
Step 1: Download Windows 10 & create a bootable drive
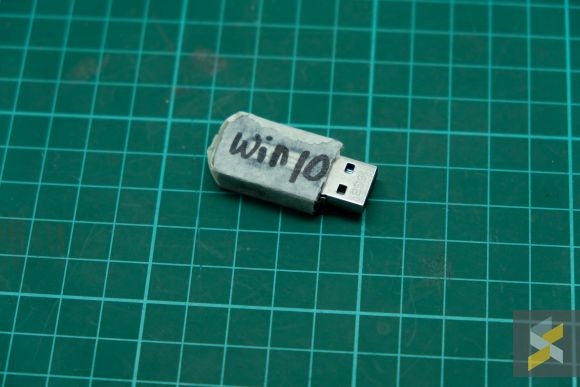
To install Windows 10, you must first have Windows 10, obviously. You can download the media tool from Microsoft themselves here.
Once you have the tool, you will need to create a bootable drive to install Windows 10. You have a couple of ways to do this though the most common ways are to create one in a USB drive or a DVD.
I’m creating the bootable drive in a USB flash drive because the Dell doesn’t have a DVD drive — most modern ultrabooks don’t. To create an installation media on a USB drive, you’ll need an empty USB drive with at least 8GB of space. Microsoft has a helpful step-by-step guide on how to do this on their website so be sure to check that out.
Pro tip #3: If the laptop you’re upgrading is your only PC, you should do this first before swapping your hard disk out.
Step 2: Connect the USB drive (media tool) to your PC with the freshly swapped SSD
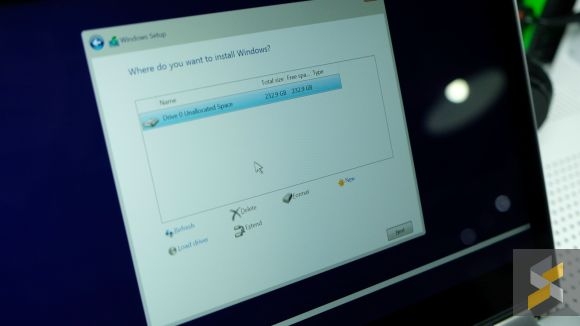
Once you’ve connected the drive, switch on your PC and it should boot directly into the Windows 10 setup configuration. If it does, just follow the steps on-screen and, if you installed the new drive correctly, choose the fresh new SSD to install Windows.
If it doesn’t, you may have to tweak your device’s boot sequence in the boot manager or BIOS. On my Inspiron 13 7000 2-in-1, Boot Manager can be accessed by mashing F12 during startup. Once there, simply change your boot device to your USB drive and restart the PC.
Step 3: Get device drivers and essential software
Since you performed a clean install of Windows 10, your laptop may be missing a few drivers and essential software, e.g. Chrome, which you will probably want to download — unless you like living on the Edge.
All the drivers for all the components on your laptop can often be found on your laptop manufacturer’s website. In Dell’s case, you can visit Dell Support‘s website, enter your Service Tag and download whatever driver is missing.
For essential software, you can head to each individual website to download them, or you can use something like Ninite to quickly get all your apps installed. Simply select your desired apps and hit “Get Your Ninite”. Once the installer is downloaded, just run it and Ninite will install all your apps for you.
Congrats! You’re done!

And that should be it! Now, you have a laptop that should pretty much feel brand new.

