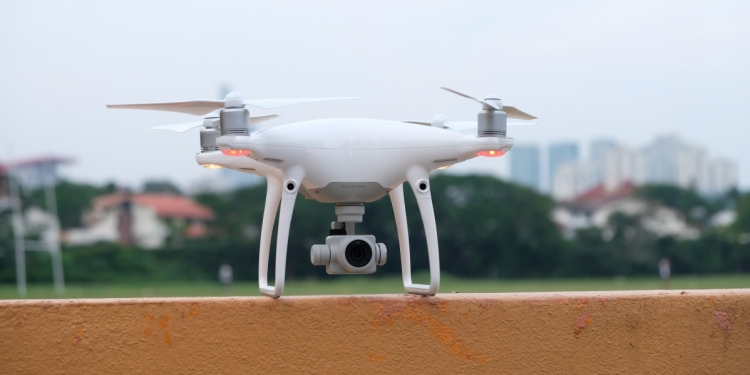
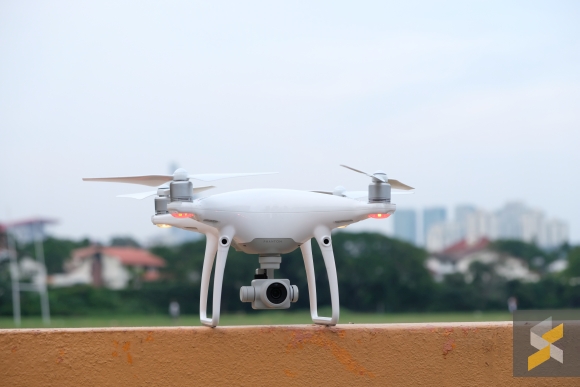
You saw us take a look at the smallest drone DJI makes, now here’s a look at the drone lineup that started it all for the Chinese company. This is the DJI Phantom 4 Advance.
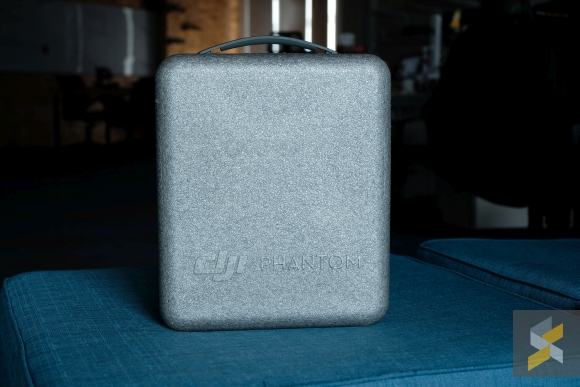
This is the box the Phantom 4 Advance comes in. It’s made out of really sturdy styrofoam and has a solid handle at the top for easy carry around.
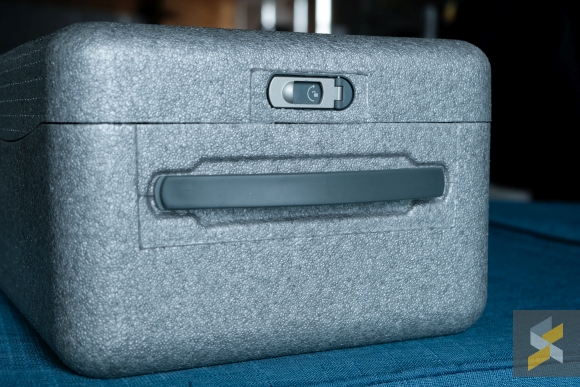
There’s even a mechanism to lock the lid on so nothing falls out during transportation. Just lift the tab and twist the lock. It won’t protect from burglars though.
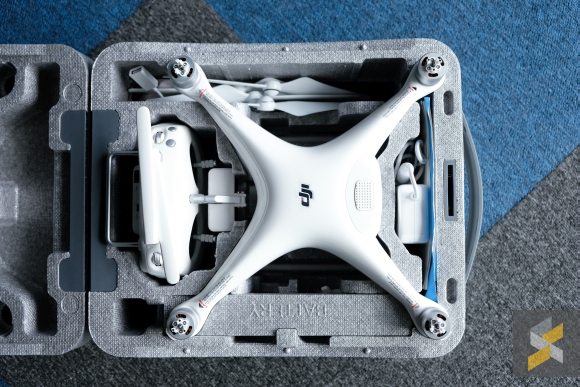
Pop the lid and you’ll find neat cutouts and cubby holes for the drone and most of its accessories.
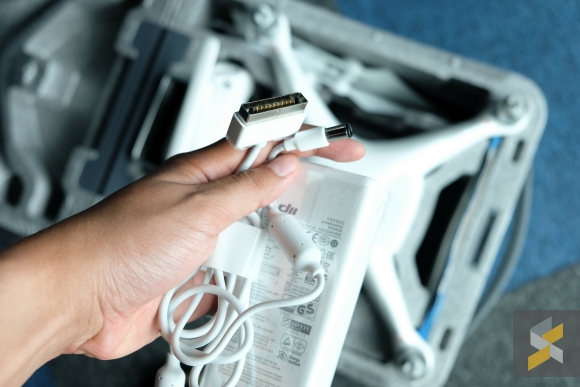
Here’s something interesting. The charger lets you charge both the drone’s battery and the controller at the same time.
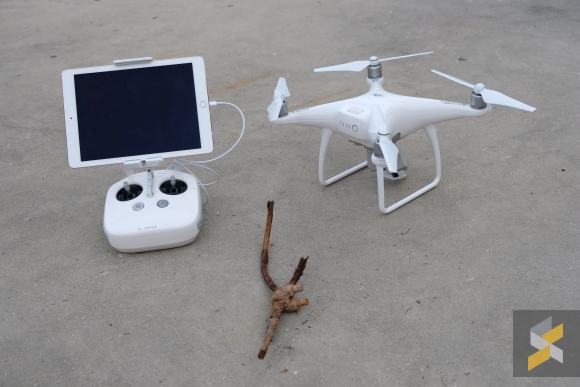
When you unpack everything, this is what your standard Phantom 4 Advance setup should look like. We definitely recommend using a tablet with a nice screen because outdoor visibility is crucial and framing your shots (as well as keeping an eye on your HUD) is much easier on a large display.
In our case, we’re using an iPad Pro 9.7″.
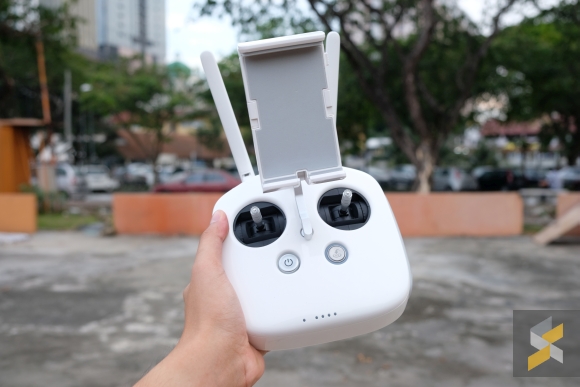
This is the controller. It’s a lot larger and beefier than the Spark’s controller but it has a nicely balanced weight to it. The screen holder can hold both tablets and a smartphone. To hold a smartphone, just fold out the tabs in the middle and it should fit nicely.
To hold our iPad Pro 9.7″, we had to extend the holder almost all the way so that’s probably the limit in terms of screen size.
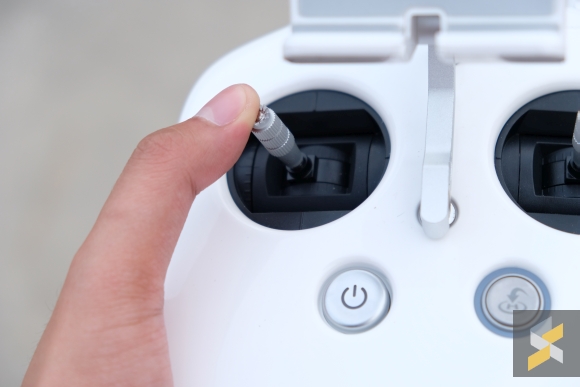
Like most drone controllers, the thumb sticks are pointy and a little sharp so your fingers don’t slip off them mid flight. Controls are really nice and precise which makes flying the Phantom 4 Advance a joy.
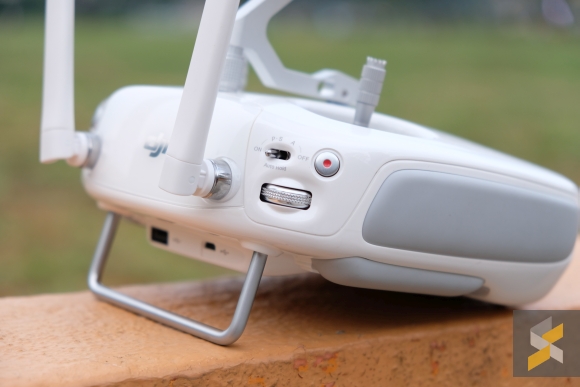
On the top left of the controller, you’ll find various buttons that do various things. You have a jog dial that you can use to control the pitch of the camera, a drone flight mode switcher and a record button.
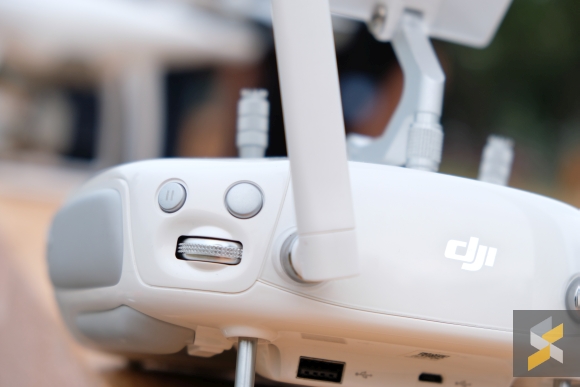
On the top right sits another dial that changes camera settings, a shutter button and an intelligent flight pause button.
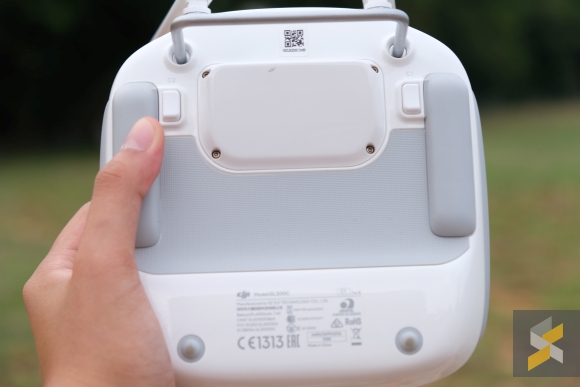
Underneath, you’ve got two customisable buttons.
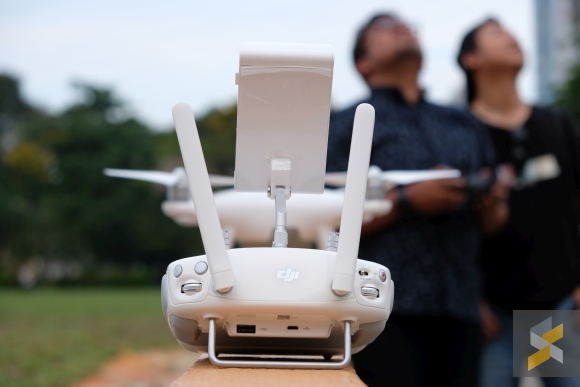
The DJI Phantom 4 Advance’s antennas are much larger than the Spark’s and uses Lightbridge instead of OcuSync for video transmission.
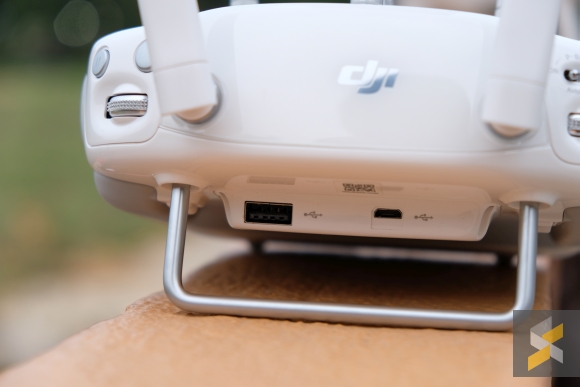
At the bottom, you will have a small lip that houses two more ports — a full sized USB Type-A port and a micro USB port.
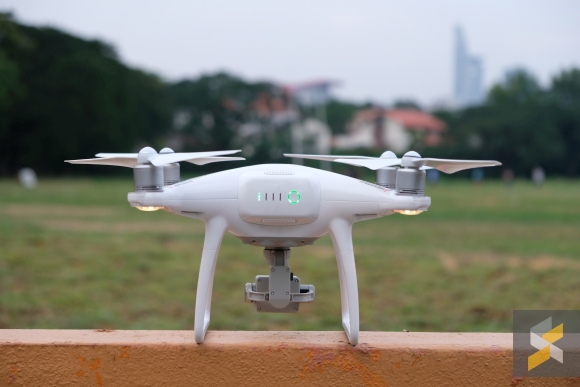
Now, we move on to the Phantom 4 Advance itself. This is its butt.
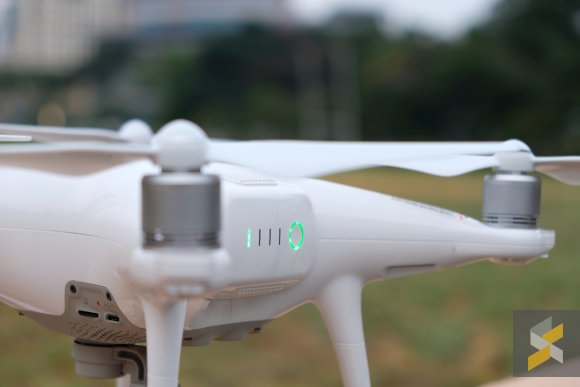
On its butt, you’ll find the drone’s battery, power button and battery level LEDs.
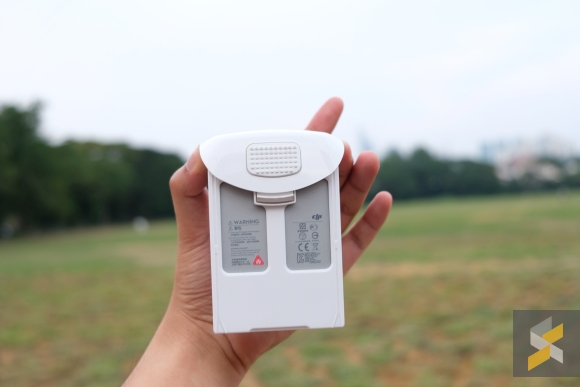
Pop the battery out and you’ll notice that it’s pretty massive.
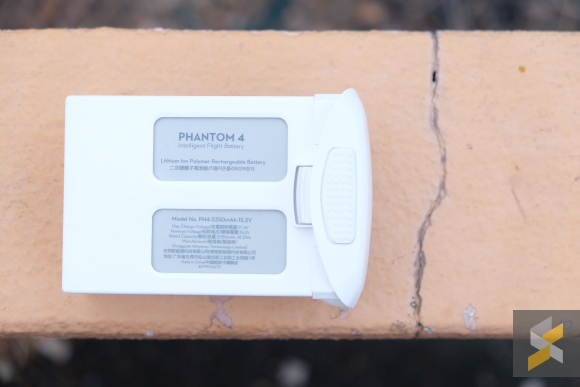
It’s a 5,350 mAh battery at 15.2V.
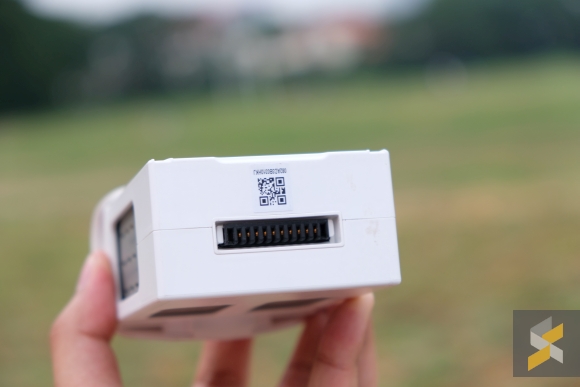
This is where you charge it. It takes about one and a half hours to fully charge.
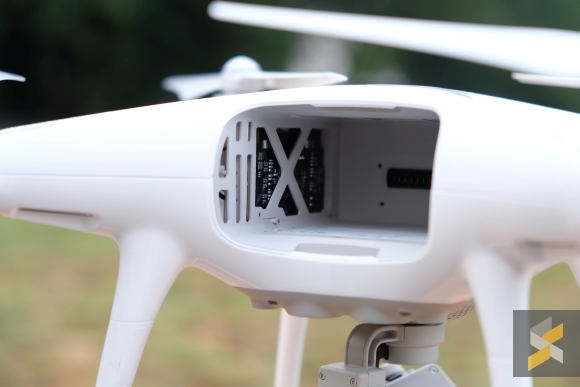
The battery insert on the drone kind of looks like the docking bay on a Star Destroyer only with a 100% fewer TIE Fighters.
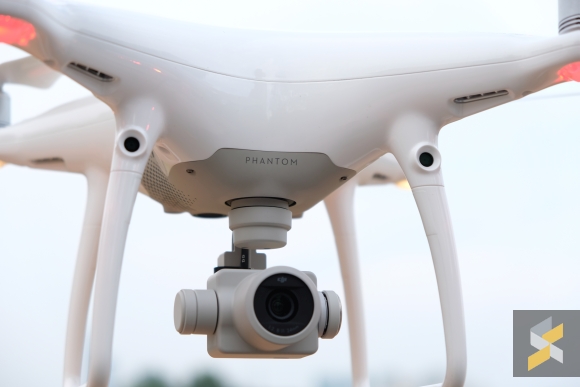
In front, is the star of the show — the Phantom 4 Advance’s camera. This baby sports a 20MP 1″ sensor (same size as a Sony RX100 V) and is capable of taking up to 4K video at 60fps with a 100Mbps bitrate. It’s also got a mechanical shutter to eliminate the rolling shutter effect.
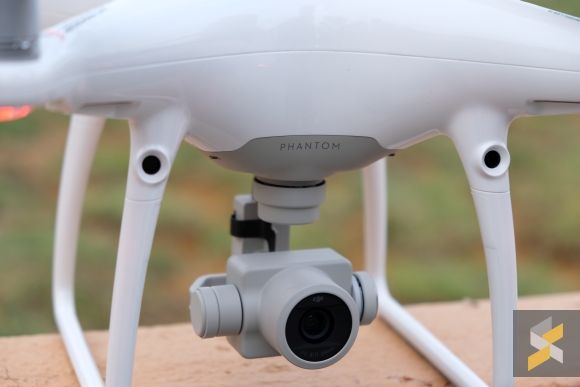
It’s also mounted on a 3-axis gimbal for super smooth and steady shots. It also has two cameras at the bottom and two in front that helps the drone “see” and avoid obstacles when in flight. There are none at the back though so you might want to be careful when backing up.
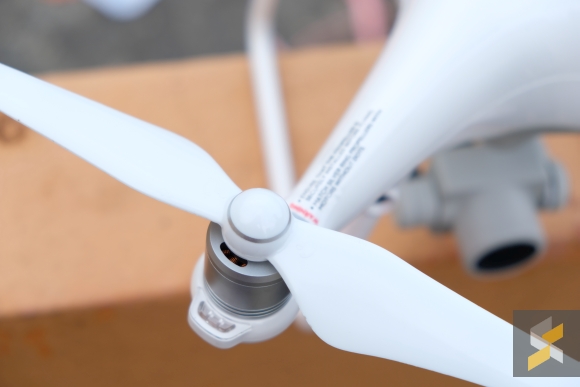
Its propellers are very light. It almost feels cheap.
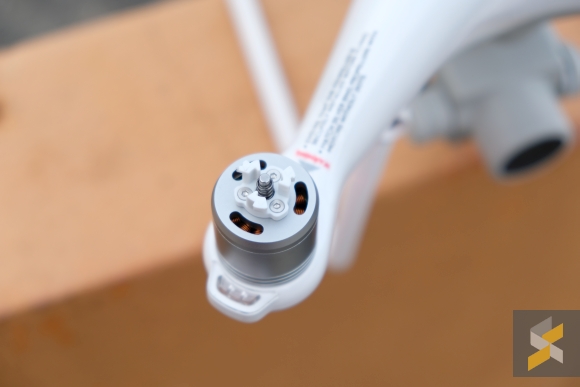
Rather than screw on, the propellers snap on with a clever twist and lock mechanism. This way, it reduces the probability of you not screwing in a propeller properly before taking off because if it isn’t locked, the propeller will just pop out.
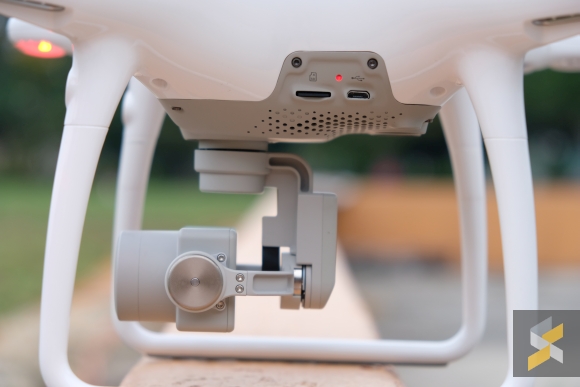
To the left of your drone is wher you’ll find the ports. A micro USB port for firmware updates and a micro SD card slot to record that crisp 4K video footage.
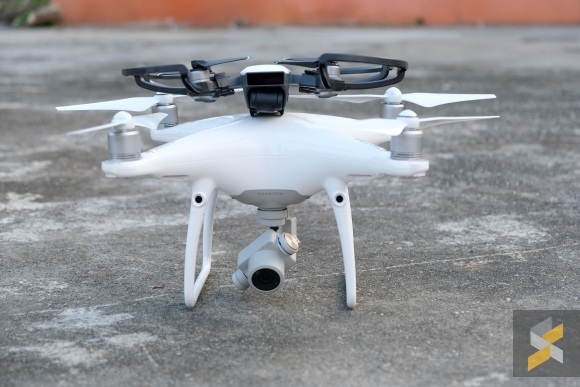
This is how much bigger it is compared to the DJI Spark.
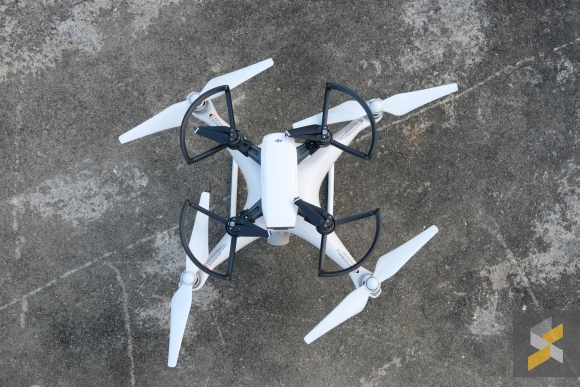
You could practically use the Phantom 4 Advance as a launchpad.

